
How to Get Your Deposit Back (A Renter’s Move-Out Repair Checklist)


The first time we moved out of a rental, I lost part of my deposit over things I could have fixed in an afternoon with about twelve euros of supplies.
Nail holes I never filled. A ring on the kitchen worktop. A smell of damp in the wardrobe I’d stopped noticing because I lived with it. The landlord walked through with a clipboard, and I stood there watching money disappear over stuff I simply hadn’t thought about.
So the second time, and every time since, I did it properly. I’ve now moved enough that I have a routine, and I get the full deposit back. This is that routine, written out. It’s the post I wish someone had handed me before that first walk-through.
A quick reassurance before the list. Most of what costs people their deposit is small, cosmetic, and completely fixable by you, for very little money, in a weekend. You do not need a handyman for the majority of it. You need a free afternoon and a short shopping list.
Start by reading your own contract first
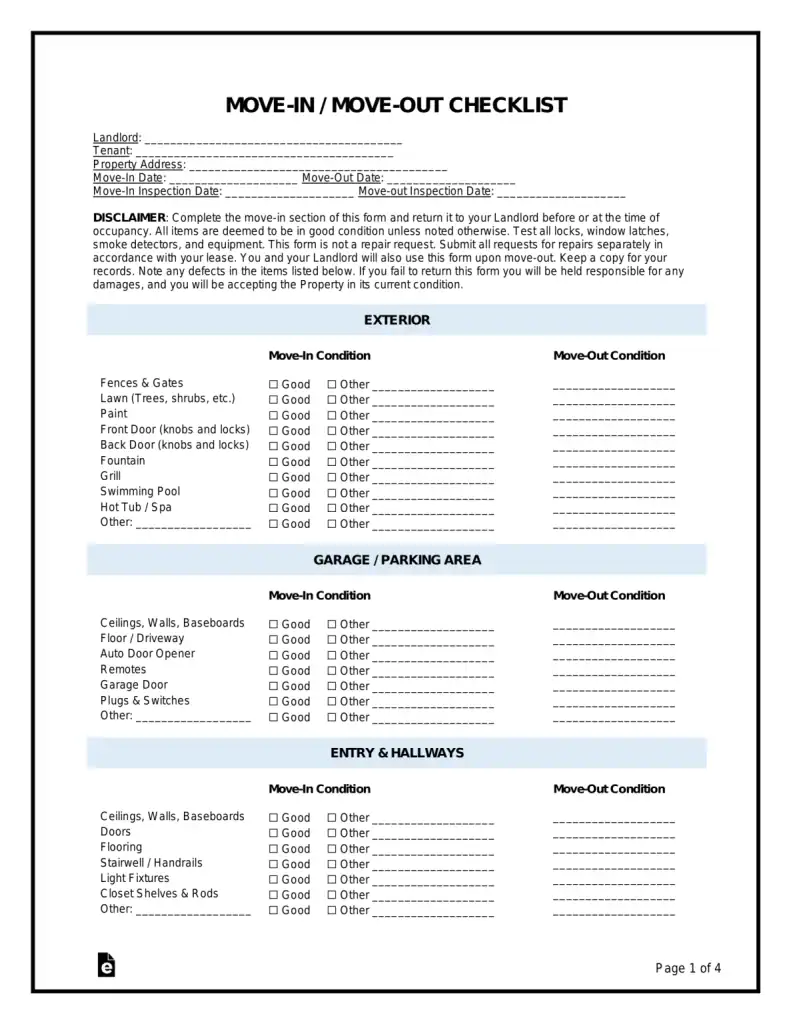
Before you fix anything, find your tenancy agreement and read the section on the deposit and the condition you’re expected to return the place in.
Look for the check-in inventory or the photos you took when you moved in, if you have them.
That document is what you’ll be measured against, not against perfection. You’re returning it to the state it was in when you arrived, fair wear and tear aside.
If you’re not sure what counts as your responsibility versus normal wear, I went through the boundaries of that in what you can and can’t change in a rental. Worth a read before you start, because it stops you over-fixing things that were never your problem.
The walls
This is where most deposits quietly die. Walls are the first thing a landlord looks at.
Fill every nail hole and screw hole. A small tub of lightweight filler and a plastic scraper cost almost nothing.
Push filler in, scrape flush, let it dry, and if the wall is textured or coloured you may need a dab of matching paint over the top once dry.
For anchors and plugs left in the wall, I wrote out the clean way to get those out in how to remove drywall anchors without damage, because yanking them leaves a crater that’s much harder to fix.
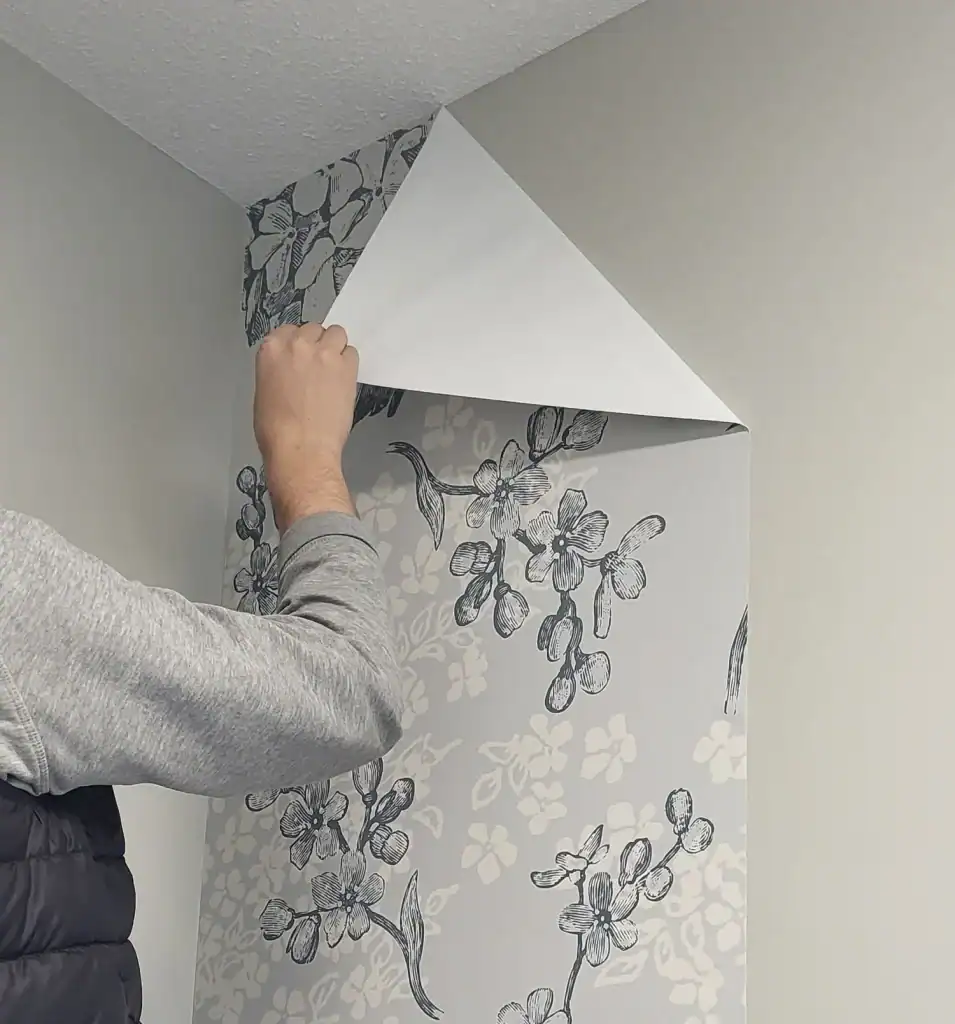
Take down everything you added. All your removable wallpaper, decals, washi, hooks, and strips need to come off, and they need to come off slowly. Peel strips downward and slowly to avoid lifting paint. If you used any of the reversible wall tricks from your decorating, now’s when you find out you did them properly.
Wipe marks off painted walls. Scuffs and fingerprints near light switches often come off with a slightly damp cloth or a magic eraser used gently. Test lightly first, because on flat paint an eraser can leave a shinier patch.
The floors
Lift every rug and mat and actually look at the floor underneath, because you’ve probably not seen it in months.
Check for furniture dents and scratches. Deep scratches in wood or laminate may need a repair pen in a matching shade. Little felt-pad marks and light scuffs usually clean up.
Deal with any peel-and-stick flooring you laid. If you used removable vinyl over an ugly floor, take it up and make sure the original surface underneath is clean and unmarked.
Give hard floors a proper mop and let carpets be cleaned. A hired carpet cleaner for an afternoon is cheap and it’s often specifically required in the contract.
The kitchen
Kitchens get judged hard because grease and limescale build up so slowly you stop seeing them.
Degrease everything.
🔥 Would you like to save this?
The hood, the splashback, the front of the cupboards, the top of the extractor. Warm water with a little dish soap or a vinegar solution cuts most of it.
I walked through the full method in how to clean old grease from kitchen cabinets, because baked-on cooking grease is the single most common kitchen deduction.
Clean the oven properly. This is the one everyone dreads and it’s very often itemised on the deductions list. The natural method is in how to clean your oven naturally if you’d rather not use the caustic sprays.
Descale the kettle, the taps, and around the sink. Run the dishwasher empty on a hot cycle with a cleaner. The steps for that are in how to deep clean your dishwasher.
Check the fridge. Empty, defrost, wipe, and leave the door propped if it’s being turned off, or it’ll grow a smell before the next tenant arrives.
The bathroom
Limescale and mould are the two words that matter here.
Tackle hard water and limescale on the taps, the shower screen, and the tiles. Descale everything until it shines.
Deal with any mould in the grout and sealant. Black spotting in the silicone around the bath is extremely common and it reads as neglect even when it isn’t. Clean it back as far as you can.
Remove every renter addition. Peel-and-stick tile, adhesive hooks, the over-the-door hangers, the caddies. Everything you added to make the bathroom livable comes back out.
The smells
This is the invisible one that cost me the first time. You stop smelling your own home.
A damp wardrobe, a musty corner, cooking smells in soft furnishings, pet smell if you have animals. Air the whole place out thoroughly.
Deal with any damp or musty pockets properly rather than masking them, because a landlord walking in fresh will notice in seconds what you’ve stopped noticing over months.
The final walk-through, done like the landlord
When you think you’re finished, walk through the whole place slowly with fresh eyes, ideally in daylight, exactly the way the landlord will.
Better still, take photos of every room the way you did when you moved in, so you have a dated record of the condition you left it in.
If there’s a check-in inventory, go through it line by line.
Your short shopping list
For most flats, this is the lot. Lightweight wall filler and a scraper. A tester pot of matching wall paint and a small brush. A magic eraser or two. A degreaser or white vinegar. Oven cleaner or the natural equivalent. A limescale remover.
Furniture touch-up pens for the floor. And a hired carpet cleaner for one afternoon if you have carpets.
That’s usually under thirty euros and one weekend, against a deposit that’s worth many hundreds. It’s the best-value work you’ll ever do, and after losing part of mine once, I’ve never skipped it since.
The last flat we left, the landlord walked through, looked at the walls, ran a finger along the worktop, and handed back every cent without a word. That quiet handover is worth every hour of the weekend it takes.
That’s all I have for today! I hope you found this article helpful and interesting!
Until next time,
Stay safe,


I’m Katerina Lithopoulou, co-creator of DIY Cozy Living. I’ve always loved the little things that make a space feel special. With a background in language and a passion for photography and cozy design, I enjoy turning everyday inspiration into simple ideas people can actually use.
My motto: “Cozy isn’t a trend — it’s a feeling.”
