
How To Crochet An Incredibly Beautiful Storage Basket Step-By-Step

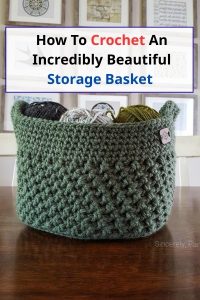
Having a cluttered living room can be highly annoying, especially when it is just a pile of loose remote controls, random chargers, and keys scattered across your coffee table.
All a homeowner longs for is a dedicated, organized, and gorgeous storage solution to keep everyday items neatly tucked away.
That’s why creating your own aesthetic crocheted baskets has become immensely popular.
However, many people don’t want to spend hundreds of dollars buying overly expensive boutique woven baskets that don’t even match their specific decor colors.
Probably you feel that crocheting a sturdy, beautiful basket is just too complicated, or that your finished project will look like a floppy, sad bowl instead of a rigid home decor piece.
This is a completely logical thought, especially because crocheting is such a visual craft and text instructions can sometimes feel like reading a foreign language.
But the truth is, creating a high-end basket relies on just one major secret: using the correct yarn and stitch tension.
There are simple, natural ways available through which you can carve out a gorgeous storage system using your own two hands.
The steps to crochet a sturdy basket are easy to follow, and they won’t cause any extra frustration whatsoever if you know exactly where to put your hook.
But, how exactly can we make it perfectly rigid and beautiful without a video?
Let’s dive into the exact details!
Why You Need A Handmade Storage Basket
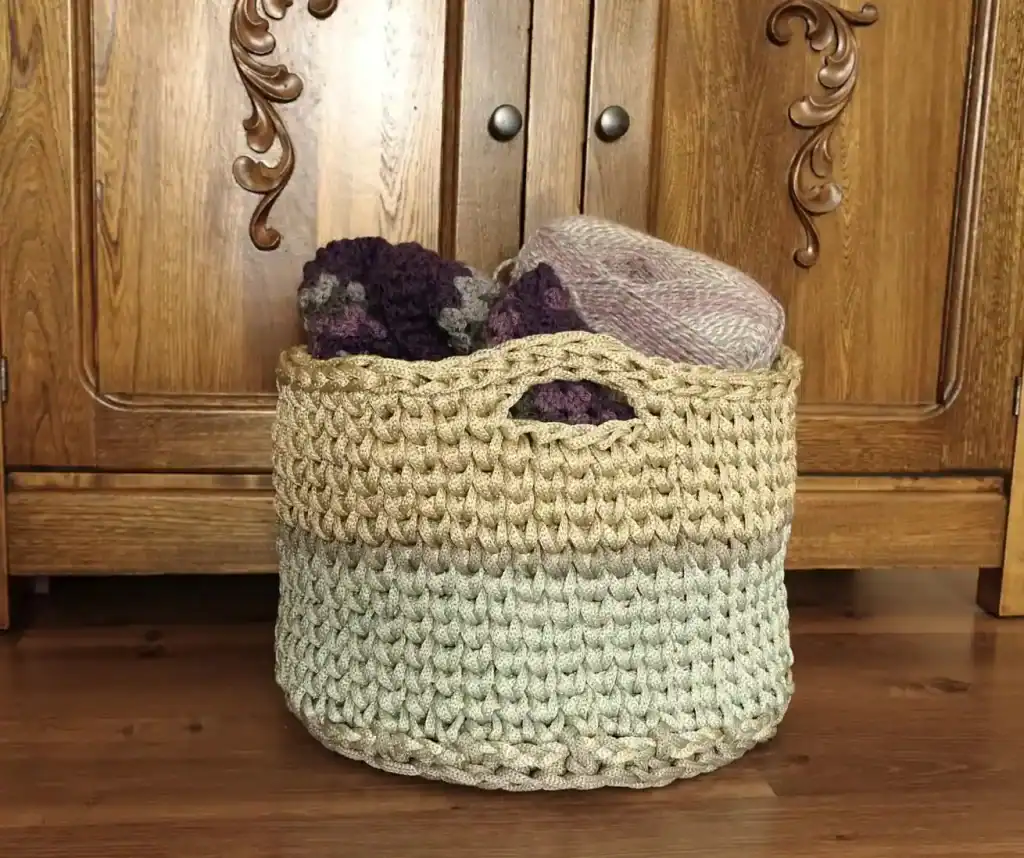
There can be various reasons why you might want to upgrade your home organization routine today.
Some of the most common reasons are avoiding ugly plastic storage bins, customizing the exact size for your bathroom shelves, and feeling stressed when your house is filled with visual clutter.
But why should you completely abandon the idea of crocheting one just because you are a beginner?
No matter your skill level, it is always better to choose a dedicated, handmade display setup so that your home stays clean, organized, and beautifully textured.
Store-bought fabric bins are extremely sturdy, but if you buy generic ones, you are left with a boring room that lacks personal warmth.
By using simple crochet techniques, your handmade baskets become actual pieces of decor, and your organizing routine will be completely stress-free.
Read Also: Aesthetic Ways To Fold Towels For a Bathroom Display
Which Yarn To Choose For A Sturdy Basket?
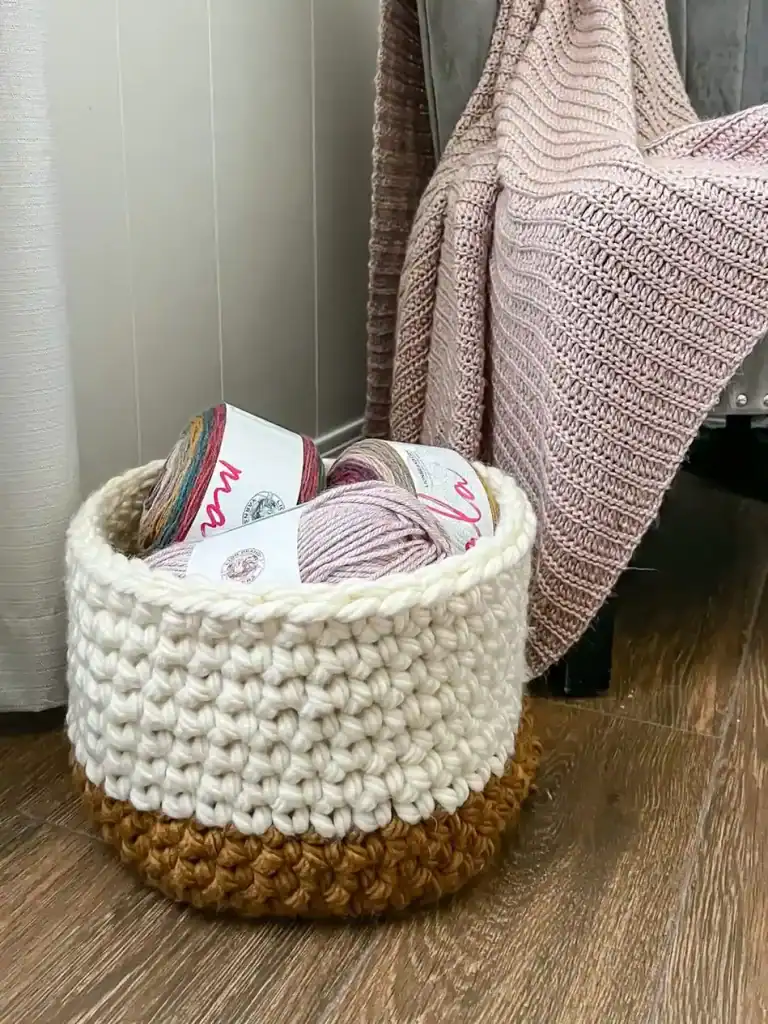
Before you start buying random hooks and yarn, you have to look at how a basket actually holds its shape.
The biggest mistake beginners make is using standard, soft acrylic sweater yarn. If you use soft yarn, your basket will instantly collapse under its own weight. To create the perfect, rigid setup from scratch, you must use a thick, chunky material.
Here is a quick guide on what to look for:
| Yarn Type | Best For | Rigidity Level |
| T-Shirt Yarn (Jersey Cotton) | Modern, minimalist baskets | Extremely High (Highly recommended) |
| Braided Cotton Cord (5mm) | Macrame-style, heavy-duty bins | High (Perfect for large floor baskets) |
| Chunky Acrylic/Wool Blend | Soft, cozy bedroom storage | Low (Will slump without a plastic liner) |
The Ultimate Basket Crochet Shopping List
To make sure you don’t get lost while setting up this project, here is exactly what you need to grab from the craft store. Having the right tools is the secret to making the basket completely rigid!
- 2 skeins of high-quality T-shirt yarn or 5mm braided cotton cord
- A crochet hook that is 1 to 2 sizes smaller than what the yarn label recommends (this creates a tight, stiff fabric)
- A plastic stitch marker (essential for working in continuous rounds)
- A large-eye tapestry needle (for weaving in thick ends)
- A pair of sharp scissors
Having said that, here are the absolute best step-by-step instructions to crochet a beautiful basket.
Abbreviations
US Terminology used
- 3rd loop – this is the loop behind the front and back loops of a hdc sometimes called the back bar
- beg – beginning
- BPhdc – back post half double crochet stitch
- BPsc – back post single crochet stitch
- ch – chain
- MR – magic ring
- R – row/round
- rem – remaining
- rep – repeat
- sc – single crochet
- sk – skip
- sl st – slip stitch
- st/sts – stitch/stitches
- Wst – waistcoat stitch
- Wsl st- waistcoat slip stitch
- * – ** Repeat the instructions between the asterisks the number of times indicated. This repeat will contain of multiple instructions.
- () – Repeat the instructions between the parentheses the number of times indicated.
- [] – at the end of the row – the total number of stitches
How To Crochet The Basket Step-By-Step
Watch the video slow for as long as you want to understand it and then we will move to the next steps slowly. When you are a beginner everything is gonna feel like a mountain but trust me after a while you will get used to it and make everything faster.
Because this is a visual topic, we are going to break down the physical movements in heavy detail.
We will be using a technique called the Waistcoat Stitch (also known as the Knit Stitch).
It is a variation of the single crochet that creates a thick, rigid wall that looks exactly like knitting!
🔥 Would you like to save this?
Phase 1: The Flat Base
The base of your basket needs to be perfectly flat and circular.
- Step 1: Create a Magic Ring. (Loop the yarn around your fingers, insert the hook, pull up a loop, and chain 1 to secure it).
Once again a tutorial for the magic ring cause this is quite annoying to create at the beginning.
- Step 2: Crochet 6 Single Crochets (SC) directly into the center of the magic ring. Pull the tail tightly to close the hole completely. Place your stitch marker in the very last stitch you made.
- Step 3 (Round 2): To make the circle grow flat, you must increase. Crochet 2 SC into every single stitch around. (You now have 12 stitches). Move your stitch marker to the final stitch.
- Step 4 (Round 3): Crochet 1 SC into the first stitch, then 2 SC into the next stitch. Repeat this pattern (1, then 2) all the way around. (You now have 18 stitches).
- Step 5 (Growing): Continue adding rounds, increasing the number of single SCs between your increases (e.g., Round 4 is 1 SC in the next two stitches, then 2 SC in the next). Stop when your flat circle is the exact diameter you want the bottom of your basket to be.
Phase 2: The Vertical Transition
You need to force the crochet fabric to stop growing outward and start building straight up to form the walls.
- Step 1: Look at the top edge of your stitches. They look like a row of little “V”s.
- Step 2: For this entire round, do not increase at all. Instead of inserting your hook under the whole “V”, insert it only under the back loop of the “V” (the loop furthest away from you).
- Step 3: Crochet 1 SC into the Back Loop Only (BLO) of every stitch around. You will instantly see a sharp ridge form on the bottom edge, and the sides will begin pointing straight up toward the ceiling!
Phase 3: The Aesthetic Waistcoat Walls
This is the secret to making it look like a high-end boutique basket instead of a standard craft project.
- Step 1: For the walls, we will work in continuous rounds. Do not join or turn your work.
- Step 2 (The Secret Stitch): Normally, you insert your hook under the top “V”. For the Waistcoat stitch, look at the actual vertical body or post of the single crochet from the previous row. It looks like an upside-down “V” or a little pair of legs.
- Step 3: Insert your hook directly into the dead center of those two legs (right through the middle of the post).
- Step 4: Yarn over, pull up a loop, and complete a normal single crochet. Keep your tension slightly loose when pulling up the loop so it’s easier to find the center on the next round.
- Step 5: Continue crocheting 1 Waistcoat stitch into the center of every stitch around. The walls will grow straight up, creating a stunning, thick “knit” texture. Stop when the basket reaches your desired height.
Phase 4: Finishing The Rim
A beautiful basket needs a polished, clean edge.
- Step 1: Once your walls are tall enough, we will create a reinforced rim.
- Step 2: Instead of single crocheting, slip stitch into every stitch around the top. (Insert your hook normally under the top “V”, yarn over, and pull it straight through both the stitch and the loop on your hook in one smooth motion).
- Step 3: This creates a thick, braided border across the very top rim of the basket that stops the edges from stretching out.
- Step 4: Cut your yarn, pull it through, and use your large tapestry needle to weave the thick tail seamlessly down into the dense walls of the basket so it is completely invisible.
What Kind Of Results to Expect?
The tight-tension crochet process is the best way to manage your home decor because it causes zero harm and creates a completely custom, handmade storage solution.
Techniques such as the back-loop transition and the dense Waistcoat stitch will make your basket look beautifully curated and professionally crafted.
Depending on the yarn you choose, your results will be great.
Obviously, don’t expect miracles.
None of these methods is able to magically make soft baby acrylic yarn stand up completely straight if you refuse to use the chunky T-shirt yarn or cord recommended.
In short, the aesthetic results for your living room will be great, but nothing spectacular if you crochet too loosely and the walls begin to slump over time.
Please remember this because we don’t want you to get disappointed if your basket loses its shape after heavy daily use.
However, you can expect excellent results for your everyday routine because these specific step-by-step techniques are tried, tested, and guaranteed to create a rigid, functional piece of art!
To Sum Up
Crocheting your own baskets can organize and decorate your home good enough.
Choose your yarn weight as per your specific project size so that the rigidity matches your specific storage needs.
Organize your loose items beautifully, and set your coffee tables free from messy piles and plastic bins.
But, remember these techniques will not have impressive results if you refuse to count your stitches, and you won’t get a perfectly straight wall if you accidentally add increase stitches where they don’t belong.
This doesn’t mean that you should give up on crochet if you make a mistake on your first try.
But, I have to let you know which are the pros and which are the cons of handmade decor so that you form your own opinion on this topic.
My personal take is that if you want to store small items like keys, rolled washcloths, or remote controls, go ahead and strictly follow this T-shirt yarn method.
On the other hand, if you want something massively permanent to hold 40 pounds of heavy firewood, then better use a professional hardwood crate or a reinforced steel bin.
That’s really it!
I really hope you found our visual step-by-step breakdown helpful and easy to picture.
Until next time,
Stay safe,
Tasos

I’m Anastasios Moulios, co-founder of DIY Cozy Living. I enjoy finding creative, practical ways to make small spaces feel warm, stylish, and lived-in. I started this blog with Katerina to share real ideas that make a home feel a little more personal and a lot more comfortable.
