
How To Clean Your Jewelry Step-By-Step At Home

Having tarnished, dull jewelry can be highly annoying, especially when you want to wear your favorite rings and they look cloudy and lifeless.
All a jewelry lover longs for is a dedicated, simple, and safe cleaning routine to keep their collection sparkling every day.
That’s why finding the right jewelry cleaning method has become immensely popular.
However, many people get overwhelmed by the idea that there are dozens of different DIY chemical hacks, or they don’t want to spend hundreds of dollars paying a professional jeweler to polish their pieces.
The safest and most effective method recommended by jewelers is actually incredibly easy, cheap, and relies on just one straightforward step-by-step process right in your own kitchen.
There is one natural, universally trusted way to clean your standard everyday pieces safely, and it won’t cause any harm to your wallet whatsoever.
But, how exactly can we do it perfectly?
Let’s dive in!
Why You Need A Proper Cleaning Routine
There can be various reasons why you might want to upgrade your jewelry maintenance routine today.
Some of the most common reasons are avoiding skin irritation from dirty metals, restoring the original brilliant shine of your diamonds, and stopping bacteria from building up under the settings.
But why should you completely abandon the old habit of trying random internet hacks like toothpaste or boiling water?
No matter what kind of metal you own, it is always better to choose one safe, dedicated cleaning setup so that your pieces stay pristine and hygienic without risking chemical damage.
Solid gold and diamonds are extremely sturdy, but if you let lotion, sweat, and harsh DIY cleaners build up over time, you are left with a painfully dull stone or scratched metal.
By using one simple, proven step-by-step cleaning process, your precious stones will remain safe from heavy grime crushing their shine, and your routine will be completely stress-free.
Things To Consider Before You Start
Before you start mixing soap and water, you have to look at what kind of jewelry you are actually cleaning.
This universal step-by-step method is perfect for hard, non-porous pieces like solid gold, platinum, sterling silver, diamonds, rubies, and sapphires.
However, if you wear delicate, porous stones like pearls, opals, turquoise, or coral, your needs will be entirely different. Never submerge porous stones in water. For those specific delicate items, simply wipe them gently with a damp microfiber cloth.
For the vast majority of your standard rings, earrings, and necklaces, the following process is the only one you will ever need.
The Ultimate Jewelry Cleaning Shopping List
To make sure you don’t get lost while setting up this system, here is exactly what you need to grab. Having the right, gentle tools is the secret to making the cleaning process safe and effective!
- A brand-new, ultra-soft baby toothbrush (regular toothbrushes are too abrasive)
- Mild, fragrance-free liquid dish soap
- A small glass bowl
- A small mesh strainer
- Lint-free microfiber cloths (never use paper towels, which will scratch soft metals)
Having said that, here is the absolute best step-by-step process to upgrade your jewelry cleaning routine.
How To Clean Your Jewelry Step-By-Step
Forget the complicated hacks.
Here is the ultimate, straightforward method to clean your standard jewelry safely and efficiently.
Step 1: The Prep Fill your small glass bowl with very warm (but never boiling hot) water. Add just a few drops of your mild liquid dish soap. Gently swirl the water with your finger or your toothbrush until it becomes slightly sudsy.
🔥 Would you like to save this?
Step 2: The Soak Gently drop your gold, silver, and diamond jewelry into the soapy water. Let the pieces sit and soak completely undisturbed for 15 to 20 minutes. This essential step allows the warm, soapy water to naturally break down and loosen hardened lotion, hairspray, and body oils without any harsh scrubbing.
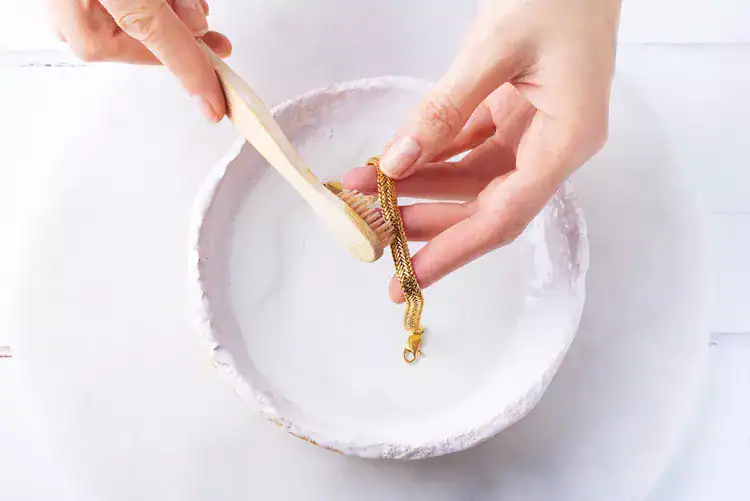
Step 3: The Scrub After soaking, remove one piece of jewelry at a time. Take your brand-new, extra-soft baby toothbrush and gently brush the metal and the settings. Pay special attention to the back of the stones and underneath the prongs, as this is where dirt tends to hide and block the light from making your diamond sparkle. Keep a very light hand—let the bristles do the work, not your muscles!
Step 4: The Safe Rinse Before you do anything else, plug your sink drain or place your small mesh strainer over the drain. Never rinse slippery jewelry over an open drain! Hold the brushed jewelry under a gentle stream of warm running water to wash away all the loosened grime and soap residue.
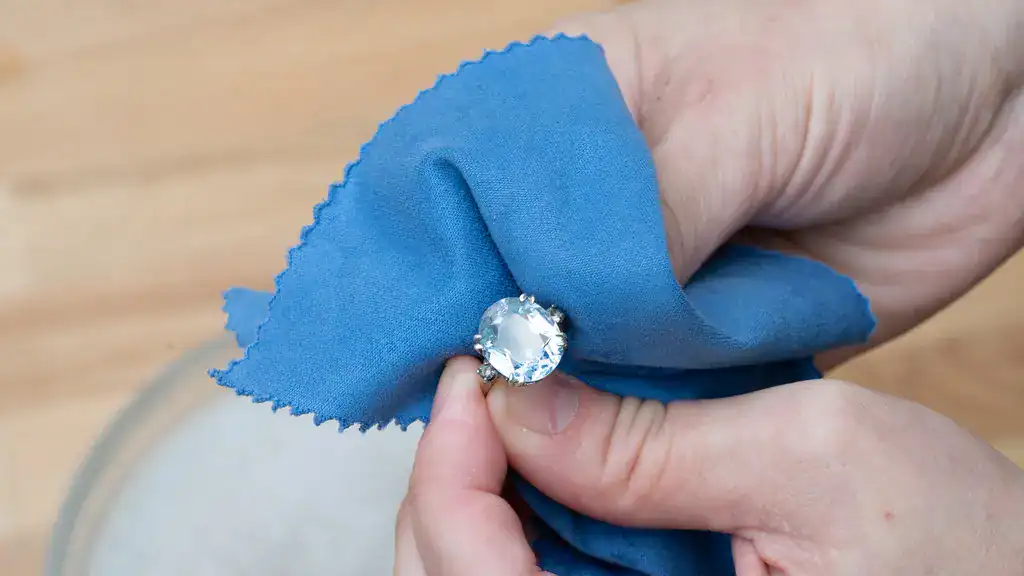
Step 5: The Dry & Polish Moisture creates instant tarnish on metals like silver. Always pat your jewelry completely dry with a lint-free microfiber cloth. Leave the pieces sitting on the cloth to air-dry completely for at least 15 to 20 minutes before putting them back in your jewelry box to ensure no trapped moisture remains inside the settings.
Read Also: 5 Best Renter-Friendly Flooring Hacks
What Kind Of Results to Expect?
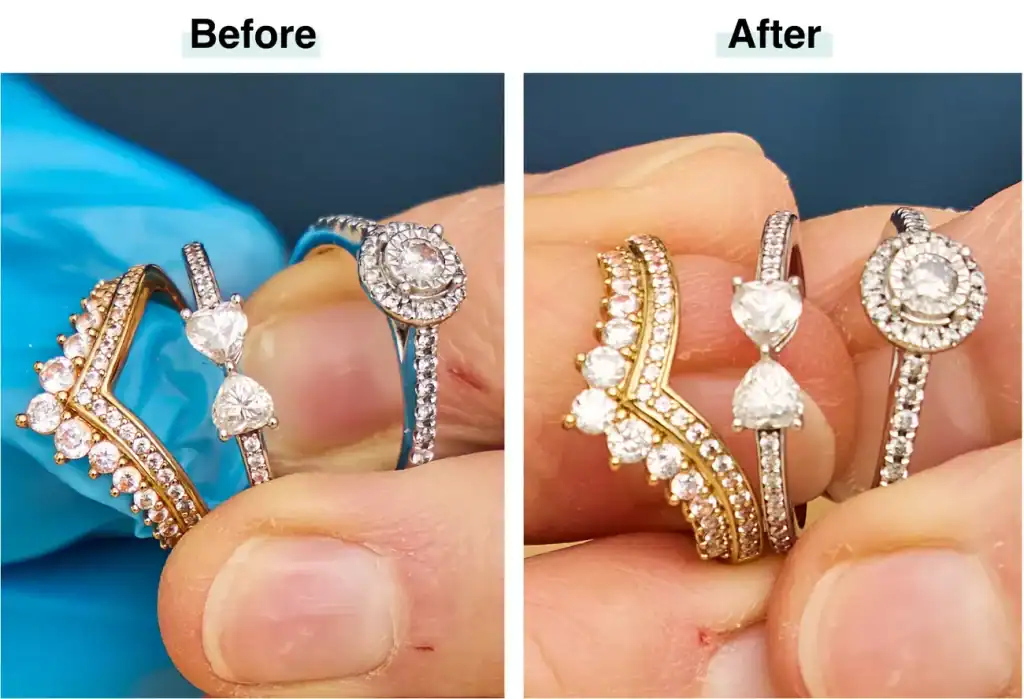
The step-by-step warm water process is the best way to manage your accessories because it causes zero harm and keeps your equipment beautifully shiny.
Techniques such as soaking in mild soap and relying on baby toothbrushes will make your pieces look beautifully curated and brand new.
Depending on how dirty your pieces were, the results you get will be great.
Obviously, don’t expect miracles.
None of these methods is able to magically turn a deeply scratched or permanently damaged ring into a perfect one if you refuse to take it to a professional jeweler for a mechanical rebuffing.
In short, the practical results for your jewelry will be great, but nothing spectacular if you refuse to ever wipe the lotion off your rings during the week.
Please remember this because we don’t want you to get disappointed if your jewelry still looks a little worn from years of heavy daily use.
However, you can expect excellent results for your everyday routine because this specific step-by-step process is tried, tested, and jeweler-approved!
To Sum Up
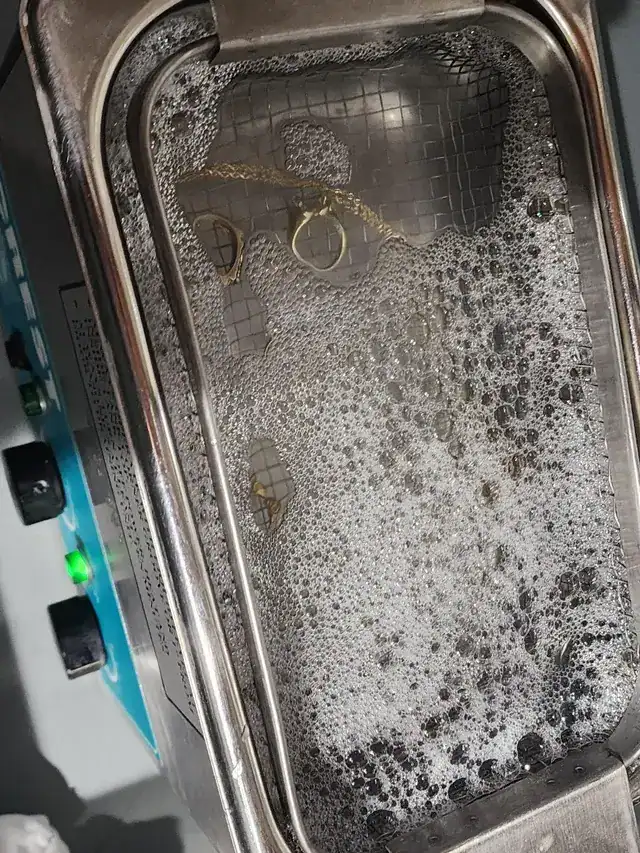
A proper jewelry cleaning routine can manage your accessory collection good enough.
Choose to follow these exact steps so that the process matches your specific needs.
Clean your gear safely, and set your precious stones free from harmful chemical damage and heavy impacts.
But, remember these techniques will not have impressive results if your family refuses to take off their rings in the pool, and you won’t get a stress-free sparkle if the metal is constantly covered in thick perfume.
This doesn’t mean that you should give up on a sparkling collection if you don’t want to.
But, I have to let you know which are the pros and which are the cons of home jewelry cleaning so that you form your own opinion on this topic.
My personal take is that if you just have standard everyday pieces, your budget is tight, and you hate dull rings, go ahead and strictly follow this smart dish soap and baby toothbrush system.
On the other hand, if you want something massively permanent, or you need to clean an antique, priceless family heirloom or a deeply tarnished piece, then better use a professional jeweler to handle it safely.
That’s really it!
I really hope you found our article helpful.
If you have any questions, feel free to write them in the comment section below and we will be more than happy to help.
Until next time,
Stay safe,
Tasos

I’m Anastasios Moulios, co-founder of DIY Cozy Living. I enjoy finding creative, practical ways to make small spaces feel warm, stylish, and lived-in. I started this blog with Katerina to share real ideas that make a home feel a little more personal and a lot more comfortable.
