
21 DIY Halloween Paper Garland Ideas From Cute to Creepy

Halloween is the one time of year I give myself full permission to cover the house in things that would horrify me in February.
Bats on the mantel! Skulls on the bookshelf!
And paper garlands everywhere, because they cost almost nothing, take less than an hour, and look genuinely good strung across basically any surface.
Tasos once said my first attempt looked like wrapping for a very confused birthday party! Reader, it looked great, XD!
Today, I am showing you 21 spooky garland ideas to choose from for this year’s Halloween decor!
Without further ado, let’s get into it!
What You Need to Make a Halloween Paper Garland
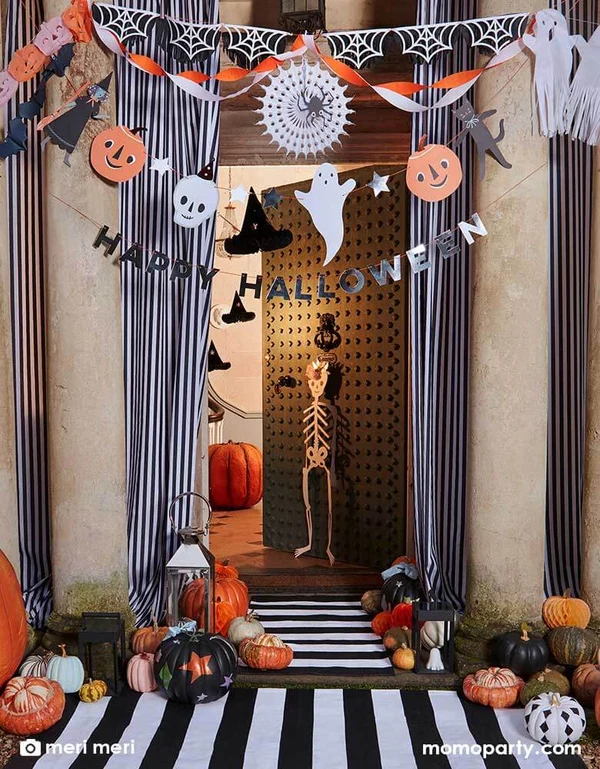
Most of these use the same small set of supplies. Grab these before you start and you’ll be able to make almost any idea on this list.
Paper: Construction paper, cardstock, or kraft paper for most. Black, orange, white, and purple cover almost every Halloween look. Brown kraft paper gives a vintage, aged feel if that’s the direction you want.
Scissors: A sharp pair for clean cuts. A craft knife and cutting mat if you’re doing any detailed work. A Cricut or Silhouette if you have one, since it opens up the more intricate designs considerably.
String: Jute twine is the most forgiving and looks beautiful. Baker’s twine (black and white or orange and black) adds to the aesthetic. Plain white string works for a cleaner look.
Adhesive: A glue stick for layering, double-sided tape for attaching shapes to string, or a hot glue gun for anything that needs to hold weight.
Extras: Markers for adding faces and details, hole punch for threading string cleanly, a needle if you want to sew shapes directly onto thread.
21 DIY Spooky Halloween Paper Garland Ideas!
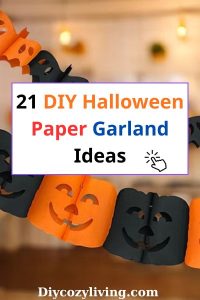
1. The Classic Pumpkin Chain
The accordion-folded paper pumpkin is the gateway garland, and it holds up because it’s genuinely satisfying to make.
Fold orange construction paper into thirds lengthwise, draw half a pumpkin shape against the fold, and cut.
Open it up to find four connected pumpkins. Add triangle eyes and a jagged smile with a black marker, thread onto jute, and hang.
Takes about twenty minutes for a full mantel length.
2. The Ghost Accordion
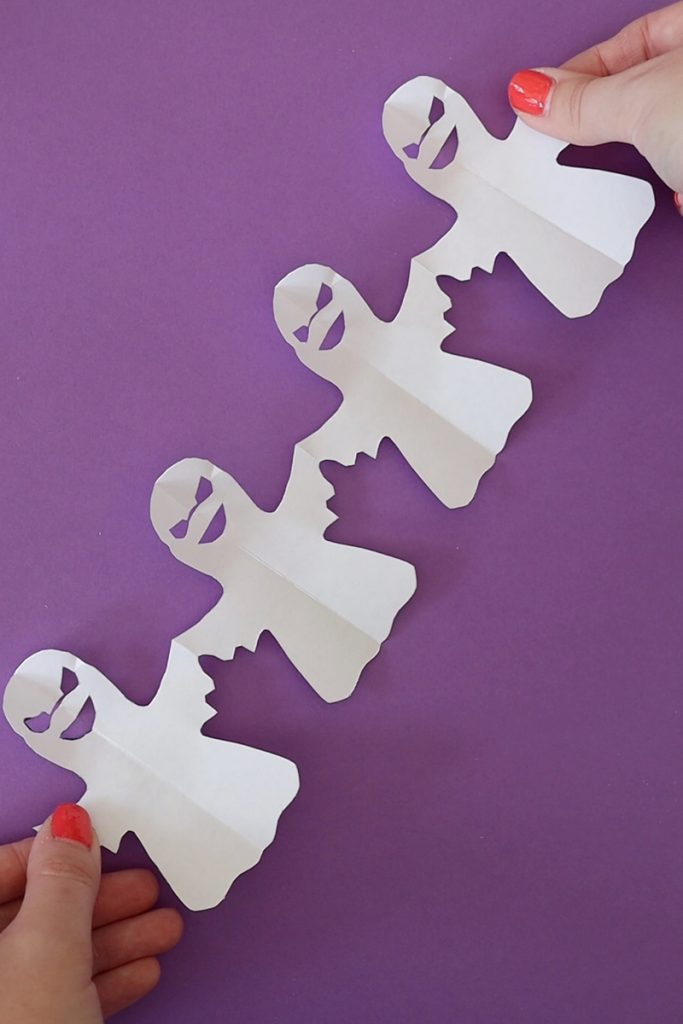
Same technique as the pumpkin but in white.
Fold white paper accordion-style, draw half a ghost (rounded top, wavy bottom hem) against the fold, and cut. The ghosts fan out connected at the arms.
Tiny black marker dots for eyes.
These work beautifully layered with the pumpkin chain on the same string.
3. The Bat Bunting
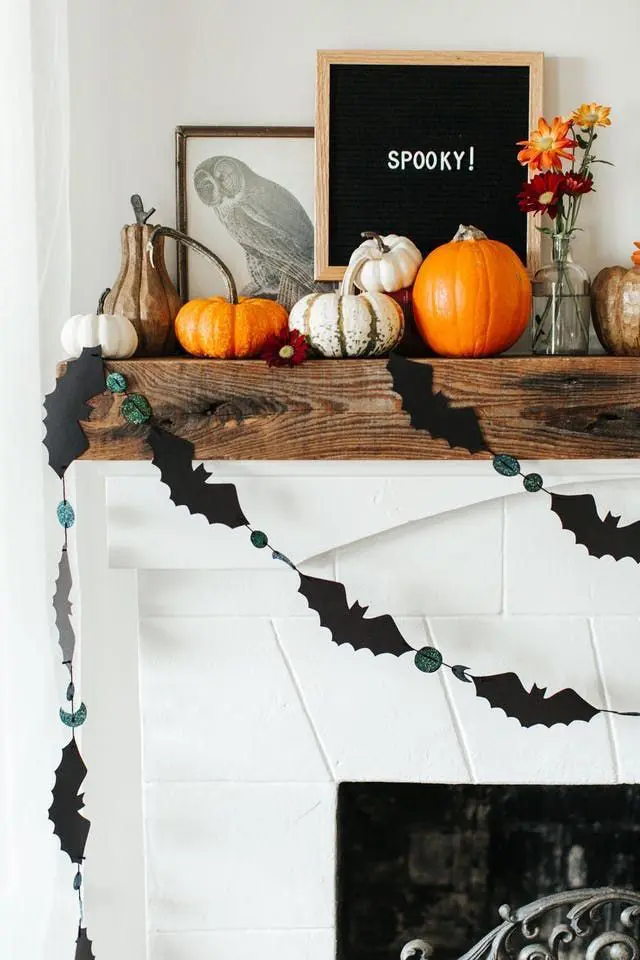
Black construction paper bats cut individually and threaded onto twine.
Fold black paper in half, draw half a bat with wings spread, and cut to get two identical bats per sheet. Punch a hole at the top of each and thread through.
Hang them close together so the wings almost touch for a dramatic, swooping effect.
4. The Classic Triangle Banner
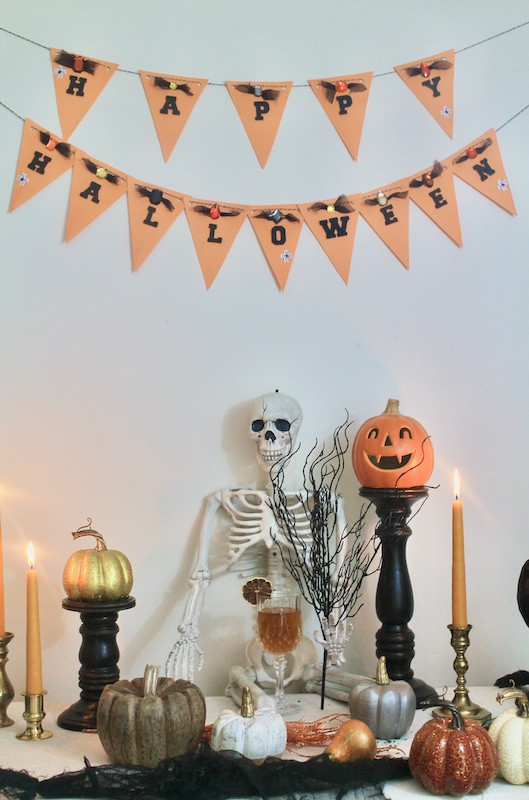
Cut triangles from black, orange, and purple cardstock and fold the flat edge over jute, gluing or taping to secure.
Decorate each triangle with a drawn ghost, pumpkin, bat, or cat.
Simple, classic, and works for every age range from toddler bedroom to dinner party.
5. The Printable Cut-Out Garland
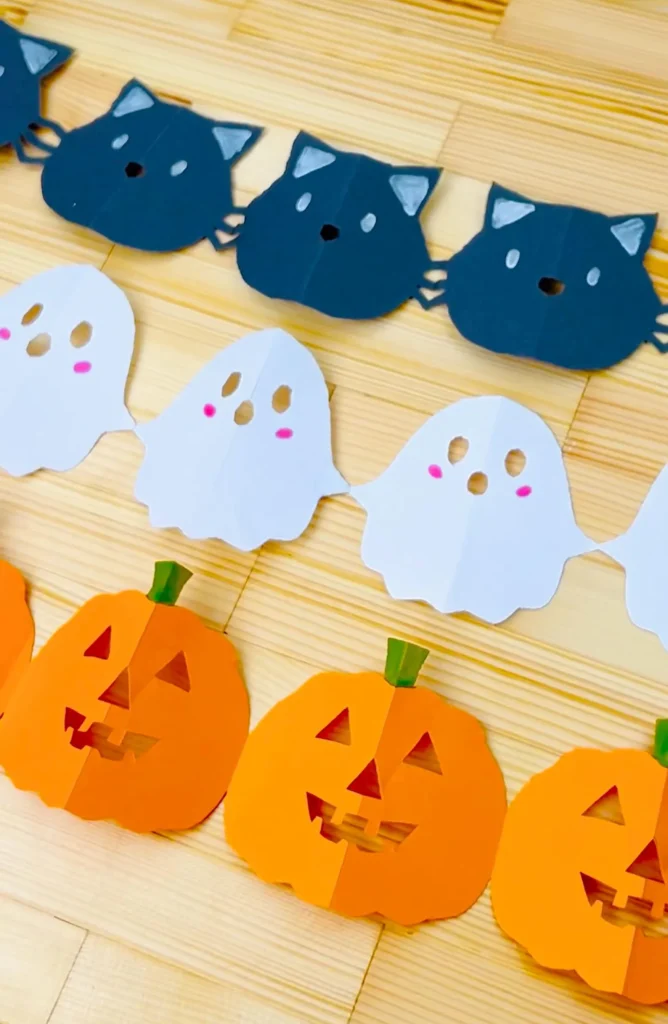
Download a Halloween printable (witch hats, ghosts, little bats, black cats) from sites like Hello Wonderful or Sustain My Craft Habit, print in colour on cardstock, cut out, and sandwich onto ribbon with a glue stick.
No drawing required, no cutting skill needed. Perfect if you want something polished without much effort.
Space the images about five inches apart for a clean, curated look.
6. The Kirigami Spiderweb
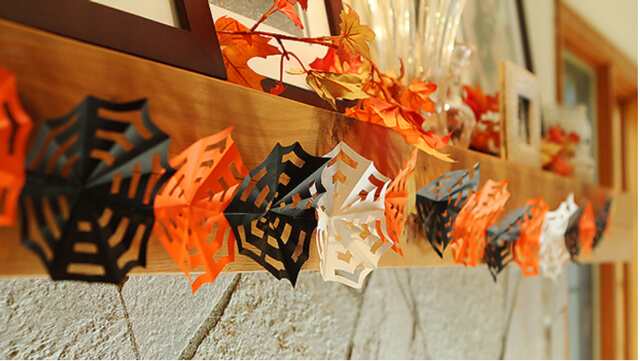
Fold a square of black paper in half twice to make a smaller square, then in half diagonally.
Cut small triangles and shapes along the folded edges, the same way you make paper snowflakes as a child. Open to reveal a spiderweb.
Thread several webs onto a long piece of white string.
These look incredible against a white wall and take about five minutes each once you get the hang of it.
7. The Folded Paper Ghost Chain
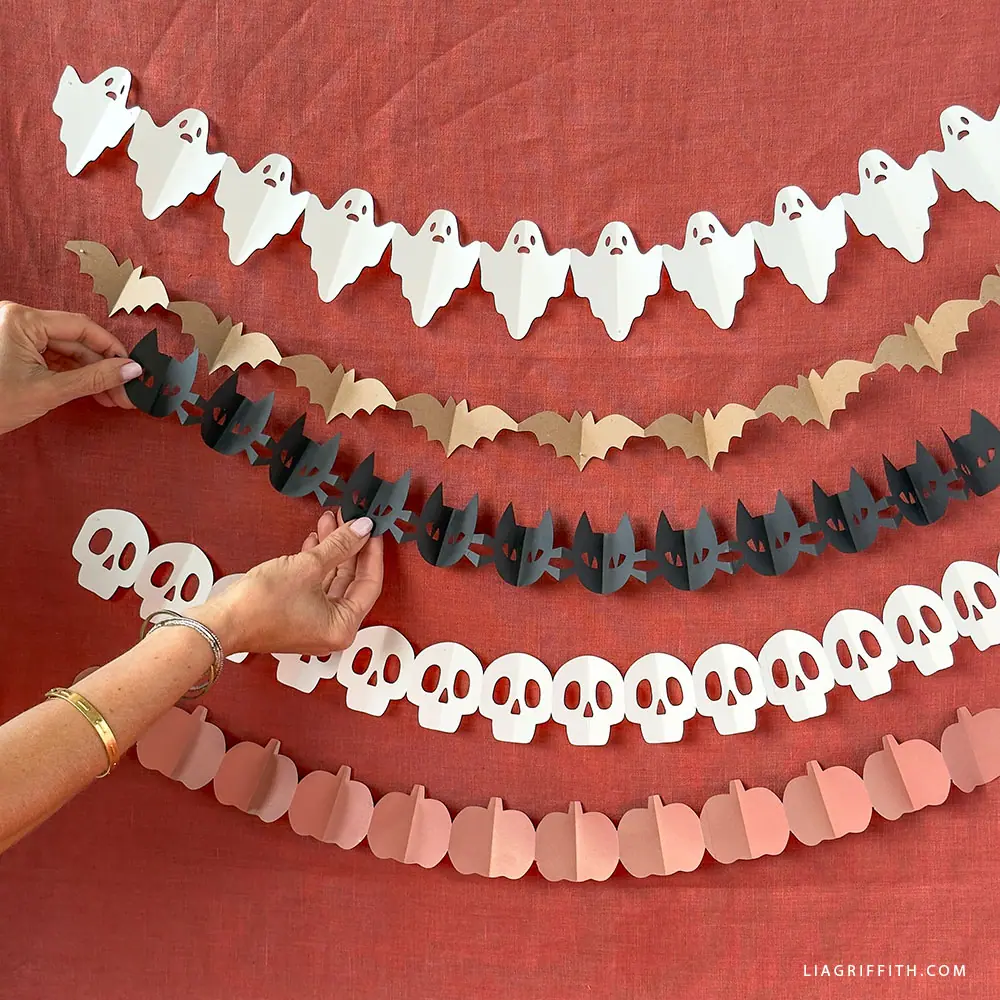
Not accordion-folded but cut from a long strip of paper folded in half repeatedly.
Draw half a ghost against the fold, making sure the arms touch the fold on each side so the ghosts stay connected when you cut.
Unfold to get a chain of holding-hands ghosts that stretches across a window or staircase. White paper, black marker eyes.
8. The Kraft Paper Vintage Bunting
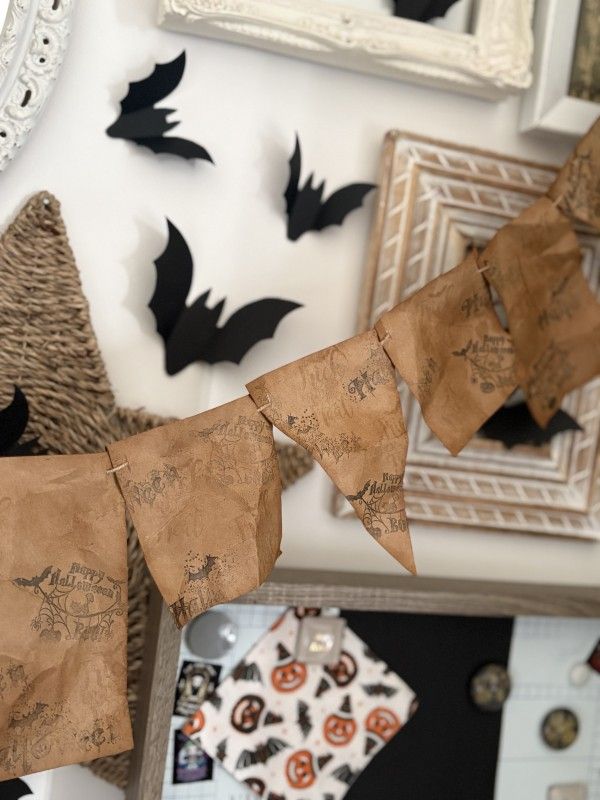
Cut triangles from brown kraft paper and distress the edges slightly with scissors or by tearing.
Stamp or stencil Halloween shapes onto each triangle, a moon, a skull, a simple cat silhouette, using black ink. Fold over black twine and glue.
The aged, tonal look of kraft on kraft reads as vintage Halloween rather than bright and cheerful, which is a completely different and very pinnable aesthetic.
9. The Black Cat Silhouette Strip
Cut long strips of black cardstock and fold accordion-style.
Draw half a sitting cat (round head, pointy ears, curved tail) against the fold, ensuring the tail or paw touches the fold edge. Cut and open to find a chain of connected cats.
Thread several chains together for length. Add tiny white dot eyes with a paint pen if you want them to catch light.
10. The Cricut Halloween Banner
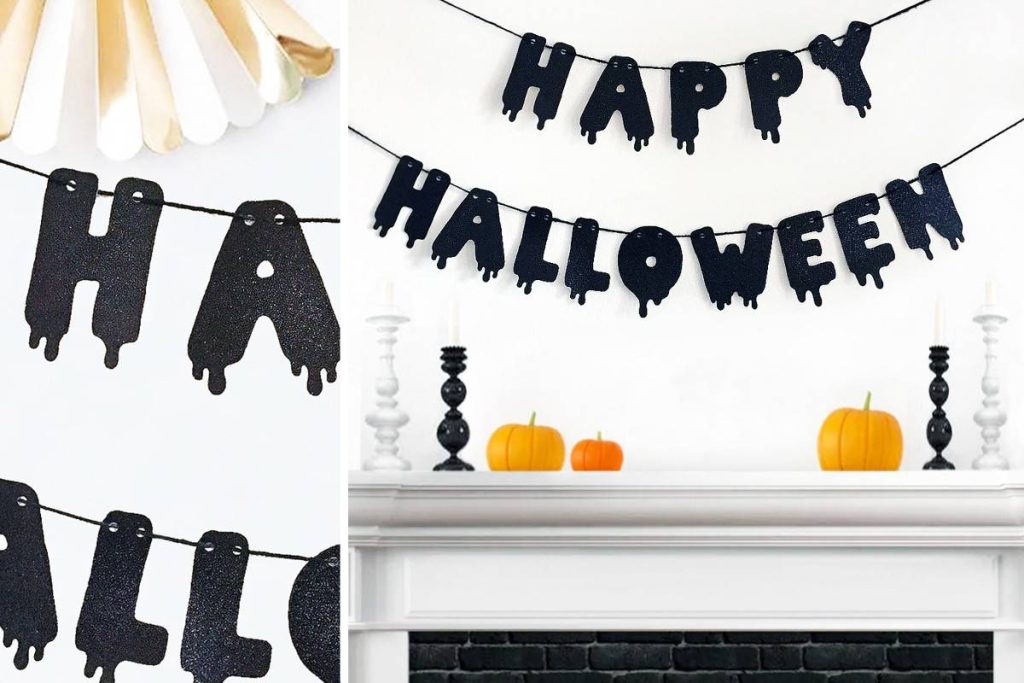
If you have a Cricut or Silhouette, this is the level up.
Cut detailed Halloween shapes in coordinating colours (bats, haunted houses, spiders, pumpkins) from cardstock, then layer and assemble onto ribbon or twine.
The precision you get from a machine makes these look genuinely store-bought. Free SVG files for Halloween garlands are widely available if you search “free Halloween garland SVG.”
11. The Skull and Crossbones Chain
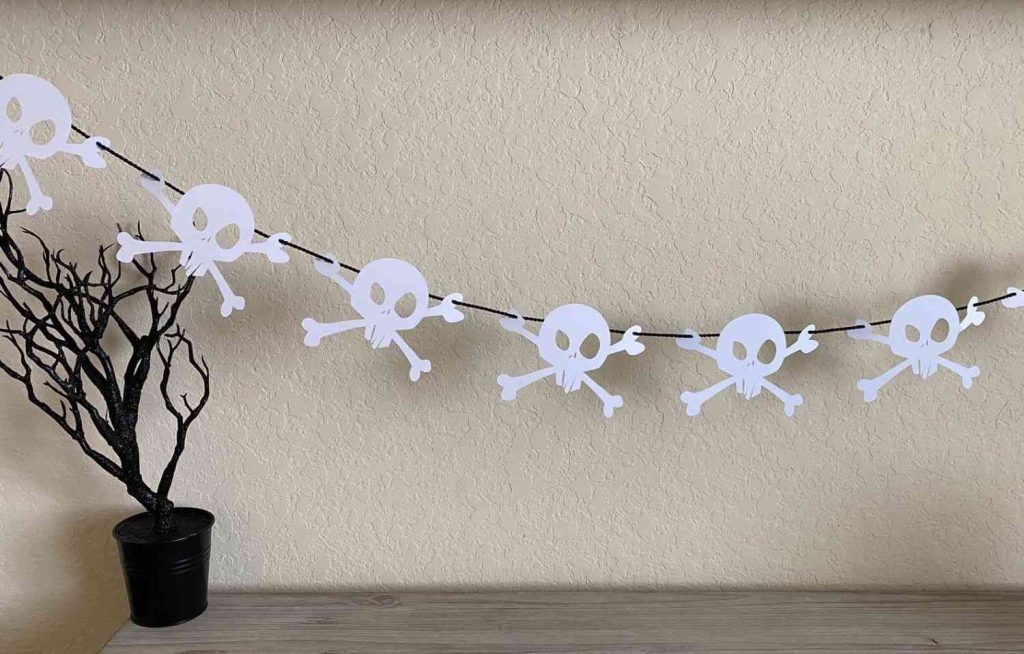
White cardstock cut into skull shapes, either freehand or with a simple template.
Add black marker eye sockets and a smile.
String onto black satin ribbon for a more gothic, adult Halloween look that works well on a bookshelf or bar cart rather than the family mantel.
12. The Paper Lantern Garland
Fold a rectangle of black or orange cardstock in half lengthwise.
Cut slits from the folded edge almost to the open edge, leaving about two centimetres uncut at the top and bottom.
Unfold, curl into a cylinder, and tape or glue the short ends together. The slits bow outward to create a lantern shape.
🔥 Would you like to save this?
Thread several onto string alternating black and orange.
They look much more finished than the effort involved suggests, and they catch candlelight beautifully if you hang them near a lit pumpkin.
13. The Moon and Stars Garland
Black cardstock cut into crescent moons and five-pointed stars, alternating on gold string. Add a tiny yellow or gold paint dot at the centre of each. Less overtly Halloween, more witchy and atmospheric, which makes it work from early October through November and pairs well with the vintage kraft aesthetic.
14. The Candy Corn Triangle Banner
Cut triangles of white, orange, and yellow paper and layer them with white on top, orange in the middle, and yellow at the base.
Glue the layers together, fold the top over twine, and secure.
The result is a candy corn bunting that’s cheerful, colourful, and very much the cute end of the spectrum.
Maria asked me to make this one specifically last year and it went up on her bedroom doorframe.
15. The Haunted House Silhouette
Cut haunted house shapes from black cardstock, irregular rooflines, tiny windows, a crooked door.
You don’t need a template, the more uneven the better.
Hang them on black string at staggered heights so they look like a skyline.
One small yellow paper square behind each window catches the light if you hang it near a lamp.
16. The Accordion Bat Chain
Like the ghost and pumpkin chains but in black.
Fold a long strip of black paper accordion-style and draw half a bat with wings spread wide, making sure the wingtips touch the folded edges on each side. Cut and open for a chain of bats in flight.
These look best strung loosely so they drape rather than hang tight.
17. The Paper Tassel Garland
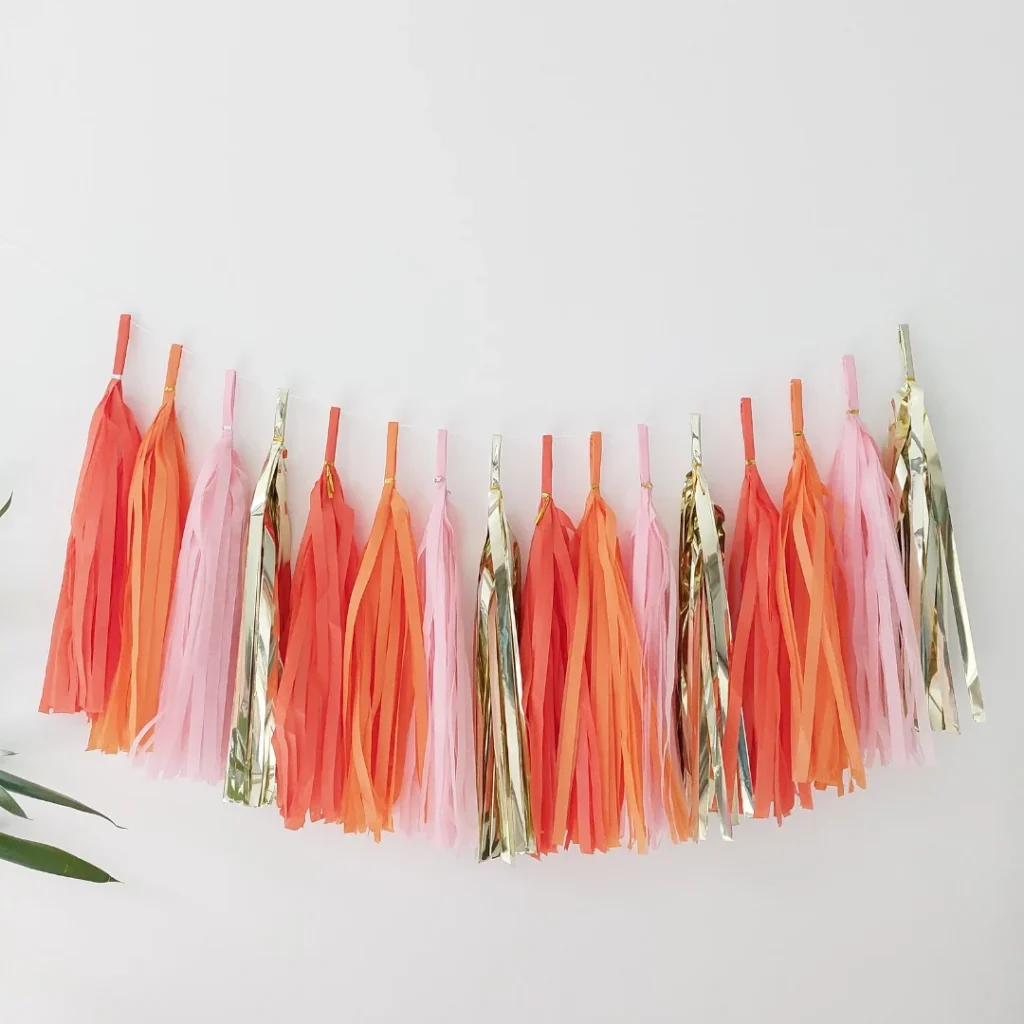
Not cut shapes but folded paper tassels in Halloween colours.
Cut rectangles of tissue paper or crepe paper in black, orange, and purple, fold in half lengthwise, fringe the open edge with cuts about two thirds of the way up, then roll the folded edge around a piece of string and twist to secure.
Make twenty or thirty and space them along a long string.
Lush, full, and surprisingly moody depending on the colour combination you choose.
18. The Mummy Strip Garland
Cut rectangles of white cardstock and wrap each one loosely in thin strips of white crepe paper or tissue paper, leaving gaps so the white card shows through underneath like bandages.
Add two small black oval eyes peeking out from the top of each mummy. Thread onto string.
The texture of the wrapped crepe gives these a softness that the flat-cut garlands don’t have, and they look oddly adorable rather than scary, which makes them perfect for a kids room or classroom.
19. The Accordion Witch Hat Chain
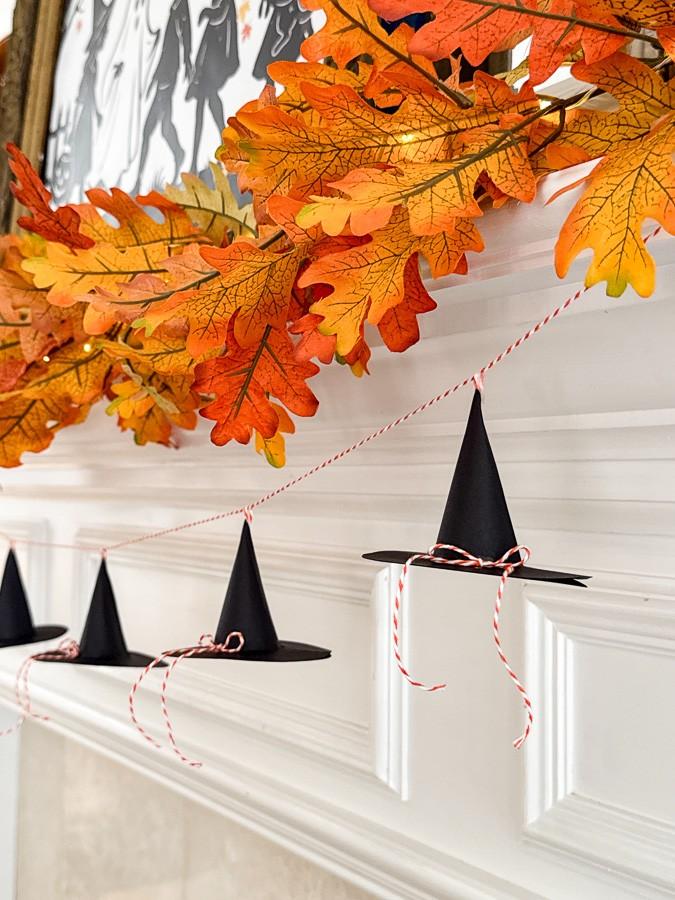
Fold black paper accordion-style and draw a pointed witch hat with the brim extending to the folded edges on each side. Cut and open for a chain of hats.
Add tiny orange paper buckles glued to the centre of each brim. Dark, graphic, and different enough from the standard ghost-and-pumpkin chain to earn its own pin.
20. The Cauldron Bunting
Cut cauldron shapes from black cardstock, a wide rounded body with a flat rim and two small handles.
Add a green or orange oval of tissue paper inside the top of each cauldron to suggest bubbling potion.
Fold the flat rim over a piece of string and glue to secure. Hang them close together so the cauldrons sit in a row like a witch is expecting a very large batch of something.
These are one of the least common paper garland ideas online which means they stand out immediately, and the shape is distinctive enough to read from across the room.
This one is advanced. If you want something difficult, that is tailored more towards adults and experienced craftspeople, then go for it. Otherwise, choose something simpler from the list! <3
21. The Mixed Media Halloween Garland
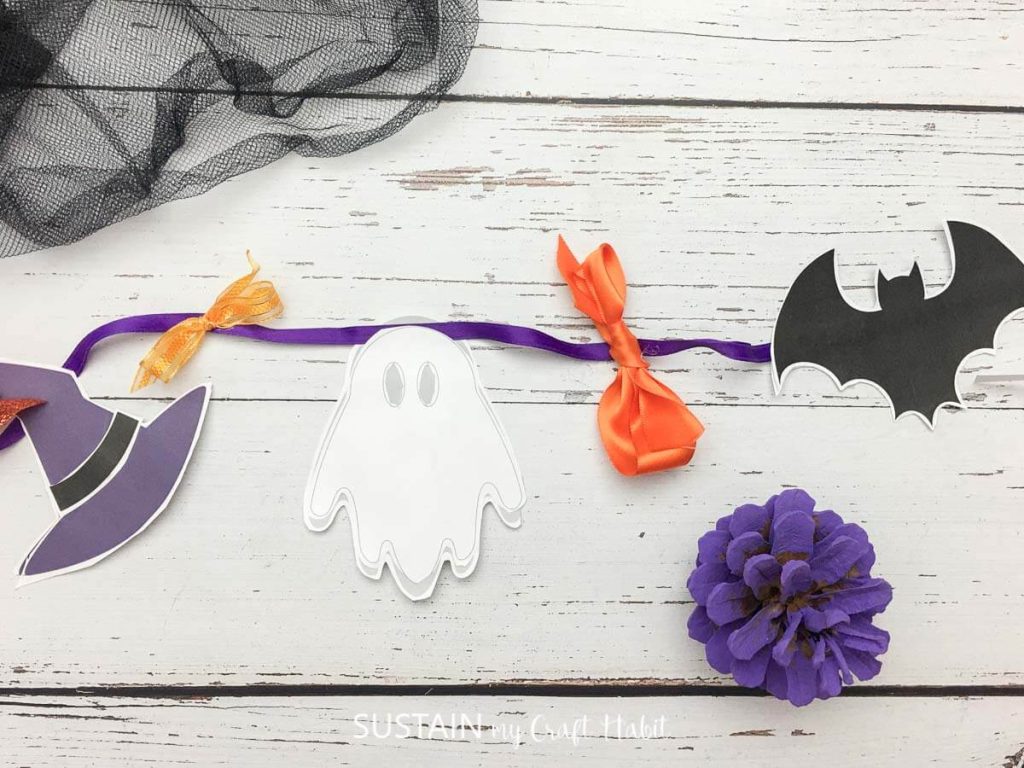
Take any of the above ideas and mix them on one long string. Bats next to ghosts next to pumpkins next to skulls, all cut from black, white, and orange paper at slightly different scales.
The intentionally mismatched look is actually more interesting than a perfectly uniform garland, and it means you can use up odd bits of paper without planning ahead.
This is how most of my garlands end up and it’s always the one people ask about.
This one is advanced. If you want something difficult, that is tailored more towards adults and experienced craftspeople, then go for it. Otherwise, choose something simpler from the list! <3
How to Hang a Paper Halloween Garland
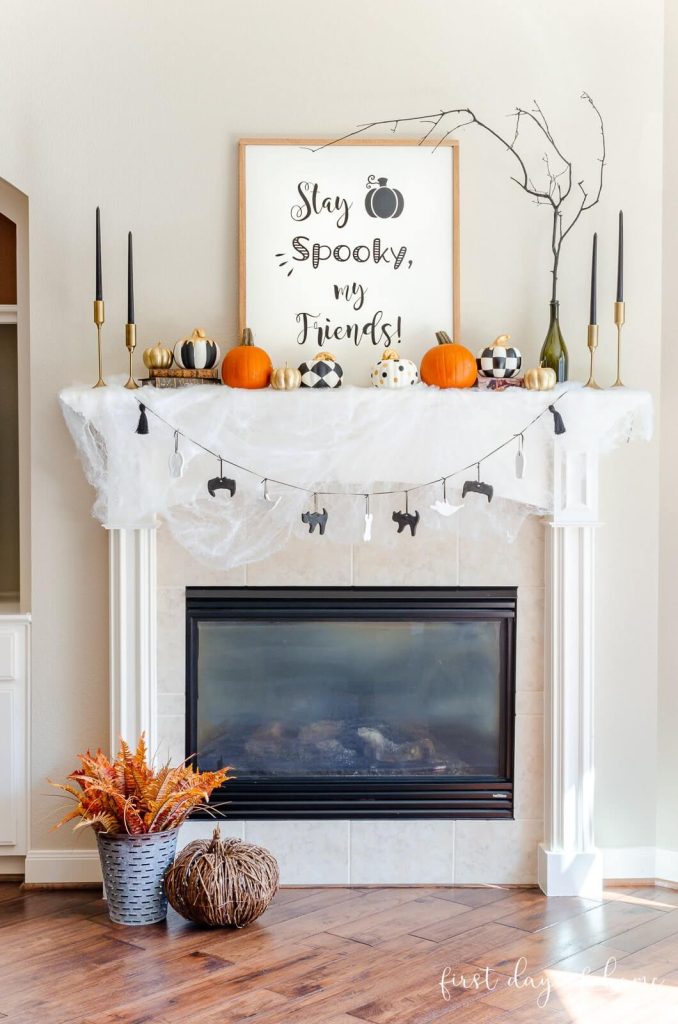
On a mantel: Use small removable adhesive hooks or lean the string against candlesticks and objects already on the mantel to weight it. No damage to the surface.
On stairs: Wind the string around the spindles as you go, letting it drape loosely between each one. Tape or a tiny removable hook at the top and bottom keeps it in place.
On a window: Tension rod across the window frame lets you hang the garland without touching the wall. Or use removable adhesive strips on the frame itself.
On a wall: Three adhesive hooks, one at each end and one in the middle for the drape. A hair dryer on low heat for thirty seconds makes removable hooks grip better on some surfaces.
In a doorway: A length of string tied between the door frame handles with the garland draped across it. No tools, no damage.
Tips for Making Paper Garlands That Last
Use cardstock rather than construction paper if you want the garland to survive more than one season. Construction paper fades and softens quickly, especially in rooms with natural light.
Cut in batches, not one at a time. Fold four or six sheets together before cutting so all your shapes come out the same size. It’s faster and the result looks more considered.
Seal with a thin coat of Mod Podge if you want the garland to hold up through a full season. It stiffens the paper slightly and makes it much more resistant to humidity and handling.
Laminate the printable versions if you have access to a laminator. They’ll last for years and can be stored flat in a folder each November.
Store finished garlands by winding them loosely around a cardboard tube so they don’t crease between seasons.
Frequently Asked Questions
How long does a paper garland take to make? Most of the accordion-fold styles take thirty to sixty minutes for a full mantel length. The printable versions take even less once you’ve printed and cut. The Cricut versions take longer to set up but much less hands-on time.
What paper works best for Halloween garlands? Cardstock (65 lb or 80 lb) for anything you want to last more than one season. Construction paper for projects you’re making with kids and don’t need to store. Kraft paper for the vintage aesthetic. Tissue paper and crepe paper for tassels only.
Can I make these with a Cricut? Yes, and it makes the more detailed designs like spiderwebs and haunted house silhouettes much easier. Look for free Halloween garland SVG files before buying any.
How do I store paper garlands between seasons? Wind loosely around a cardboard tube (a paper towel roll works) and store flat in a box or large envelope. Avoid folding or compressing them or they’ll crease permanently.
Are these safe to make with toddlers? The paper chain link (idea 20) and the tassel garland (idea 17) are the safest for very small children. Everything with scissors should be supervised. The printable cut-out style works well for kids who can handle child-safe scissors.
How do I keep the garland from sagging in the middle? Add a third anchor point in the middle of the span, a small hook, a piece of tape, or a weight clipped to the centre. String that’s slightly shorter than you think you need also helps since paper garlands always seem to stretch more than you expect.
The one I make every year is the mixed-media chain at the end of the list, bats and ghosts and the odd skull cut from whatever paper the girls have left in their craft boxes.
It’s never perfectly matched and it’s always the thing guests notice first when they walk in.
Halloween decor doesn’t have to be expensive or even particularly planned to work well.
Cut some paper. String it up. Call it done.
Until next time,
Stay safe,


I’m Anastasios Moulios, co-founder of DIY Cozy Living. I enjoy finding creative, practical ways to make small spaces feel warm, stylish, and lived-in. I started this blog with Katerina to share real ideas that make a home feel a little more personal and a lot more comfortable.
