
How to Decorate Your Rental Walls Without Losing Your Deposit

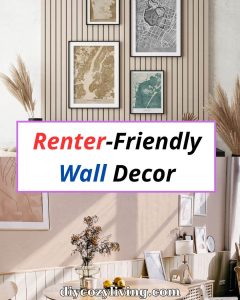
Tasos wrote recently about what you can and cannot change in a rental, and the response was something I expected but didn’t fully anticipate.
A lot of people are asking the same follow-up question.
Okay, so I can’t paint. I can’t drill. I can’t do much permanently.
But my walls are blank and depressing and this rental needs to feel like somewhere I actually live. What do I actually do?
This is exactly what this article is all about.
I’ve lived in rentals. I know the particular frustration of standing in a room with blank white walls that belong to someone else and trying to figure out how to make it feel like yours without losing your deposit.
The good news is that the options available now are considerably better than they were even five years ago. Command strips, removable wallpaper, picture ledges, washi tape… The rental decorating toolkit has expanded enough that blank walls are genuinely a solvable problem.
Here are 10 ideas that work, don’t damage anything, and look like you meant them.
Why Blank Walls Feel So Bad (And Why It’s Worth Fixing)
There’s a certain hollowness to a room with bare walls. It doesn’t only seem like you haven’t put in the work; it has a way of making the place feel transitory, as if you’re in transit and not actually at home.
You don’t have to be an expert to know that putting your own stamp on a space eases the mind and makes you put down roots, but it bears repeating: when you make a rental your own, you aren’t just being vain about it. It changes your day-to-day experience of the room.
Of course, for a renter, the usual wisdom is hard to follow. Tell someone to put up an accent wall or some sconces and they’re left with a problem: you can’t always, or should, make those kinds of alterations.
What I’ve put together here are some ways to get around that.
No drilling involved, and if you do it right, there’s no harm to the paint or plaster when you move on. They’ll put a whole new spin on how the room comes across.
One epic trick below, check it out!
The Tools That Make All of This Possible
Before the ideas themselves, the tools that make damage-free decorating actually work.
Command strips and hooks
Buy the size that matches the weight you’re hanging and follow the instructions properly. That means pressing them firmly against the wall for thirty seconds, waiting the full hour before hanging anything, and not skipping either step because you’re impatient. The strips that fail are almost always the ones someone rushed. The ones installed correctly hold for years.
Removable adhesive putty for very lightweight items — it works but has a lower weight limit than strips and can occasionally leave a slight mark on flat paint if left for a very long time. Better for temporary arrangements than permanent ones.
Tension rods for curtain-style hangings between walls or in alcoves — no drilling, no strips, and they hold real weight when the right size is used.
Washi tape for creating shapes, frames and geometric designs directly on the wall. Ιt removes cleanly from most painted surfaces and the range of colours and patterns available now is extensive.
The Ideas
1. Removable Wallpaper on One Wall
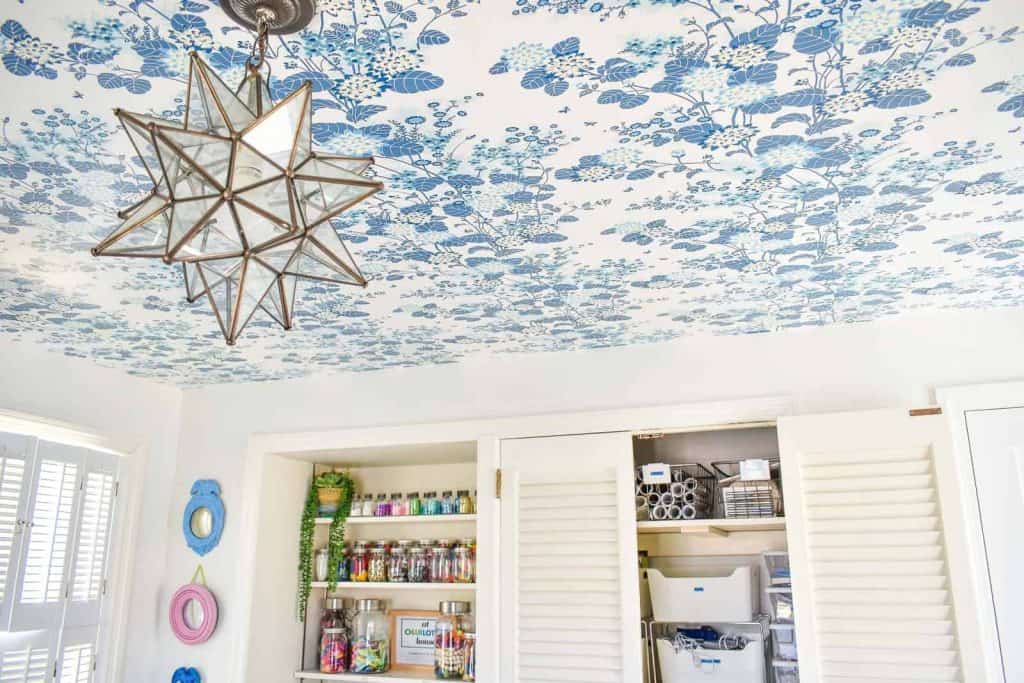
You won’t find a more striking way to put a new spin on a room than with a feature wall in some good old peel-and-stick.
It gives you the colour, pattern and texture that a plain white surface is missing, and if you take it off the right way, it leaves the paint in one piece.
It’s all in the eye of the beholder when you pick a design.
Put a big pattern on a little wall and it can be a lot to handle; do the opposite on a wide expanse and it’ll seem like too much. Do yourself a favour and measure up before you put in an order. Don’t just go by what you see on a swatch.
Make sure the pattern looks right for the size of the space.
2. A Gallery Wall Using Command Strips
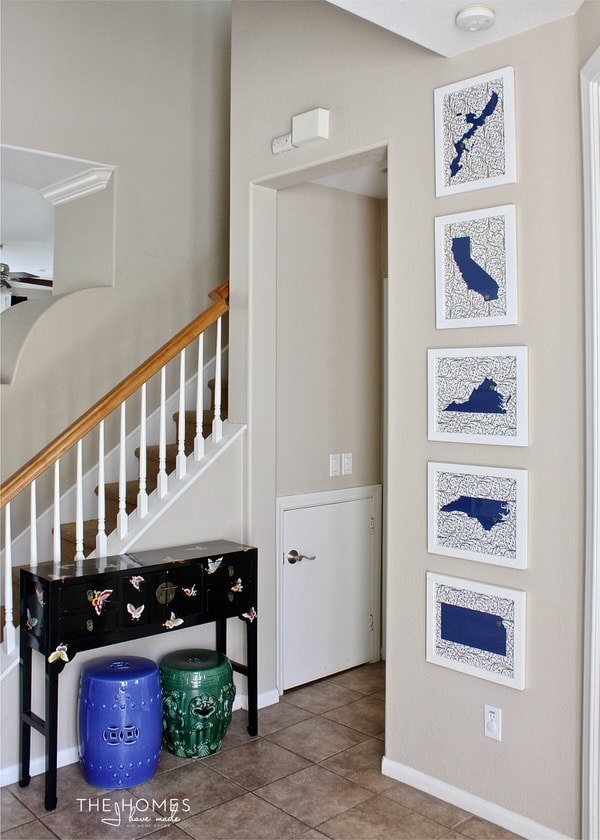
You get the same kind of look as a gallery wall with drilled holes, only with some other means of hanging.
The way you go about it is no different: put your pieces down on the floor to see how they sit, take a picture of it, then make it happen on the wall. The one thing that changes is you’re using command strips in place of nails.
It all comes down to how much the frame can bear. For the most part, command strips are up to the task of holding a typical frame.
But if you have something on the larger and heavier side, you’ll be out of luck. If you’re in a rental and want to put together a nice display, you’re better off with a light timber or acrylic piece over an ornate one.
3. Leaning Art Rather Than Hanging It
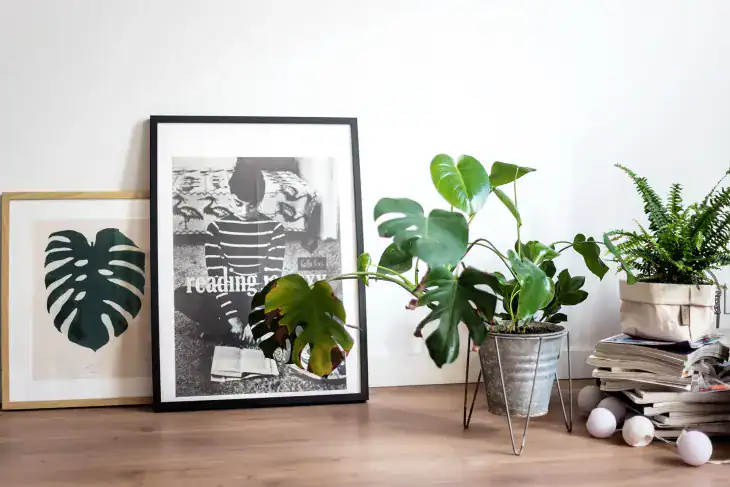
You’ll see some of the bigger prints and canvases put up against the wall, not on it. There’s a reason for that.
Floor-leaned art is as much of a design move as it is a fix, and you can find it in all kinds of interiors.
It’s an especially good way to go with something so big you might have trouble putting it up right. Go with one statement piece or stack a couple of varying sizes in front of one another.
And if it feels like it needs to be anchored, put a little something in front of them.
4. Picture Ledges

For your framed art, there’s no better option than a slim floating shelf. You put them up with the included hardware or some Command strips and you’re set.
It’s a lot more flexible than hanging each frame on its own: you can put down a piece or take one off and not have to put another mark in the wall for it.
If you want to do this right, look at the Mosslanda from IKEA.
They are what most people go for and for good reason. Put in a couple of them at varying levels and you get a nice, layered look that seems like you put some thought into it, as opposed to just making do.
🔥 Would you like to save this?
Read Also: Genius Ways to Style Picture Ledges and Create a Gallery-Worthy Wall
5. Fabric Panels as Soft Wall Art
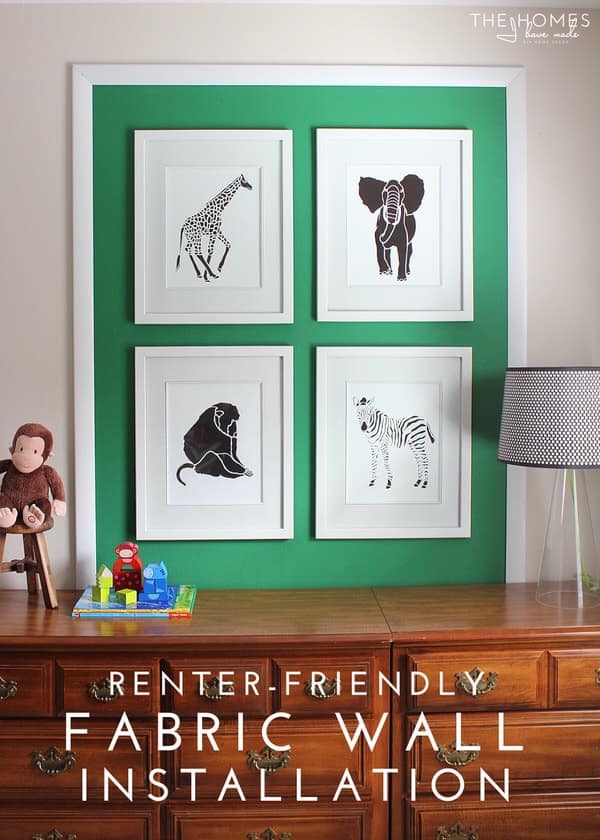
There’s something to be said for a good piece of cloth on the wall. Whether it’s a printed textile, an old scarf or some fine linen, you can put it over a frame and have it up with a few Command strips in no time.
It gives you a kind of depth and feel that you just don’t get from paper or a standard canvas. And you can be as creative as you like with it: I’ve seen market buys, vintage odds and ends, even a well-patterned tea towel make for fine wall art.
I remember when my daughter, Marina, brought home a bit of tie-dye she’d put together at school and wanted me to hang it up. I found an old canvas frame and made it work.
We’ve left it there all this time; if anything, it has a certain intention to it now and doesn’t come off as some kid’s homework tacked to the wall.
6. Washi Tape Geometric Patterns
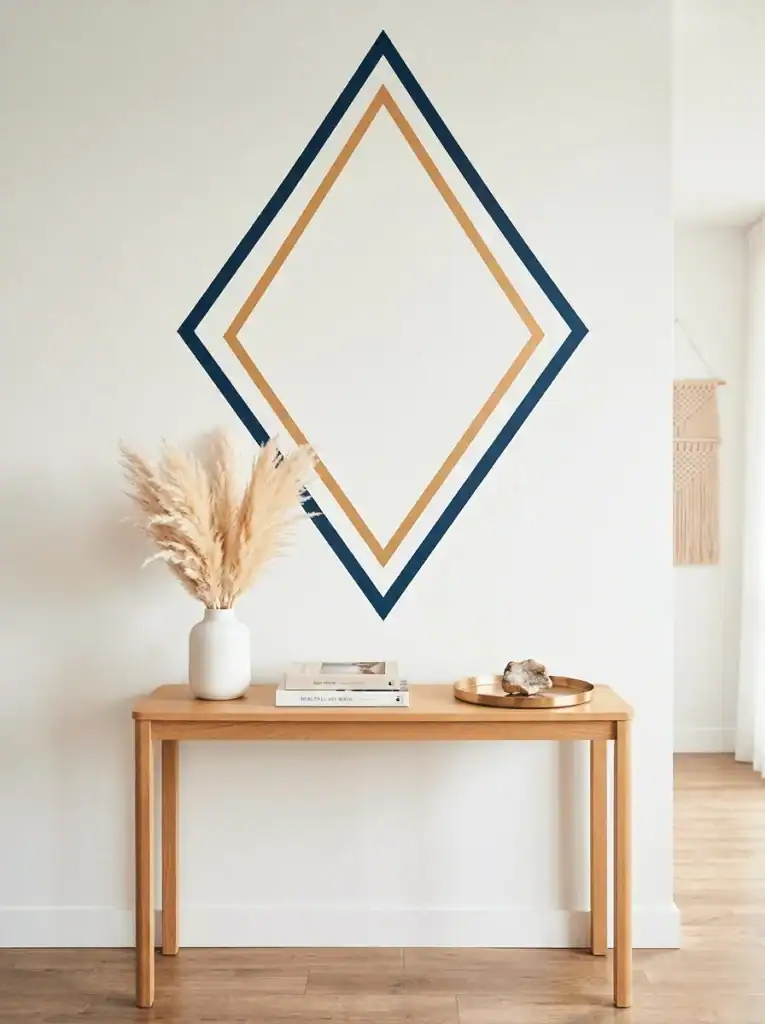
There’s a lot to be said for some washi tape put up on the wall in a geometric way. You can do lines, a grid, or even a triangle; a plain border here and there will give you the look of a painted panel.
It has a bit of a DIY feel to it, but if you’re neat with it and pick a hue that fits the room, it can come across as quite architectural.
The thing is, most folks overdo it by going with too many colours. Stick to one, maybe two, and lay them out with some intention and it has a certain appeal.
But when you have a host of colours in an intricate pattern, it starts to look like a craft project, not something you put any real thought into.
7. A Large Mirror Propped Against the Wall
Like leaning art but functional.
A large mirror on the floor leaned against the wall reflects light, makes the space feel larger, and is completely damage free because it’s simply standing there.
In a rental with limited natural light this is one of the highest impact changes you can make to a room.
8. Curtain Rods on Command Hooks for Tapestries and Textiles
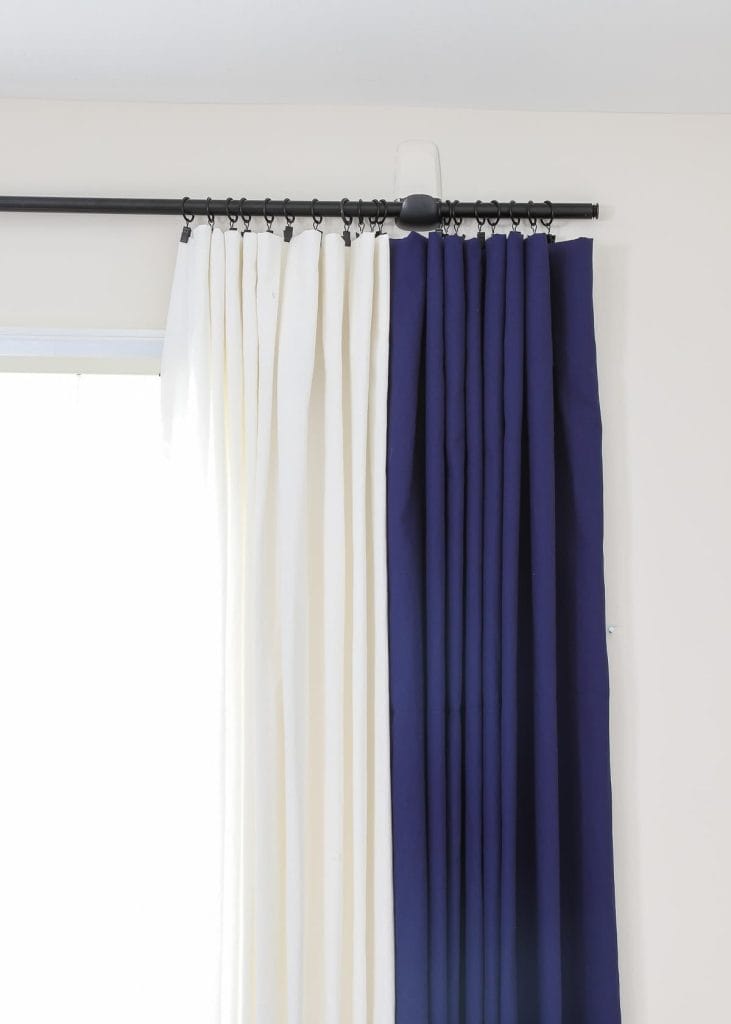
A curtain rod held up by large Command hooks rather than drilled brackets, with a tapestry, a woven textile or a printed fabric hanging from it. This works particularly well for large format textiles that are too heavy for strips alone but work perfectly distributed across a rod.
The visual effect is similar to a large piece of art but with considerably more texture and warmth. Macramé wall hangings, woven blankets, vintage kilim pieces — all of these work on a rod and all of them look intentional and warm rather than improvised.
9. Temporary Brick or Stone Effect Panels
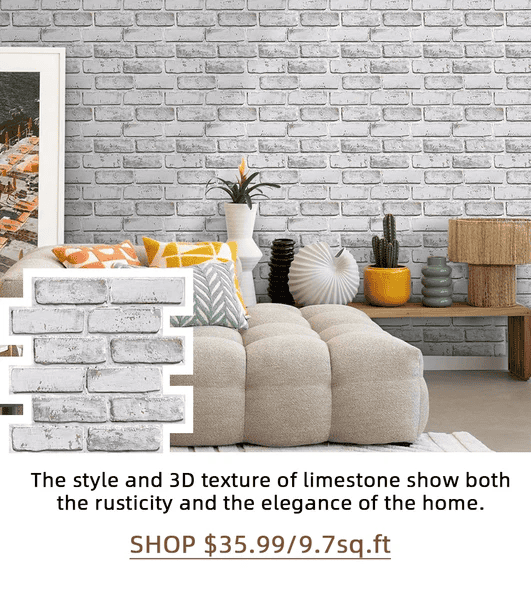
Peel-and-stick panels that mimic exposed brick, stone or wood are available now at a quality level that reads as convincing from normal viewing distance.
A section of fake exposed brick in a kitchen or living space adds architectural character to a blank wall in a way that removable wallpaper doesn’t quite replicate, because the texture is three dimensional rather than flat.
Not suitable for every aesthetic. Very much at home in industrial, rustic or urban styles.
10. Plants as Vertical Living Decor
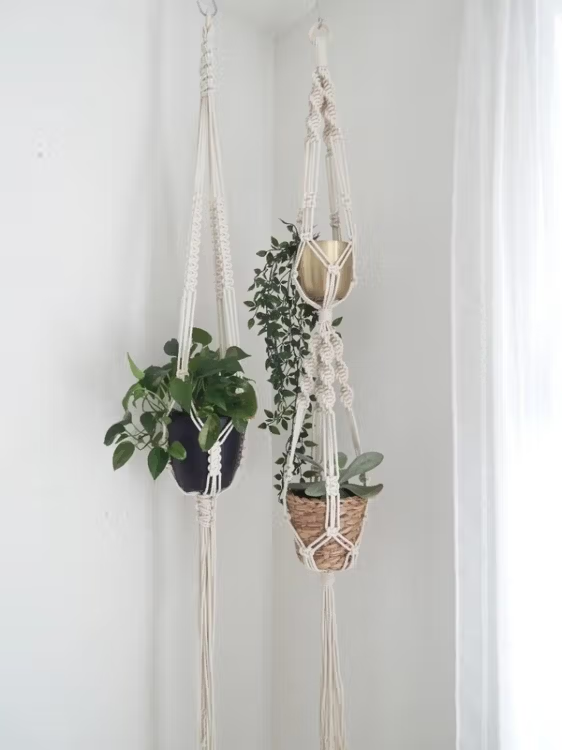
Wall-mounted planters on Command hooks, or a tall plant stand that brings greenery up to eye level rather than keeping it at floor level.
Plants do something to a wall that art doesn’t.
They’re alive, they change, they make the space feel inhabited in a different way from objects.
A collection of small hanging planters at different heights on one wall creates the effect of a living installation. A single large plant on a tall stand can anchor an entire corner. Either approach works and neither requires touching the wall permanently.
How to Remove Everything Without Losing Your Deposit
This matters as much as the installation.
Remove Command strips slowly. Pull the tab straight down parallel to the wall rather than outward. Pulling outward is what damages paint. The tab is designed to stretch and release when pulled correctly — it takes longer than you’d expect and that’s fine. Rush it and you pull paint off.
Remove washi tape slowly and at a low angle. If it’s been on the wall for a long time, warm it slightly with a hair dryer first to soften the adhesive. Then peel slowly, keeping the tape close to the wall surface rather than pulling away from it.
For removable wallpaper: start at a corner, peel back slowly, use a plastic scraper if needed. Most modern removable wallpapers are designed to come off cleanly in one piece if the wall was properly sealed paint to begin with. Flat, matte paint is the exception — it’s more porous and removable wallpaper doesn’t always come off as cleanly. If your rental has matte paint on the walls, test a small area before committing to a full wall.
Document everything. Photographs of every wall before you put anything up. Photographs when you take everything down. If there’s any residual mark from an adhesive, a little rubbing alcohol on a soft cloth removes it from most painted surfaces without affecting the paint itself.
To Sum Up
Read Also: What You Can and Can’t Change in a Rental
The apartment I felt most at home in wasn’t the nicest one I’ve ever lived in. The kitchen was small, the bathroom was nothing to mention, and the ceilings were lower than I’d have chosen. But the walls had things on them. Art I’d collected, textiles I liked, a picture ledge with frames that I rearranged whenever I felt like it.
It felt like mine. That matters more than people give it credit for.
You’re going to spend a significant amount of your daily life in your rental. The walls around you affect how that feels. Blank walls belong to the landlord. Decorated ones belong to you, at least for the duration of your lease, and you can have them without risking a single penny of your deposit.
That’s all I have for today.
If you have a damage-free wall decor idea that’s worked particularly well in your own rental, share it in the comments. The best ideas in this space always come from someone who’s actually solved the specific problem.
Until next time,
Stay safe,


I’m Katerina Lithopoulou, co-creator of DIY Cozy Living. I’ve always loved the little things that make a space feel special. With a background in language and a passion for photography and cozy design, I enjoy turning everyday inspiration into simple ideas people can actually use.
My motto: “Cozy isn’t a trend — it’s a feeling.”
