
What I Wish I’d Known Before Painting a Room for the First Time
No one warns you about the courage required to paint a room initially. You’re standing there, roller in your hand, with a shade you’ve considered for weeks, and the sense you’re about to either really improve your house, or mess it up badly.
I messed mine up. Not for good – but sufficiently so that a few days afterwards I was on the phone to a decorator, hearing him say, in a voice I’ll never forget: “Er, you didn’t get the walls ready for painting, did you?”
He was correct. I hadn’t. And I hadn’t even realised that was something you had to do.
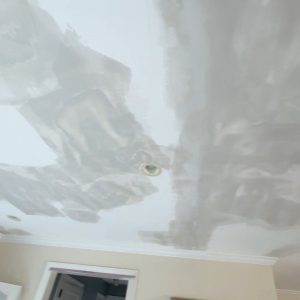
That was the living room. It bubbled and flaked within days. And it showed me more about painting a room than any guide I’d ever read – because it showed me by the distinct shame of having done it entirely incorrectly.
Here’s what I wish someone had told me before I lifted that brush.
The paint itself is perhaps 40% of the task. All that happens before you open the can is the remaining 60%.
The Walls Must Be Clean First. Truly Clean

This is the thing nobody mentions in the lovely before-and-after posts. Before any paint goes on the wall, the wall needs preparing. And preparing means cleaning – properly, with something that gets rid of dust, grease, and whatever else has built up on the surface over the years.
I skipped this. I looked at our living room walls and believed: they look alright. They aren’t dirty. What is there to clean?
What I didn’t get was that walls gather unseen grime – dust, cooking fat if you’re near the kitchen, fingerprints, the general film that settles on surfaces with the passage of time. Paint has to connect with the wall.
If anything is between them – even something you can’t see – the connection doesn’t work. Which is precisely what happened to mine. The paint had nothing to hold on to. Within days it was blistering and lifting at the sides, and no amount of pressing it back down was going to put right the problem I’d already made underneath.
What to do instead: wipe down every wall you’re going to paint with a slightly wet cloth or a sugar soap solution. Leave it to dry completely before you open the paint. It will take an hour. Not doing it could cost you a complete re-paint.
My way of doing it (not 100% scientific but worked fine) is sugar soap, warm water, a clean cloth. Each wall, from top to bottom, before anything else. It takes longer than you’d think. It’s worth every minute.
The Brush You Use Is More Important Than You Think
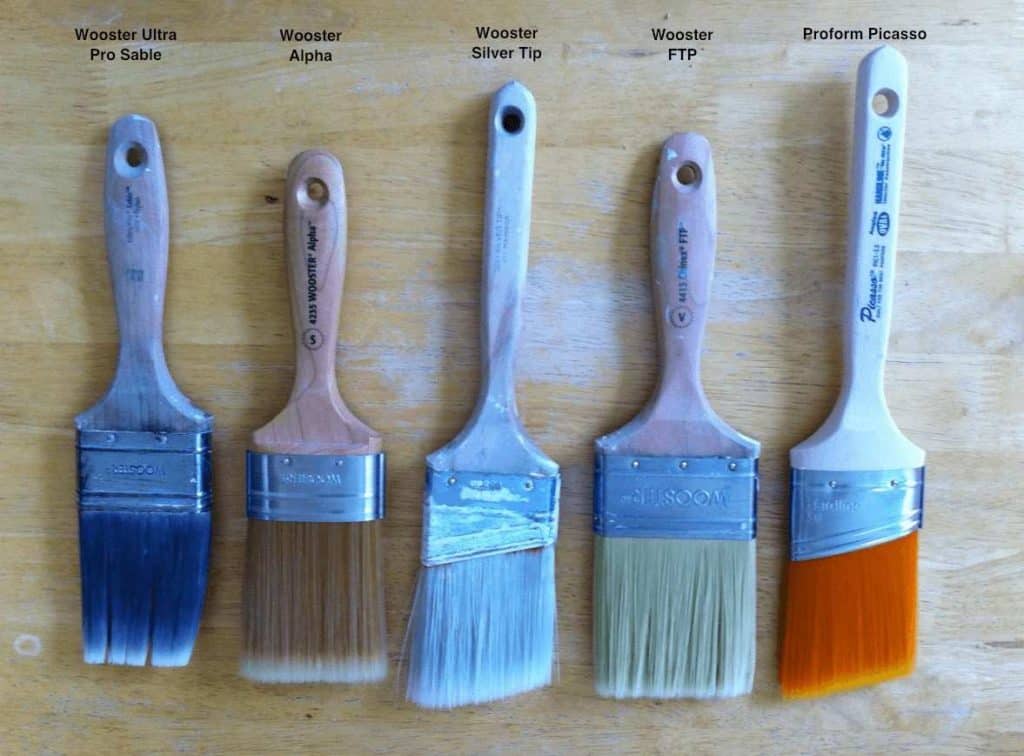
My second error – and the one I’m most embarrassed about, looking back – was employing the same brush for every area. One brush. For the walls, for the moulding, for the edges around the window. I thought a brush was a brush.
It isn’t a brush. It is several different tools which just happen to look alike, and using the wrong one on the wrong area produces results that no number of extra coats will correct.
Wide flat brushes are for big wall areas. Sloping brushes – the ones with the bristles cut at an angle – are for ‘cutting in’ along edges, baseboards, and wherever you want accuracy. Small round brushes are for detailed work and tight angles. A roller gives a smoother, more uniform finish on flat walls than any brush will. Using a wide flat brush to cut in along a ceiling line is like trying to write your name with a mop.
I didn’t know either that brush quality is hugely important. Poor brushes shed bristles into wet paint, leave lines, and hold paint unevenly. You don’t need expensive brushes – but you need reasonable ones. The €3 brush from the bargain shelf will cost you twice as much in time and annoyance, I think.
What I Do Now
One good angled brush for edges and cutting in. One roller for the main wall area. A small brush for awkward places. Three tools, not one. The difference in finish is immediate and clear.
The Shade Will Appear Different on Your Wall. Always!
This one surprises everyone the first time, and it surprised me too – though not as badly as the preparation mistake.
Paint samples are little – your walls are big. The very shade which seemed gentle and cosy on a 5cm square is going to look quite different when it’s over all four walls in your own lighting.
A grey that appears ‘greige’ on a sample might seem chilly and blue on a wall which doesn’t get much sun, and a white which appears bright in the store can look yellowish with warm artificial light at night.
The only real way to find out what a colour will do in a room is to paint a big piece – at least an A4 size, and better still bigger – straight onto the wall. Then live with it for a whole day; see how it is in the morning light, the afternoon light, and under your lamps in the evening. They will all be different. Whatever colour you pick needs to work in all of them.
I do this in every room, each time. It’s stopped me from picking at least three colours which would have been wrong in ways I would not have appreciated until the entire room was done.
The Finish Is a Decision, Not Something You Just Accept
Paint is made in different finishes – matte, eggshell, satin, semi-gloss, gloss. I didn’t know that this was a significant thing to choose. I just bought paint; the finish was whatever the tin said, which I hadn’t read carefully.
The finish changes everything – how light bounces off the wall, how easy it is to wipe clean, and how well it covers up small flaws in the surface.
Matte hides imperfections well but gets marked easily and is difficult to clean. Eggshell has a very slight shine and is much more sensible for homes with a family. Satin and gloss are for wood, edges and areas which need regular cleaning – kitchens, bathrooms, skirting boards.
Painting a family sitting room with a matte finish sounds right in theory – it is soft, doesn’t shine and looks good in photos.
But actually, every fingerprint shows, every scrape marks for good, and wiping it down takes the paint off with the dirt. With two daughters, I found this out the hard way.
Which Finish for Which Room
The Phone Call I Had to Make
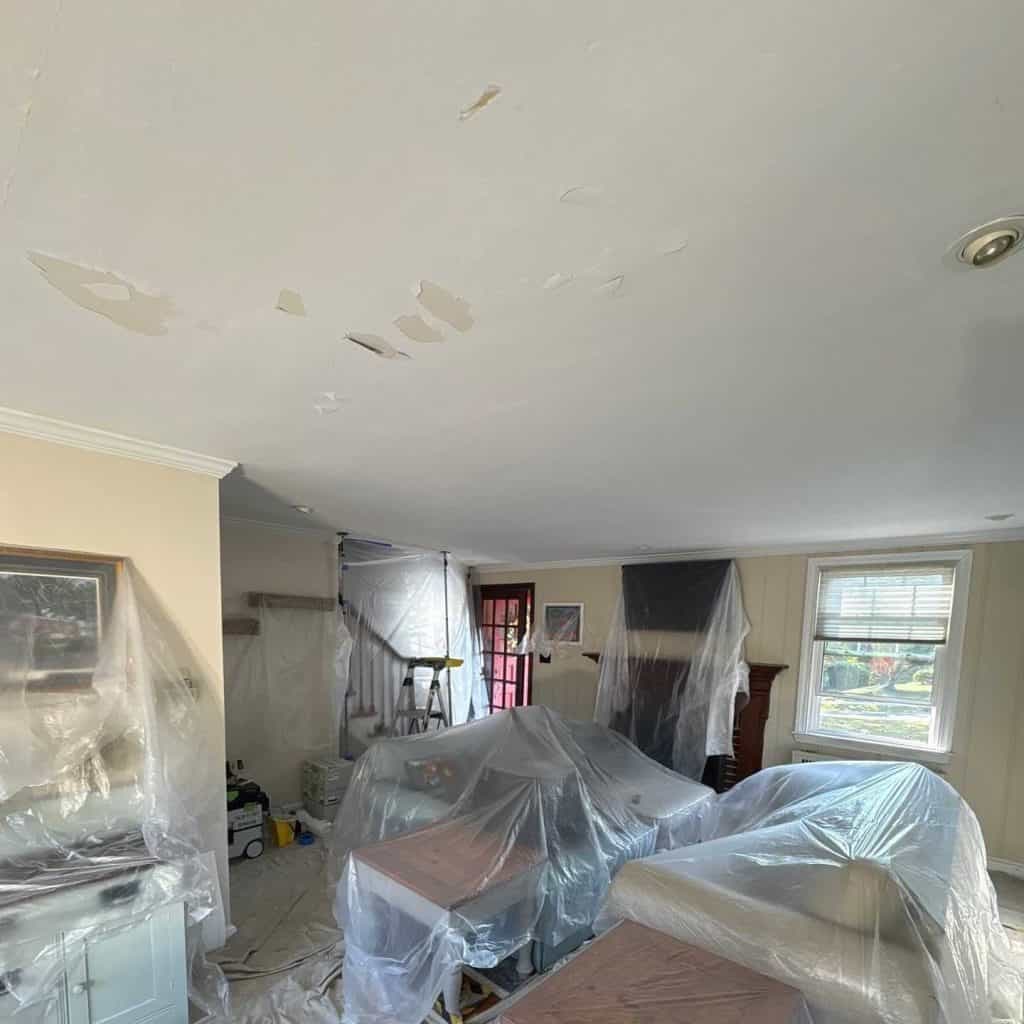
Three days after I had finished painting our sitting room, I rang a professional. I told him what I was seeing – the blisters, the bits where the paint had come off and was peeling away from the wall in soft bubbles – and he came to have a look.
He came in, looked at the room for a moment and said: “Hmm, you didn’t get the walls ready for painting, did ya?”
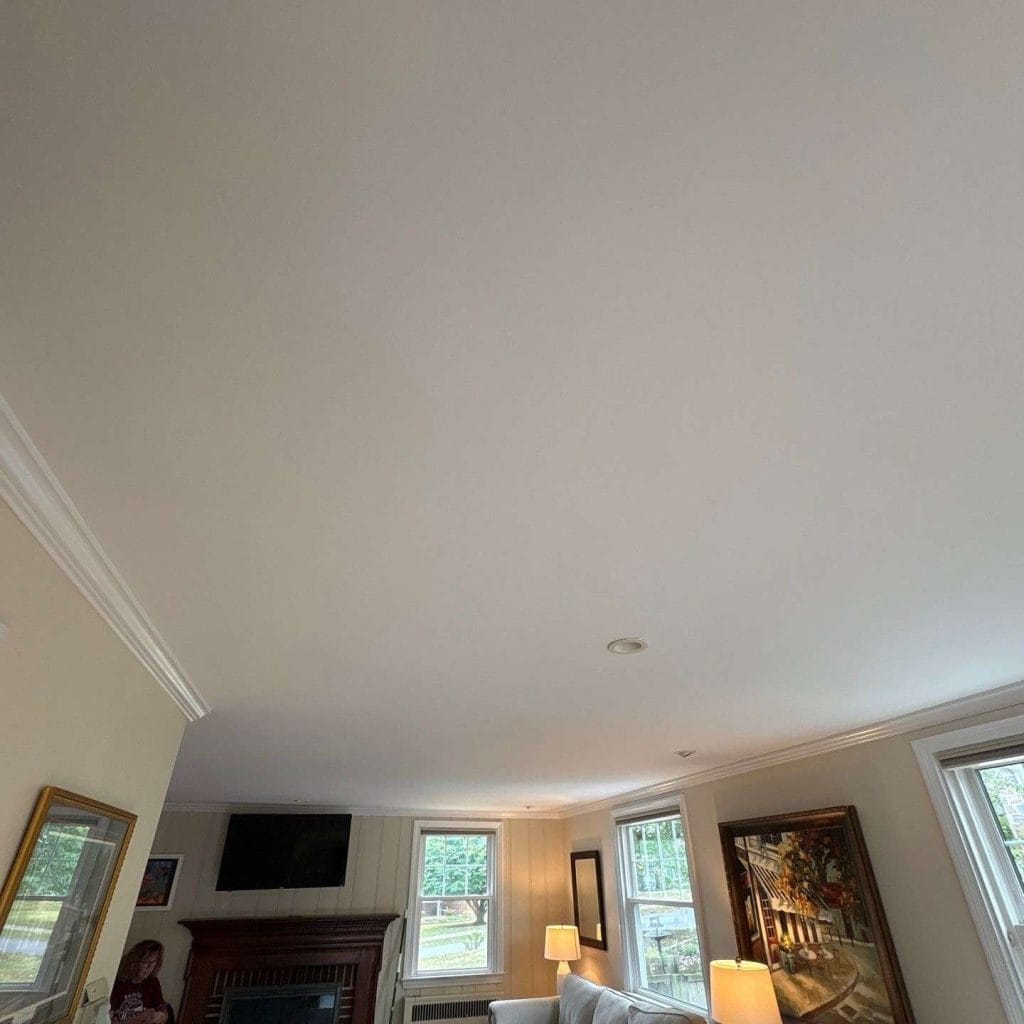
I hadn’t. He put it right. It cost more than the paint had. And I’ve never missed getting the walls ready since.
That phone call was embarrassing in the way that only being totally wrong about something you were sure of can be embarrassing. But it was also the most useful thing to happen to me as someone who decorates her own home. Because after that, I learned – properly, from the start – how painting really works. Not from a guide which leaves out the dull bits, but from understanding why the dull bits exist.
What I’d Say to Anyone Painting a Room for the First Time
The painting itself is maybe 40% of the job. Everything which happens before you open the tin – the cleaning, filling in any small holes or cracks, the sanding, the priming if needed, the taping of edges – is the other 60%. Miss that and the painting is nothing.
Give yourself more time than you think you’ll need. The first coat always looks wrong. It will look patchy and uneven and you’ll briefly worry that you’ve made a terrible choice.
This is normal. The second coat is when a room starts to look like what you wanted. Sometimes you need a third, and that’s fine too.
Until next time,
Stay safe,


I’m Katerina Lithopoulou, co-creator of DIY Cozy Living. I’ve always loved the little things that make a space feel special. With a background in language and a passion for photography and cozy design, I enjoy turning everyday inspiration into simple ideas people can actually use.
My motto: “Cozy isn’t a trend — it’s a feeling.”
