
How to Style a Dresser Top (Without It Turning Into a Junk Pile)

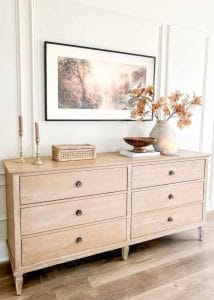
Can I confess something? For about two years the dresser in our bedroom was not a dresser. It was a landing strip.
Tasos’s receipts. Marina’s hair ties (always three, never a pair). A mug that I promised myself I’d carry back to the kitchen. Keys. Sunglasses in October. You know the look.
It’s a nice dresser too. Solid wood, a little scratched on one corner, and it came from my mom Zina when she redid her bedroom in Thessaloniki. She would not have approved of the mug.
So one Sunday I cleared the whole thing off and started over. It took me an afternoon and about €38, and it has stayed (mostly!) tidy since. Here’s exactly how I did it.
What you’ll need
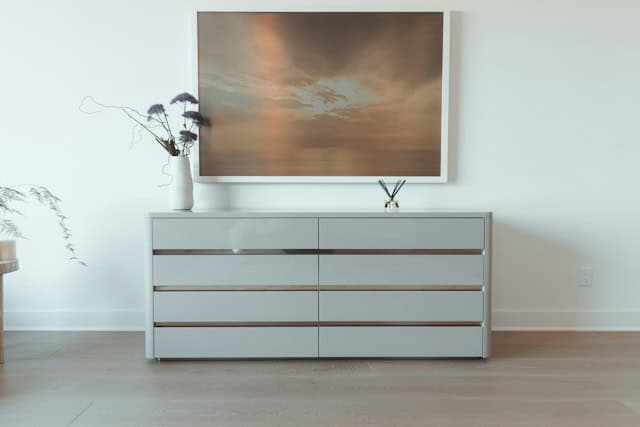
You probably own most of this already. Shop your house first!
- Something for the wall (mirror or art)
- A lamp, or one tall thing
- Two or three books
- A small plant or a vase with stems
- A tray or a shallow bowl
- One personal piece
That’s it. Really.
Step 1: Take everything off
All of it. Wipe it down too.
This is the step everyone wants to skip and it’s the one that makes the difference. When the top is empty you finally see the dresser itself, and you notice how much space you actually have to play with.
Then decide what the dresser has to do. Mine has to hold my jewelry and the things Tasos empties from his pockets every night. Yours might be a makeup station, or it might sit in a guest room and do nothing at all. Style for the job it has.
Step 2: Start with the wall
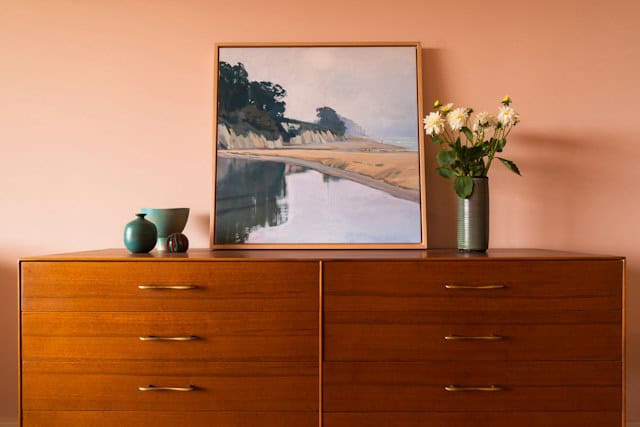
Before you put a single thing on top, look above it.
A mirror or a piece of art “anchors” the dresser so it doesn’t look like it’s floating on the wall. A good rule of thumb is to go for something around two thirds the width of the dresser. Smaller than that and it looks a bit lost.
I used a round mirror I already had in the hallway. The round shape softens all those straight drawer lines, which I didn’t know I needed until I saw it.
No space or no budget for hanging things? Lean a frame against the wall instead. It looks relaxed and you don’t have to drill. (Tasos was thrilled.)
Step 3: Add height on one side

Now you need one tall thing. A table lamp is my favorite because it’s useful and it makes the bedroom so cozy at night.
If your mirror is centered, put the lamp on one end. If your art or mirror is off to one side, put the lamp on the opposite end so things feel balanced.
No lamp? A vase with tall branches works just as well. Eucalyptus, olive branches, even dried grasses from a walk. I’ve used olive branches from the yard in Volos and they lasted for weeks.
Step 4: Fill in the middle (lightly!)
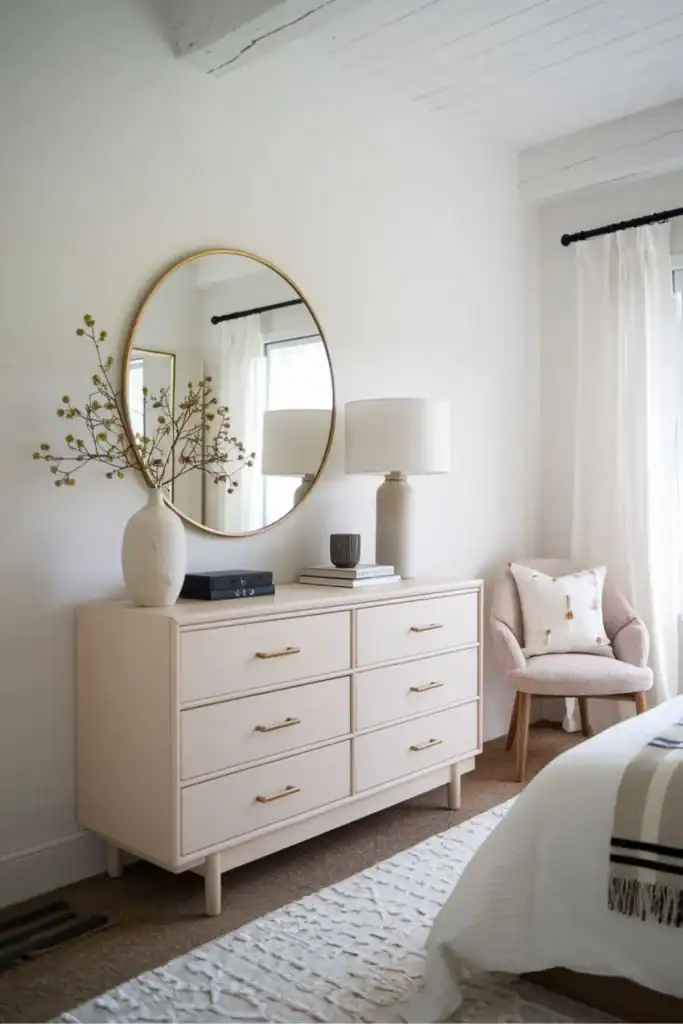
This is where people go overboard. I know because I did.
You want a few mid-height pieces to bridge the gap between your tall lamp and the flat dresser top. A small stack of books with a candle on top. A little plant. A framed photo.
Stick to odd numbers, and try to keep it to three frames max. More than that and it starts to look busy (and it’s a nightmare to dust).
Here’s a lovely example of a simple setup that still feels full:
Step 5: Give the everyday mess a home
This is my favorite step because it’s the one that fixed my problem.
🔥 Would you like to save this?
Get a tray. Or a pretty bowl. Anything with edges. This is where the keys, the rings, the hair ties and the receipts go. When the clutter has a spot, it stops spreading.
I found a wooden tray at a little shop near Kapani market for €12. Maria now calls it “the dad bowl” because Tasos empties his pockets there every evening. Honestly? It works.
There’s a fun version of this idea going around called the “purse bowl.” Ana from @staged.by.ana shows it really well here:
Step 6: Add one thing that’s you

A seashell from a beach you love. A little dish your kid made at school. Your grandmother’s perfume bottle.
Mine is a tiny ceramic boat Marina painted at a summer workshop in Volos. It’s lopsided and I love it more than anything I’ve ever bought.
That one personal piece is what makes the dresser feel like yours and not a page from a catalog.
Then step back and leave some space
Seriously. Leave about a third of the top empty.
Empty space isn’t “unfinished.” It gives your eye a place to rest, and it gives you room to fold a sweater or put down your coffee without knocking over a candle.
If you squint and everything looks like a blob, take one thing away.
What if your dresser sits in front of a window?
Lucky you, the window does the “anchor” job for you. Keep everything on top low so you don’t block the light. A short plant, a small bowl, maybe a candle. Skip the tall lamp.
What if there’s a TV on it?
Ours in the camper is like this, so I feel you. Push the TV to one side if you can, and style the other side with a small stack of books and a plant. Keep the area around the screen clear so it doesn’t look crowded.
My dresser styling mistakes (so you don’t make them)
- Too many tiny things. Ten little objects look like clutter. Three bigger ones look styled.
- Everything the same height. It looked flat until I added the lamp.
- A mirror way too small. My first one was the size of a dinner plate on a big dresser. Sad.
- Forgetting the real-life stuff. If you don’t plan for keys and jewelry, they’ll show up anyway, wherever they like.
What I spent
- Wooden tray: €12
- Small plant and pot: €9
- Candle: €6
- Two secondhand books: €5
- Picture frame for an old family photo: €6
Total: €38. The mirror, lamp and boat came from around the house.
Want more inspiration?
Jen from @jensgatheringnest has a sweet walkthrough of her bedroom dresser here:
So that’s my little formula. Wall piece, something tall, a few mid-height things, a tray for the mess, one personal piece, and a bit of empty space.
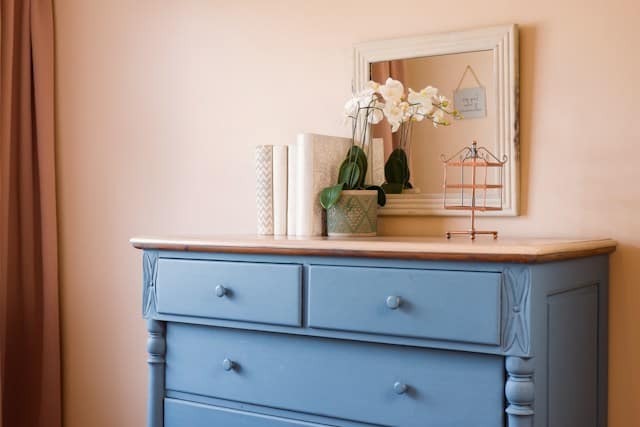
My dresser isn’t perfect every single day. The mug still sneaks back sometimes. But now when it gets messy, it takes two minutes to reset instead of a whole afternoon.
What’s living on your dresser right now? Be honest, I’ll go first: one hair tie and a receipt from the pharmacy. 😊

I’m Katerina Lithopoulou, co-creator of DIY Cozy Living. I’ve always loved the little things that make a space feel special. With a background in language and a passion for photography and cozy design, I enjoy turning everyday inspiration into simple ideas people can actually use.
My motto: “Cozy isn’t a trend — it’s a feeling.”
