
How to Remove Hard Water Stains From a Shower Screen (When Nothing Else Has Worked)


The shower screen is the one surface in the bathroom that shows every single drop of water that has ever touched it.
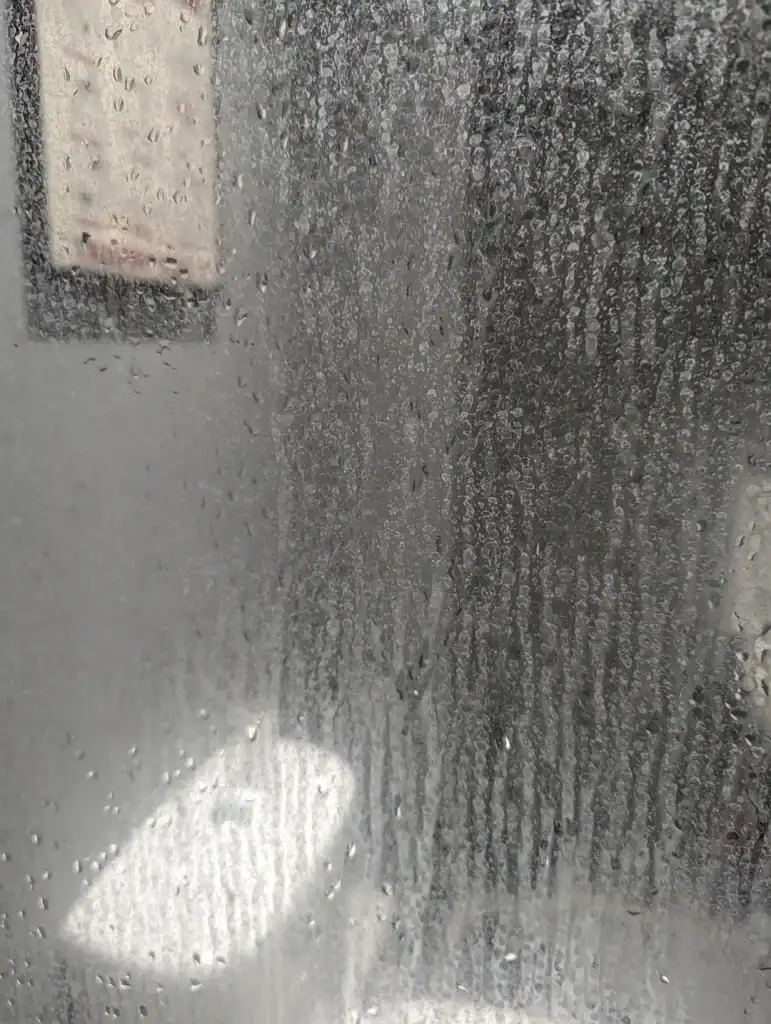
In a hard water area, those drops leave calcium deposits that build up slowly and invisibly until one day you look at the glass and realise it has not been truly clear in months.
I discovered this the hard way in our Thessaloniki apartment. We have extremely hard water here and the shower screen went from clear to frosted-looking in what felt like about three weeks.
I tried the spray-and-wipe approach. I tried a glass cleaner. I tried wiping it dry after every shower, which lasted approximately four days before I stopped. None of it made any real difference to the scale that was already there.
What follows is everything that actually works, in order of how severe the build-up is.
Why Hard Water Stains Are So Difficult to Remove
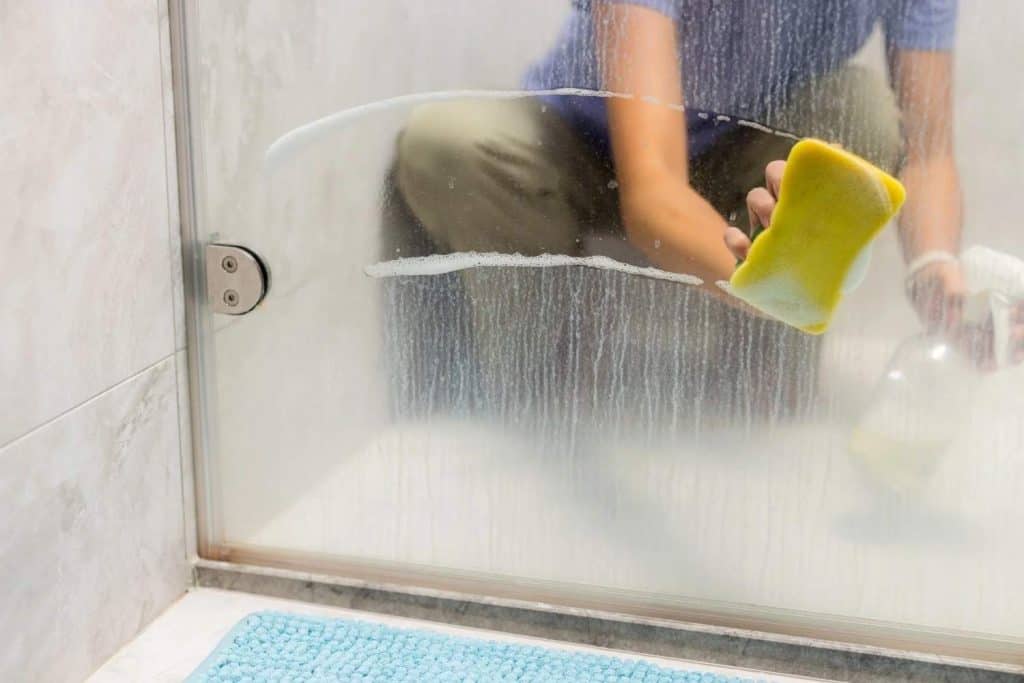
Hard water contains dissolved calcium and magnesium. When the water evaporates off a glass surface it leaves those minerals behind as a white or grey deposit.
Over time the deposits layer on top of each other and bond with the glass surface itself, which is why a quick wipe never removes them. You are not dealing with dirt. You are dealing with mineral deposits that need to be dissolved chemically before they will shift.
The key word is dissolved. Scrubbing hard water stains without the right chemical agent does almost nothing except scratch the glass. The right approach is to apply an acidic solution, let it work, and then wipe. The acid breaks down the calcium deposits and they lift away.
What You Need
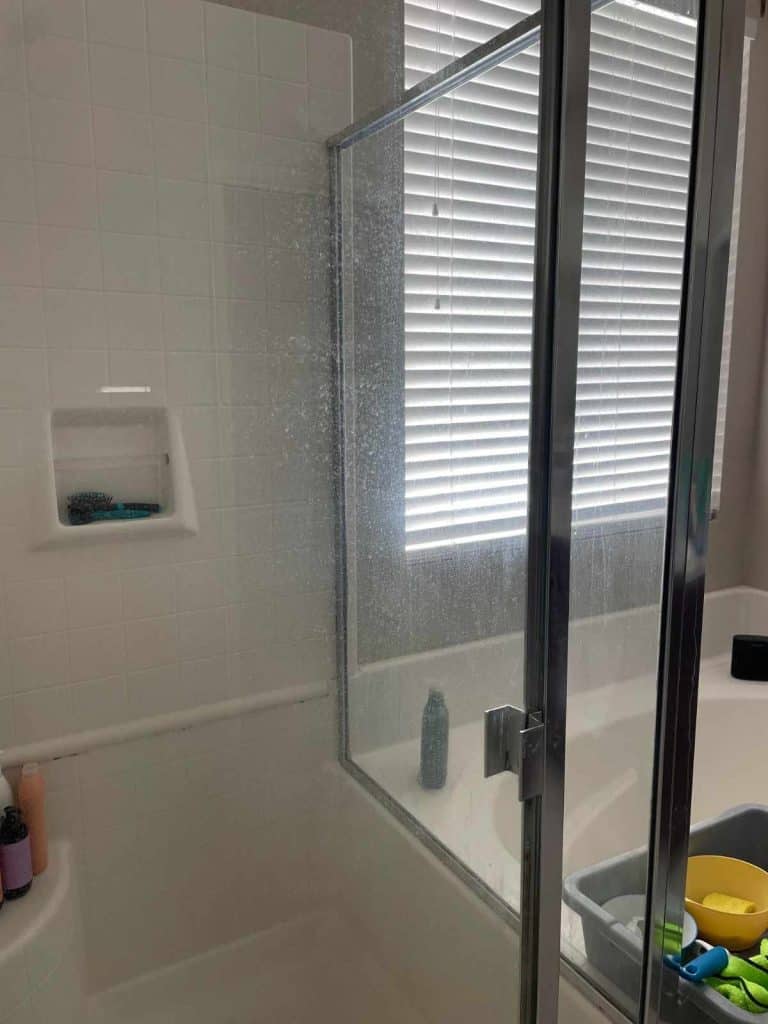
Most of these methods use things already in the kitchen. You do not need specialist products for light to moderate build-up.
| Method | What you need | Best for |
|---|---|---|
| White vinegar | White vinegar, spray bottle, microfibre cloth | Light to moderate build-up |
| Vinegar and baking soda | Both plus a sponge | Moderate build-up with soap scum mixed in |
| Lemon juice | Fresh lemons or bottled lemon juice | Light build-up, better scent than vinegar |
| Bar Keepers Friend | Bar Keepers Friend powder or cream, sponge | Moderate to heavy build-up |
| Cream of tartar paste | Cream of tartar, water | Stubborn spots |
| Commercial limescale remover | Product of choice, gloves | Heavy or years-old build-up |
Method 1: White Vinegar (The Starting Point for Most Bathrooms)
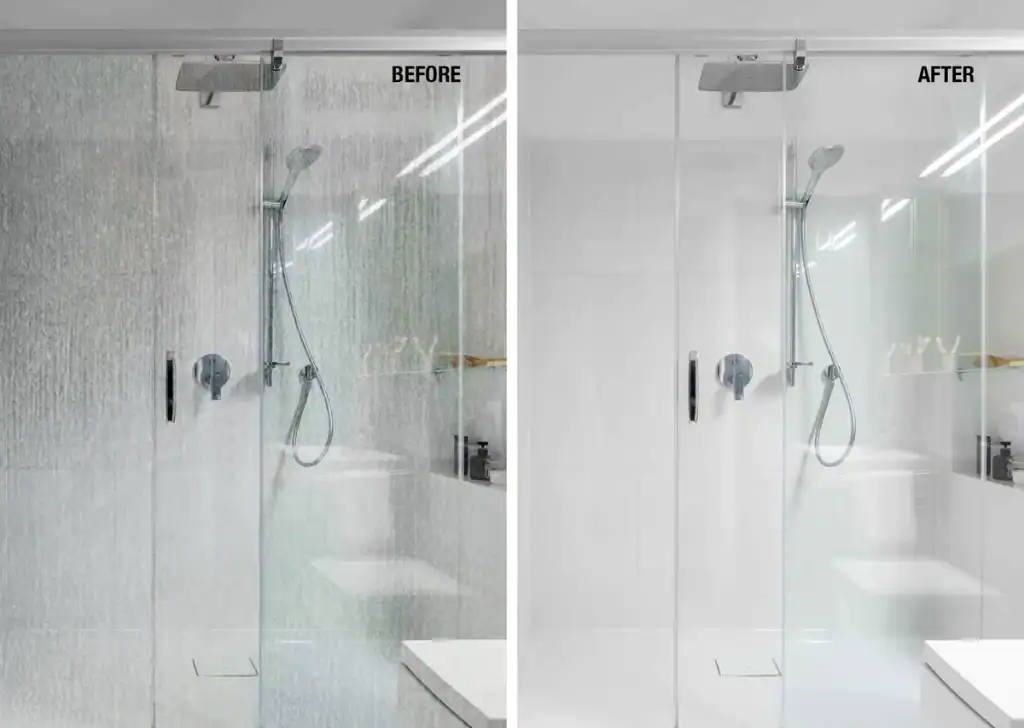
White vinegar is mildly acidic and dissolves calcium deposits effectively on light to moderate build-up. It is cheap, natural, and something most people already have.
Step 1: Fill a spray bottle with undiluted white vinegar. Do not dilute it. A diluted solution is weaker and takes longer.
Step 2: Spray the entire shower screen generously. Make sure the vinegar covers all the stained areas including the lower sections and any metal frames.
Step 3: Leave it for at least 15 to 30 minutes. For heavier build-up, leave it for an hour. The longer it sits the more calcium it dissolves. This is the step most people skip by wiping too soon.
Step 4: Without rinsing, wipe the screen with a microfibre cloth using circular motions. The deposits should wipe away with the dissolved residue.
Step 5: Rinse with clean water and buff dry with a clean microfibre cloth or a squeegee.
If the stains did not fully clear: Repeat the process and leave the vinegar on for longer, up to two hours. Or move to Method 2.
Katerina’s tip: Soak a sheet of kitchen paper in vinegar and press it against the glass so it stays wet and in contact with the surface rather than running off. Leave the soaked paper against the glass for an hour. This keeps the vinegar working in contact with the stain rather than dripping to the floor.
Method 2: Vinegar and Baking Soda (For Soap Scum Mixed With Scale)
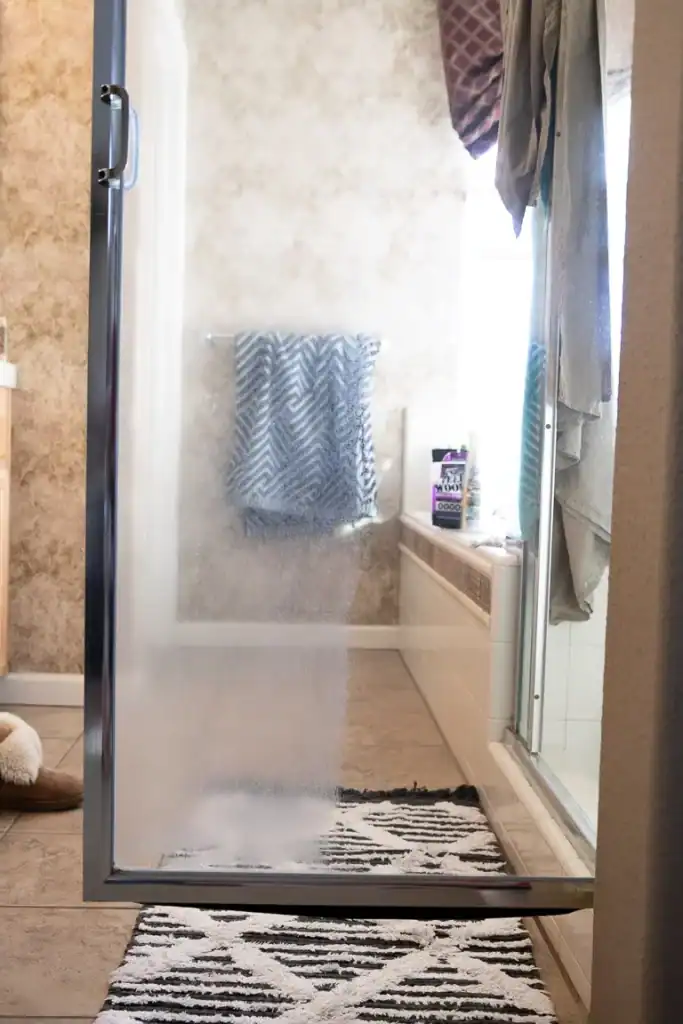
When hard water deposits have combined with soap scum the surface needs both the acid from the vinegar and the mild abrasive quality of baking soda. Use these together carefully since they react with each other and the reaction does some of the cleaning work.
Step 1: Spray the screen with white vinegar as above and let it sit for 15 minutes.
Step 2: Without wiping the vinegar off, sprinkle baking soda directly onto a damp sponge.
Step 3: Scrub the screen with the baking soda sponge. The vinegar and baking soda will fizz on contact. This is normal. The fizzing action helps lift the combined soap scum and mineral deposits.
Step 4: Rinse thoroughly with clean water and buff dry.
Important: Do not mix vinegar and baking soda together in advance into a paste. The reaction happens immediately and is spent before it reaches the glass. Apply the vinegar first, then the baking soda separately.
Method 3: Lemon Juice (For Light Build-Up and Better Scent)
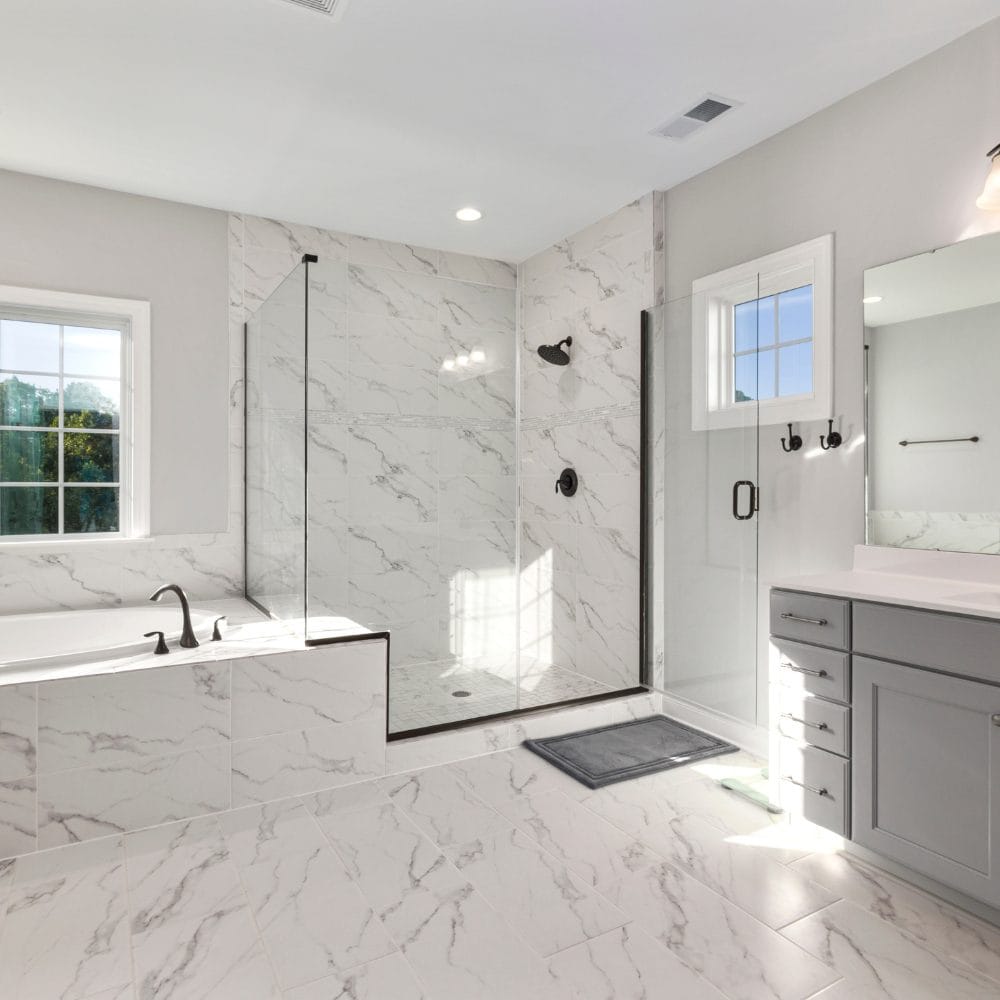
Lemon juice contains citric acid which dissolves calcium deposits in the same way as vinegar but smells considerably better. It works well for light build-up and for weekly maintenance once you have cleared the initial deposits.
Step 1: Cut a lemon in half and rub it directly over the stained areas of the screen, squeezing as you go so the juice saturates the glass.
Step 2: Leave for 15 to 30 minutes.
Step 3: Rinse and buff dry.
For a spray version, mix equal parts lemon juice and water in a spray bottle and use in the same way as the vinegar method. Fresh lemon juice is more acidic than the bottled version and works better on stubborn deposits.
Method 4: Bar Keepers Friend (For Moderate to Heavy Build-Up)
🔥 Would you like to save this?
Bar Keepers Friend is the product that cleaning communities recommend repeatedly and for good reason. It contains oxalic acid which is significantly more effective on mineral deposits than vinegar or lemon juice while still being gentle enough not to scratch glass when used correctly.
Step 1: Wet the shower screen with water.
Step 2: Apply Bar Keepers Friend powder or cream directly to a damp sponge or cloth. Do not apply it to dry glass.
Step 3: Wipe over the stained areas using circular motions. You will feel the deposits beginning to shift almost immediately.
Step 4: Leave it on the glass for one to two minutes. Do not leave it longer than the packet instructions suggest.
Step 5: Rinse thoroughly with clean water making sure all the product is removed.
Step 6: Buff dry with a microfibre cloth.
Important: Always test on a small hidden area first. Bar Keepers Friend is safe for most glass but check that your screen does not have a special coating that could be damaged.
Method 5: Cream of Tartar Paste (For Stubborn Spots)
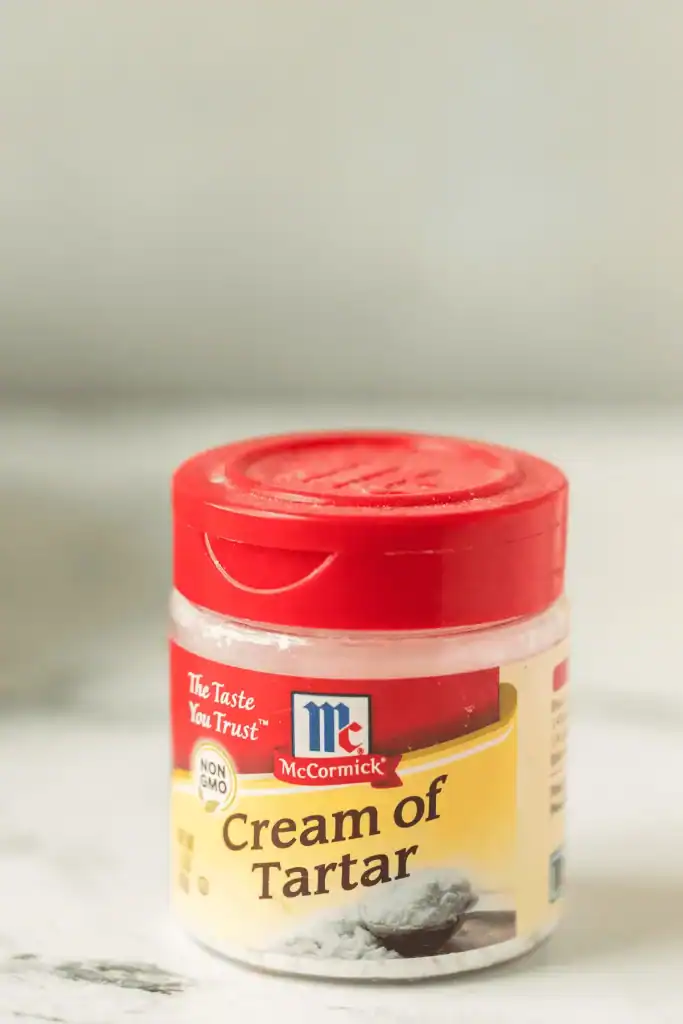
Cream of tartar is another source of mild tartaric acid and makes a useful paste for targeting specific stubborn deposits that have not responded to the spray methods.
Step 1: Mix cream of tartar with a small amount of water to form a thick paste.
Step 2: Apply the paste directly to the stubborn spots with a soft cloth.
Step 3: Leave for 10 to 15 minutes.
Step 4: Scrub gently with a non-scratch sponge and rinse clean.
This method is particularly useful for the lower corners and frame edges where deposits tend to accumulate in thick layers.
Method 6: Commercial Limescale Remover (For Heavy or Years-Old Build-Up)
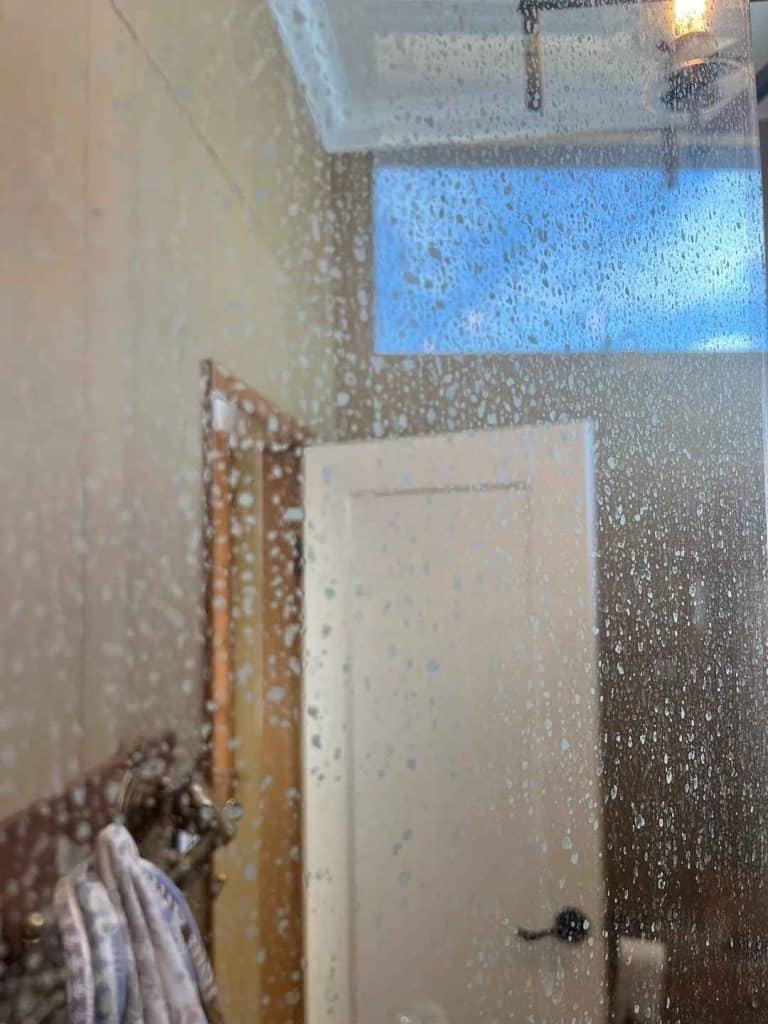
If none of the above methods have fully cleared the build-up the deposits have likely been there long enough to harden significantly. A commercial limescale remover contains stronger acids and is designed specifically for this level of build-up.
Products like HG Super Powerful Cleaner, Viakal, Cillit Bang Limescale Remover, and similar products are widely available and work significantly faster than natural methods on heavy scale.
Use these products with the bathroom well-ventilated and wear rubber gloves. Follow the product instructions exactly, including the recommended leave-on time, and rinse thoroughly afterward.
If the glass still looks etched or cloudy after removing the limescale, the glass surface itself may be damaged from years of deposit build-up. In this case a glass polishing compound applied with a soft cloth can restore clarity to mildly etched glass.
How to Stop Hard Water Stains Coming Back
Removing the existing build-up is only half the solution. The deposits will return at the same rate unless you change something about the routine.
The squeegee method: The single most effective prevention. A squeegee hung inside the shower takes about thirty seconds to use after every shower. Remove the water from the glass before it can evaporate and leave deposits. This genuinely stops new build-up forming almost entirely.
Weekly spray: Once a week spray the screen with diluted white vinegar (equal parts vinegar and water) and rinse off. This dissolves any light deposits before they have a chance to accumulate.
A daily spray product: Products like Method Daily Shower Spray or similar are sprayed on the screen after the last shower of the day and left without rinsing. They prevent mineral deposits from bonding to the glass.
Water softener tablet: Some shower heads have a filter attachment that softens the water before it hits the screen. For very hard water areas this makes a significant difference to the rate at which deposits form.
Buff dry after every shower: Takes longer than a squeegee but leaves the glass completely streak-free. A microfibre cloth kept in the bathroom for this purpose works best.
The honest truth: the squeegee is the only prevention method most people will actually keep doing. Everything else requires more time or more remembering. Hang it inside the shower next to the products and use it every time. The thirty seconds it takes is much less than the hour it takes to remove three months of build-up.
Frequently Asked Questions
Why do hard water stains look worse after cleaning? If you wipe a hard water stained screen with a dry cloth or a regular glass cleaner without first dissolving the deposits, you spread the mineral residue rather than removing it. This can make the screen look more smeared than before. Always use an acid-based solution first to dissolve the deposits before wiping.
Can I use cola to remove hard water stains? Cola contains phosphoric acid and does work on light limescale. It is not as effective as white vinegar or a dedicated product and it leaves a sticky residue that requires thorough rinsing. It works in an emergency but is not the best method.
Will hard water stains permanently damage my shower screen? Light to moderate stains are fully removable. Very heavy build-up that has been left for years can etch into the glass surface itself, leaving a cloudy appearance that cannot be fully removed by cleaning alone. A glass polishing compound can improve this but may not restore the glass completely. Preventing build-up is significantly easier than removing it once it has reached this stage.
How often should I clean my shower screen? A quick squeegee after every shower plus a weekly spray with vinegar solution prevents significant build-up. A thorough clean with one of the methods above every four to six weeks keeps the screen looking clear in a hard water area.
Is it safe to use vinegar on all shower screens? White vinegar is safe on plain glass. If your shower screen has a special coating such as an easy-clean or nano coating, check the manufacturer’s guidance before using vinegar as acid can degrade some coatings over time. For coated screens a pH-neutral cleaner is safer for regular use with vinegar reserved for occasional deeper cleaning.
My shower screen frame has limescale too. What do I use? The same methods apply to chrome and stainless steel frames. Be cautious with Bar Keepers Friend on chrome as prolonged contact can dull the finish. White vinegar and lemon juice are safe for most metal finishes. Always rinse thoroughly and buff dry to prevent water marks.
The screen in our Thessaloniki bathroom is clear again. It took two applications of the vinegar-soaked kitchen paper method for the existing build-up and a squeegee hung inside the shower for everything since. Tasos uses the squeegee approximately thirty percent of the time. I have accepted this.
Start with the vinegar. If that does not fully shift it move to Bar Keepers Friend. Keep a squeegee in the shower from this point forward.
That is genuinely the whole method.

I’m Anastasios Moulios, co-founder of DIY Cozy Living. I enjoy finding creative, practical ways to make small spaces feel warm, stylish, and lived-in. I started this blog with Katerina to share real ideas that make a home feel a little more personal and a lot more comfortable.
