
How to Make Wax Melts at Home (Step-by-Step Guide With Troubleshooting)


If you make scented candles at home you already have almost everything you need to make wax melts.
The supplies overlap almost completely, the process is simpler, and the result is something that makes a genuinely beautiful handmade gift in a way that a candle, with its glass jar and necessary safety considerations, sometimes cannot.
I started making wax melts after a batch of candles left me with leftover wax and fragrance oil that was not quite enough for another full pour.
The first batch took about twenty minutes. They smelled incredible, looked beautiful in a little clamshell mould, and cost almost nothing. I have made them every season since.
What Is a Wax Melt?

A wax melt is a small piece of scented wax that releases fragrance when gently heated. Unlike a candle it has no wick. Instead of burning it sits in the dish of an electric or tea light wax warmer where the low heat melts the wax slowly and releases the scent into the room.
Because the wax never burns it lasts significantly longer than a candle. A single wax melt typically releases fragrance for eight to twelve hours.
When the scent fades you simply let the wax harden, pop it out, and replace it with a fresh melt. The wax itself does not evaporate so the warmer dish stays clean.
Wax melts vs candles: A candle burns the wax and the fragrance together, which means the wax is consumed and the candle gets shorter. A wax melt disperses the fragrance through heat without consuming the wax. This makes wax melts more economical to make and longer-lasting per gram of wax.
Why make them at home: Shop-bought wax melts use synthetic fragrance that can be overwhelming. Homemade ones use fragrance oil or essential oil in quantities you control, which means a more nuanced, natural-smelling result. They are also significantly cheaper per gram than branded wax melts and completely customisable in scent, colour, and shape.
What You Need
| Item | Notes |
|---|---|
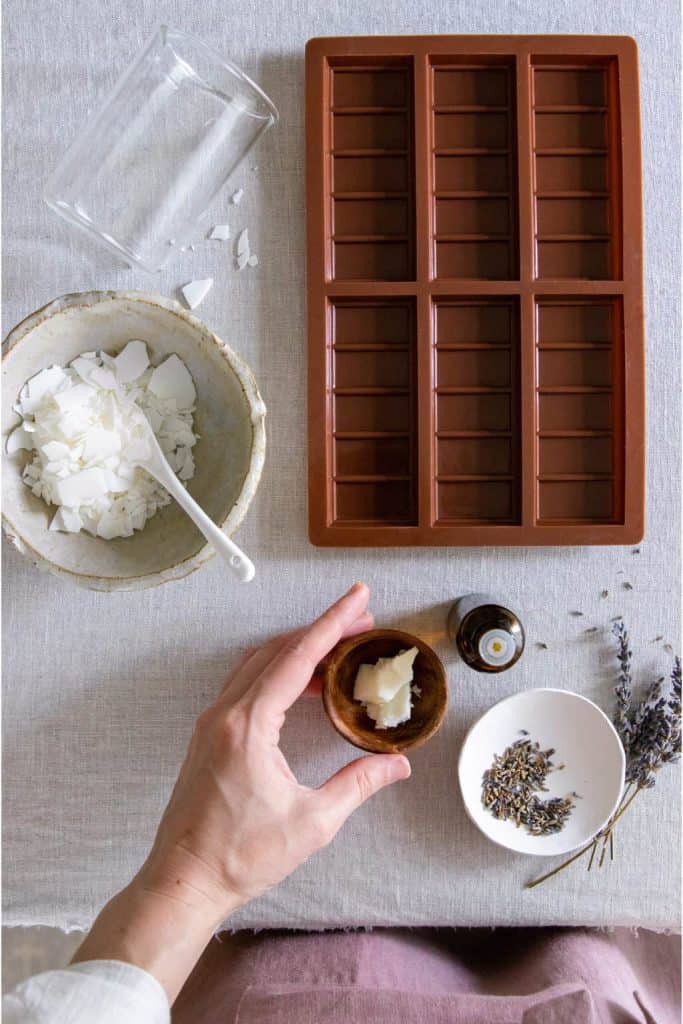
| Wax | Soy wax flakes work best for melts. Paraffin is also fine. Coconut wax gives a softer, creamier result. (Be careful we need the harder one because when we take it out of the mould, we don’t want it to break) |
| Fragrance oil or essential oil | Use fragrance oil rated for wax. Essential oils work but are more volatile at higher temperatures. |
| Wax dye or mica powder | For colour. Liquid dye mixes most evenly. Mica powder gives a shimmer effect. |
| Moulds | Clamshell moulds, silicone moulds, or ice cube trays. Clamshell is most practical for gifting. |
| Thermometer | A kitchen thermometer. Wax temperature matters significantly. |
| Pouring jug or heatproof bowl | For melting and pouring. |
| Double boiler or microwave | For melting the wax. |
| Stirring stick | A wooden skewer, chopstick, or silicone spatula. |
On wax choice: Soy wax is the most forgiving for beginners and produces a soft, slightly opaque finish. It holds fragrance well and is natural, which suits a handmade gift aesthetic.
Paraffin holds fragrance more strongly and produces a harder wax that snaps cleanly from the mould.
Coconut wax is the most expensive but produces a beautiful creamy finish and excellent scent throw.
All in all, get soy wax but not the same as for candles. Get the harder one that is for melts.
Step-by-Step: How to Make Wax Melts
Step 1: Measure your wax
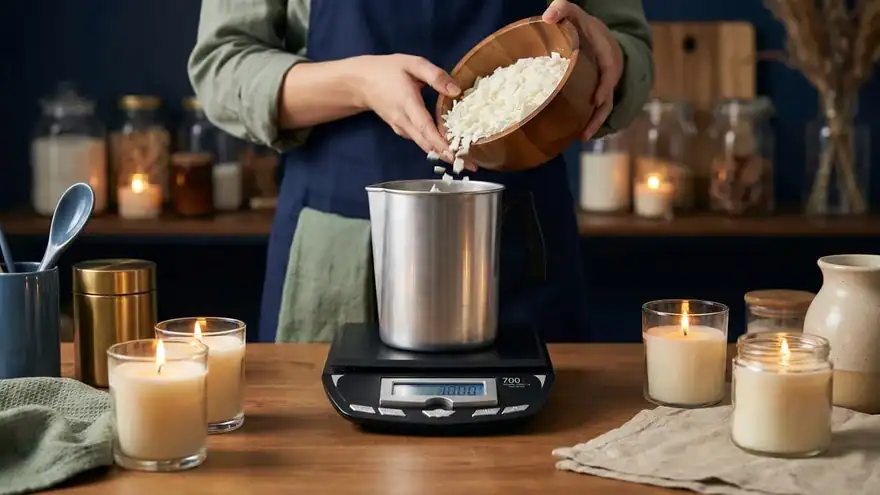
Measure the amount of wax you need for your moulds. A standard six-cavity clamshell mould holds approximately 50 to 60 grams of wax. (depends on the mould obviously)
Wax reduces slightly in volume as it melts so measure by weight rather than by volume.
Place the wax flakes in your pouring jug or heatproof bowl.
Step 2: Melt the wax
Double boiler method: Place the jug inside a pan of simmering water. The indirect heat melts the wax slowly and evenly without risk of overheating. Stir occasionally.
Microwave method: Heat in 30-second bursts on medium power, stirring between each burst. Check the temperature frequently. Most soy wax melts fully at around 80 to 85 degrees Celsius.
Heat the wax until it is fully liquid with no solid lumps remaining.
Do the first method.
Step 3: Add colour
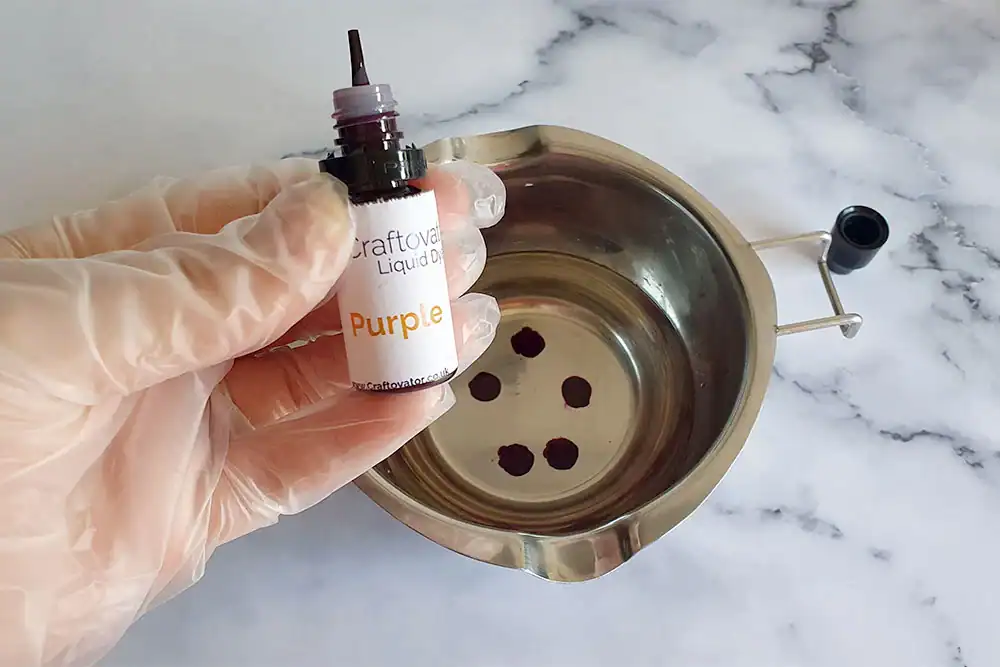
Once the wax is fully melted, add your colourant and stir until fully incorporated. Start with a very small amount since wax colour intensifies as it cools. A colour that looks pale in the jug often appears much deeper in the finished melt.
For a pastel result: Use the tip of a toothpick to transfer a tiny amount of liquid dye. Stir thoroughly. For a deep colour: Add more gradually rather than all at once. For a shimmer effect: Stir in mica powder after the fragrance is added.
Step 4: Let the wax cool slightly and add fragrance
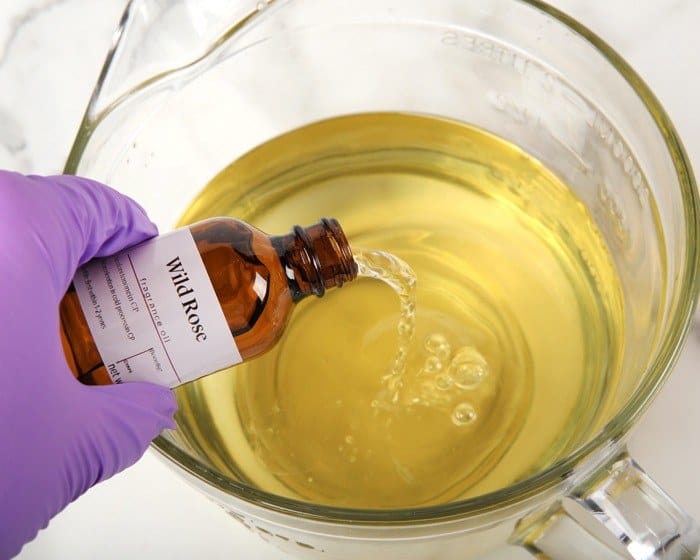
This is the most important step for a strong scent throw. Do not add fragrance oil to wax that is too hot. If the wax is above 85 degrees the fragrance burns off before the melt is even poured, leaving you with a weak-smelling result.
From my experience, let the wax cool to between 68-73 degrees Celsius before adding fragrance. Use a thermometer rather than guessing.
Fragrance load: The standard recommendation is 10 percent fragrance by weight. For 100 grams of wax, add 10 grams of fragrance oil. You can go up to 12 percent for a stronger result but exceeding this causes the fragrance to seep out of the wax (called fragrance bleeding) and can make the melt surface oily.
Stir slowly and thoroughly for at least two minutes. Fragrance needs to be fully incorporated into the wax or it will pool in one area of the melt rather than being distributed evenly.
Step 5: Pour into moulds
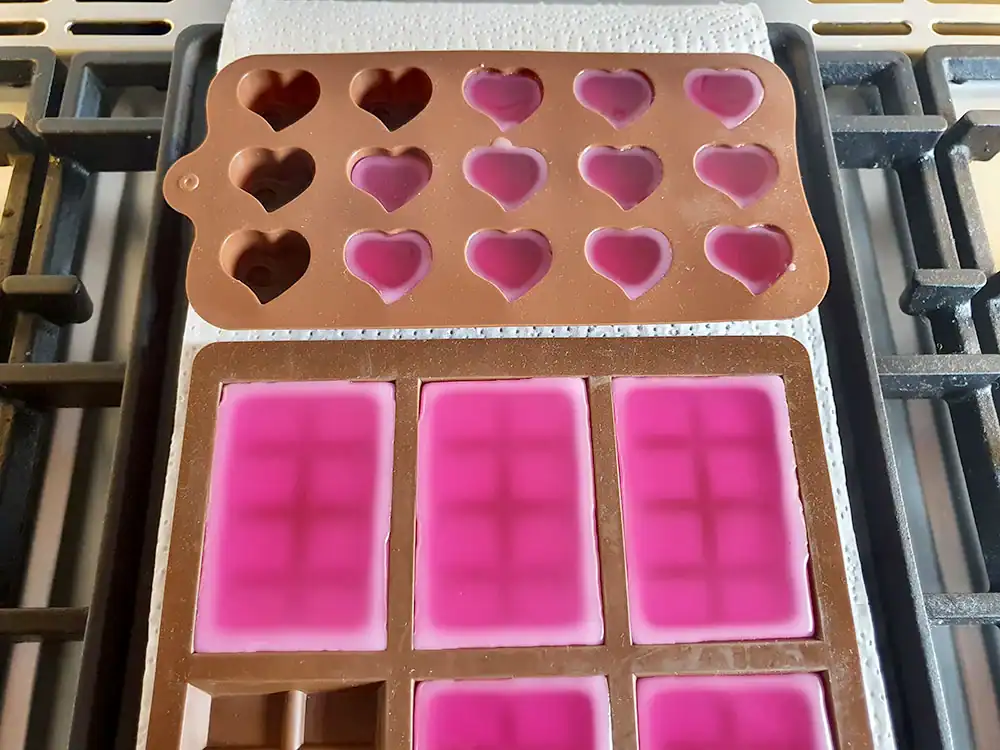
Pour the scented wax into your moulds slowly and steadily. Fill each cavity to just below the rim. Pouring too quickly creates air bubbles.
If using a clamshell mould, leave the lid open until the wax is fully set. Closing it over warm wax creates condensation that settles on the surface of the melts.
Step 6: Let the wax set
Leave undisturbed at room temperature for at least two hours.
Do not put them in the fridge to speed up setting as rapid cooling causes the wax to crack and pull away from the mould edges.
The wax is fully set when it has turned completely opaque and is firm to the touch. Soy wax typically has a slightly uneven or frosted surface when set which is completely normal and does not affect performance.
Easy? Don’t touch em.
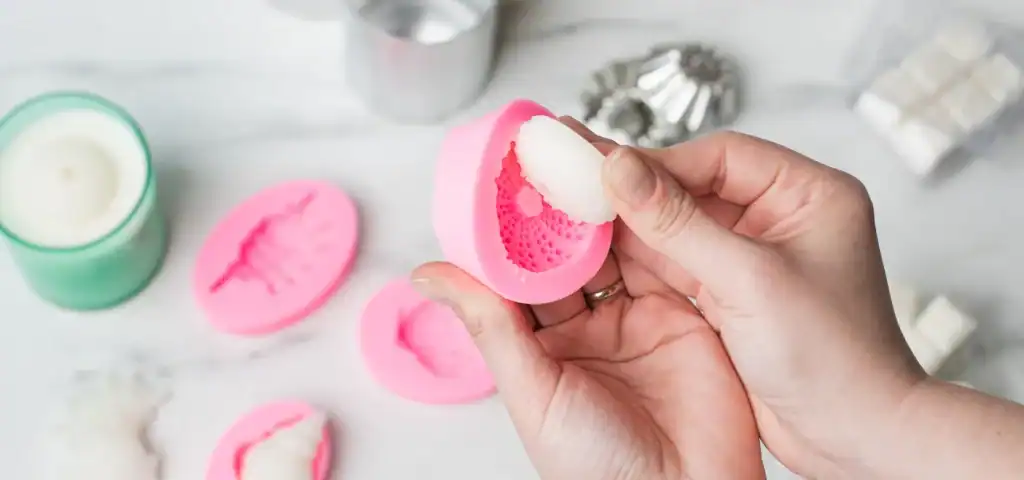
Step 7: Remove from the mould
🔥 Would you like to save this?
If you sell the wax melts or have them for yourself in the plastic mould you are all set.
If you have a silicone mould lets say for very small patterns like hearts
Flex a silicone mould gently to release the melts. Clamshell moulds simply snap closed and the melts pop out easily when the wax is fully set.
Your wax melts are ready to use or wrap.
Common Problems and How to Fix Them
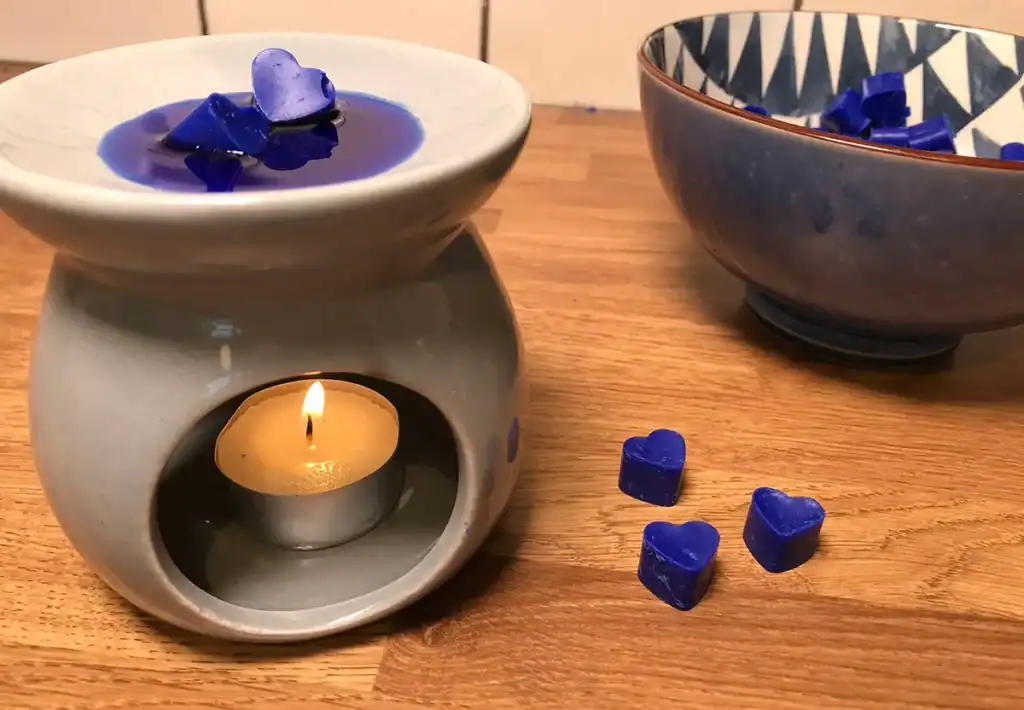
The melts have a weak scent when used in the warmer: Almost always caused by adding fragrance to wax that was too hot. The fragrance evaporated during making. Next batch, let the wax cool to 60 to 65 degrees before adding fragrance and stir for longer.
The surface is oily or has spots of liquid: Fragrance bleeding. You have added too much fragrance oil or the fragrance was not fully mixed in. Reduce the fragrance load to 10 percent maximum and stir more thoroughly next time. Surface oil can be blotted with a paper towel once set.
The wax has cracked: Usually caused by cooling too quickly or a sudden drop in temperature. Cool at room temperature away from draughts. Do not refrigerate.
The colour is uneven or patchy: The dye was not fully incorporated before pouring. Next time stir the colour in for at least a minute before adding fragrance and stir again after adding fragrance.
The melts have a white frosted or powdery surface: This is called blooming and is a natural characteristic of soy wax. It does not affect performance or scent. It is cosmetic only and more visible in plain or lightly coloured wax. Pour at a slightly higher temperature to reduce it.
The melt is too soft and does not pop out cleanly: Either the wax ratio is wrong or the melt has not set fully. Give it more time at room temperature. If it is consistently too soft your wax may need a hardener additive or you may need to switch to a harder wax blend.
The fragrance smells different in the melt than it did in the bottle: Normal. Fragrance oils smell different when mixed into hot wax than they do straight from the bottle. Always do a small test melt with a new fragrance before making a full batch.
How to Decorate and Package Wax Melts
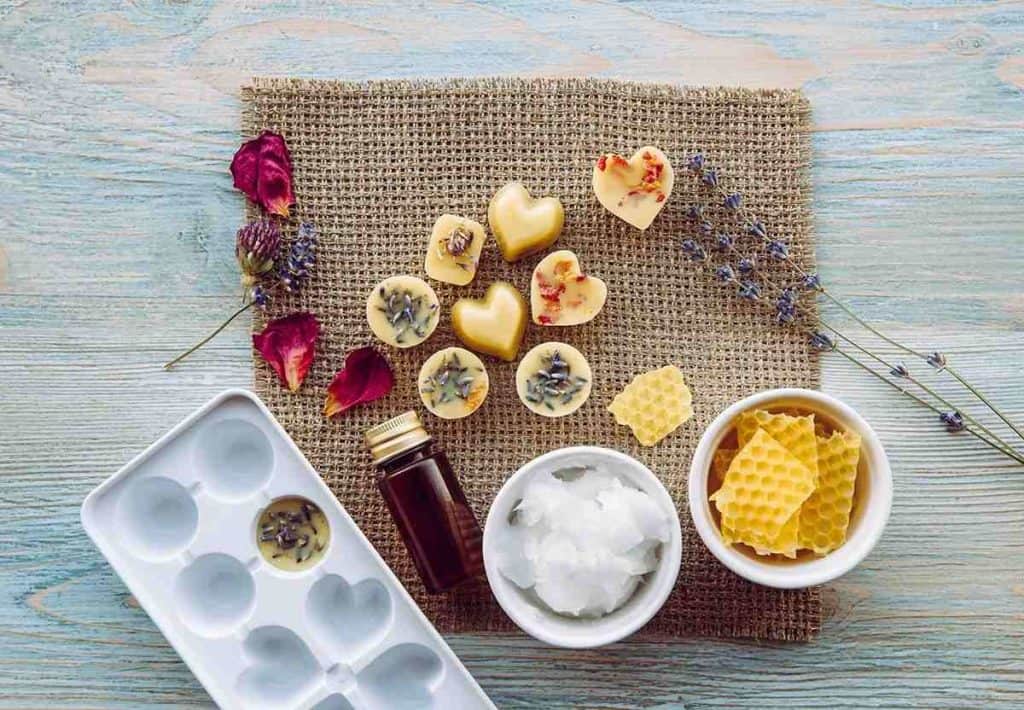
The decoration and packaging is what takes a homemade wax melt from a craft project to something that looks and feels like a gift worth giving.
Colour and Layering
The simplest decorative technique is a two-tone or layered melt. Pour the first colour into the mould and let it set for fifteen to twenty minutes until a firm skin has formed on the surface.
Then pour the second colour on top. The layers stay distinct and create a beautiful gradient effect when the finished melt is held up to the light.
Pastel colours photograph beautifully and feel premium.
Deep jewel tones look dramatic and festive. Seasonal palettes work well: burnt orange and cream for autumn, deep red and gold for Christmas, pale pink and white for spring.
Embeds and Botanicals
Press a dried flower, a small sprig of lavender, a dried orange slice, or a star anise into the surface of the melt before it fully sets.
The botanical stays embedded in the surface of the finished melt and looks genuinely beautiful. Use dried rather than fresh botanicals as fresh plant material introduces moisture which can cause mould over time.
Other embed options: a small piece of cinnamon stick pressed into the surface, dried rose petals scattered across the top, a tiny pinecone placed in the centre.
Shimmer Finish
Dust the finished melt with a very small amount of mica powder using a dry makeup brush.
The shimmer catches the light and gives the melt a luxe, almost gem-like appearance. Gold mica on a deep burgundy wax is one of the most effective combinations.
Packaging
Clamshell moulds: The most practical packaging since the melt is already contained. Add a small label to the front with the scent name and any gifting details.
A sticker label with a handwritten-style font printed at home looks more personal than a typed label.
Individual wrapped melts: For snap-bar style melts, wrap in a small square of tissue paper or wax paper tied with twine. A small gift tag with the scent name and instructions for use completes the look.
Gift boxes: Line a small kraft paper box with tissue paper, arrange four to six melts inside, and close with a ribbon or a sticker seal. This is the most giftable presentation and works beautifully for Christmas, birthdays, or a hostess gift.
Labels to include: Scent name, fragrance notes (what it smells like), instructions for use (place one or two melts in a wax warmer, do not exceed the dish capacity), and a “made with love” note if gifting.
Seasonal labelling: A label that reads “Warm Cinnamon and Orange” for autumn or “Pine and Vanilla” for Christmas immediately communicates the scent story before the recipient even opens the packaging.
Frequently Asked Questions
How long does a wax melt last? A single wax melt scents a room for eight to twelve hours. When the scent fades the wax is still in the dish. Let it harden, pop it out with a cotton ball or paper towel, and replace with a fresh melt.
Can I mix fragrance oils together? Yes and this is one of the most enjoyable parts of making wax melts. Mix test amounts in a small bowl before committing to a full batch. Common successful combinations: lavender and vanilla, orange and cinnamon, eucalyptus and mint, rose and sandalwood.
Are wax melts safe around pets? Some essential oils are toxic to cats and dogs. Eucalyptus, tea tree, clove, and cinnamon bark essential oils should be avoided in homes with pets. Fragrance oils are generally considered safer than essential oils for pet owners but always research individual ingredients.
Can I use the leftover wax from a burnt-down candle? Yes. Melt it down, add a little fresh fragrance oil since some will have burned off, and pour into melt moulds. This is an excellent way to use up candles that have burned unevenly or reached the end of their wick life.
What is the best wax warmer to use? Electric warmers are safer and more consistent than tea light warmers since the temperature is controlled. For scent throw, warmers with a larger dish surface area release more fragrance. The temperature should be warm enough to melt the wax slowly but not so hot that the fragrance burns off immediately.
The first batch I made was cinnamon and orange in a deep burnt orange wax with a dried star anise pressed into each one.
They went into a small kraft box with a handwritten label. Three people asked me where I had bought them.
That is the whole point of making them yourself.
Questions? Lemme know below!
Until next time,
Stay safe,


I’m Katerina Lithopoulou, co-creator of DIY Cozy Living. I’ve always loved the little things that make a space feel special. With a background in language and a passion for photography and cozy design, I enjoy turning everyday inspiration into simple ideas people can actually use.
My motto: “Cozy isn’t a trend — it’s a feeling.”
