
How to Make Salt Dough Christmas Ornaments (That Actually Look Good)


Salt dough ornaments have been around long enough that most people associate them with the slightly lumpy, slightly grey Christmas decorations that came home from primary school in the 1990s and got hung at the back of the tree where nobody could quite see them.
They were loved. They were not beautiful.
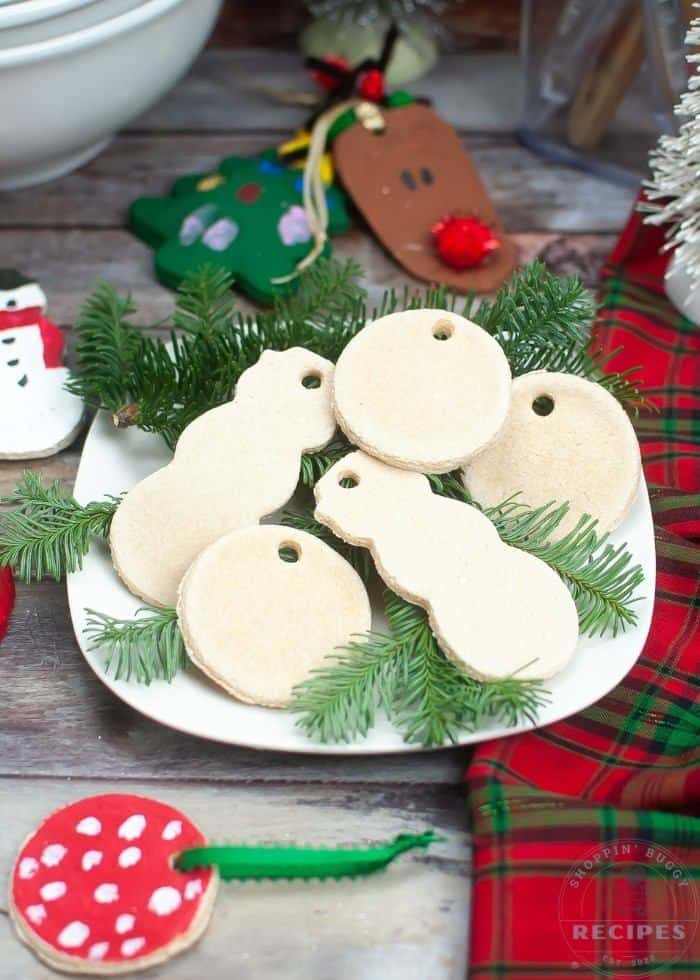
The salt dough ornaments people are making now are a completely different thing. Smooth, stamped with botanical prints, painted in one elegant colour, strung on velvet ribbon. The kind of thing you see in a Scandinavian lifestyle shop selling for fourteen euros each, made for almost nothing in an afternoon.
Maria and I made our first proper batch two years ago. She stamped hers with every cookie cutter in the drawer and I used rosemary sprigs and the back of a fork. We painted them in the same chalky white. They look genuinely beautiful on the tree and they are the decorations people ask about most when they come to the house.
This is the full guide, including the mistakes I made the first time so you do not have to make them too.
What Is Salt Dough?
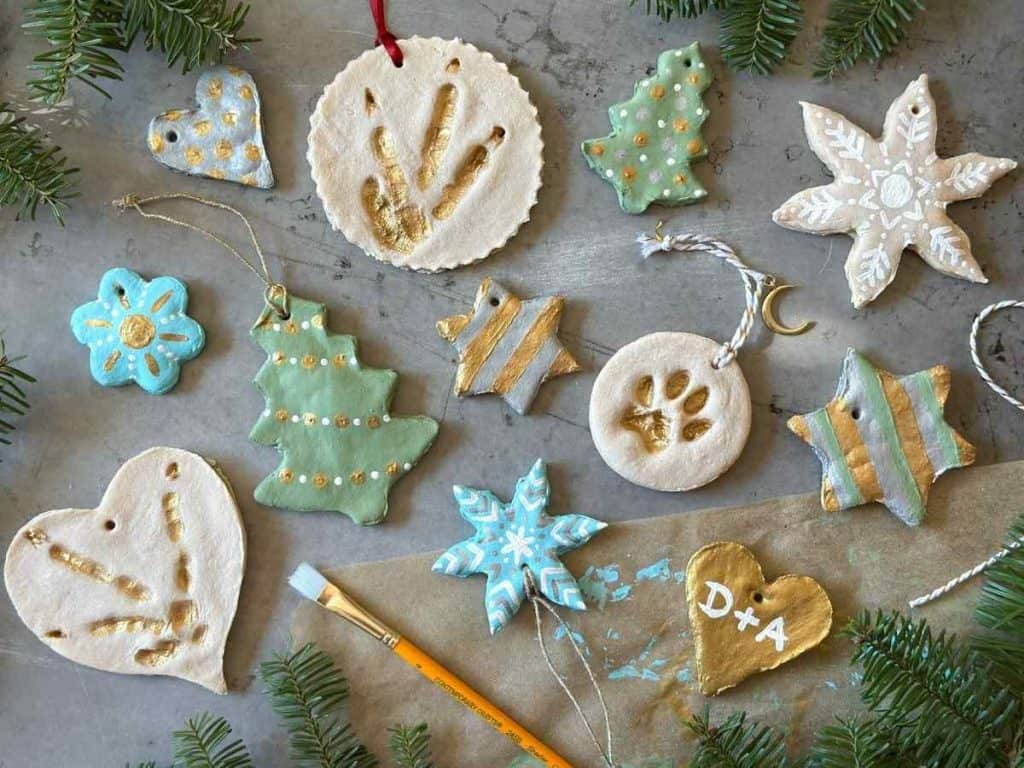
Salt dough is a simple mixture of flour, salt, and water that hardens when baked at a low temperature.
It has been used for centuries as a craft material because the ingredients cost almost nothing and the dried result is surprisingly durable.
It is not edible.
The salt content is high enough to make it deeply unpleasant and the baked version is rock hard. Keep it away from children and pets who might try to eat it, particularly in the raw stage when it smells like bread dough.
What You Need
| Item | Notes |
|---|---|
| Plain flour | 2 cups. Plain only, not self-raising which creates bubbles |
| Table salt | 1 cup. Fine table salt not coarse sea salt |
| Water | Half to three quarters of a cup, added gradually |
| Rolling pin | For rolling the dough evenly |
| Cookie cutters | Stars, trees, circles, snowflakes, any shape |
| Drinking straw | For making the hanging hole before baking |
| Baking trays | Lined with parchment paper |
| Oven | Set to 100 to 120 degrees Celsius |
| Acrylic paint | For painting once cooled |
| Varnish or Mod Podge | For sealing the finished ornament |
| Ribbon or twine | For hanging |
Optional for texture and impression:
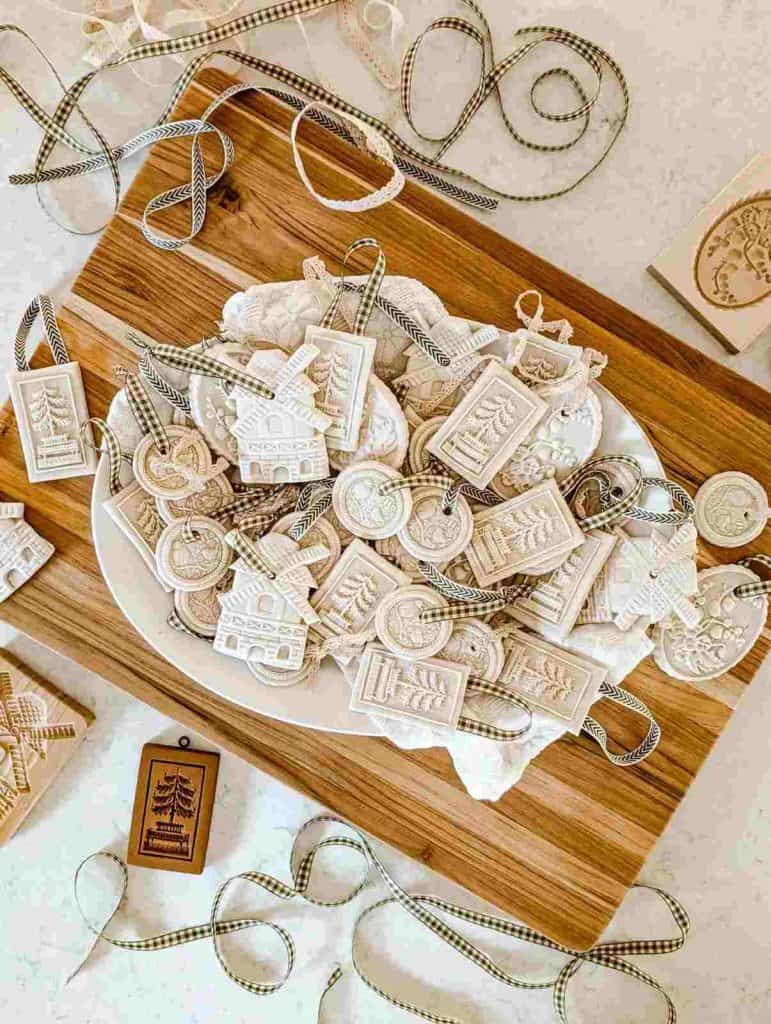
- Fresh rosemary, sage, or fern sprigs
- Lace fabric pressed into the surface
- The back of a fork or a skewer for patterns
- Letter stamps
- A small rolling textured mat
The Basic Salt Dough Recipe
Makes approximately 20 to 25 ornaments depending on size
Combine the flour and salt in a large bowl and mix thoroughly. Add the water gradually, starting with half a cup and adding more tablespoon by tablespoon until the dough comes together into a smooth ball that is not sticky.
The dough should feel like slightly firm playdough. If it is sticky add a little more flour. If it is crumbly add a little more water. The consistency matters more than the exact measurements because flour absorbs water differently depending on humidity.
Knead the dough for two to three minutes until it is smooth and pliable. Do not over-knead as this makes it tougher and harder to roll.
Key tip: Work with the dough immediately after mixing. Salt dough dries out quickly when exposed to air. Cover any unused dough with a damp cloth while you work.
Step by Step: Making the Ornaments
Step 1: Roll the dough
Dust your work surface lightly with flour and roll the dough to about half a centimetre thick. Too thin and the ornaments are fragile. Too thick and they take very long to bake and are heavy on the tree.
Use a rolling pin and roll in one direction rather than back and forth which can make the dough uneven.
Step 2: Cut the shapes
Press your cookie cutters firmly into the dough and lift cleanly. Re-roll the scraps and cut more shapes until the dough is used up.
Place the cut shapes on a parchment-lined baking tray leaving a small gap between each one.
Step 3: Add texture or impressions (optional but recommended)
This is where salt dough ornaments go from homemade to genuinely beautiful.
Botanical prints: Press a fresh rosemary sprig, a small fern, or a sage leaf firmly into the surface of the ornament and then peel it away carefully. The impression left behind is detailed and delicate.
Lace texture: Press a small piece of lace fabric into the surface and peel away. The lace pattern transfers to the dough.
Geometric patterns: Use the back of a fork, a skewer, or a toothpick to create lines, dots, or cross-hatch patterns.
Letter stamps: Press alphabet stamps into the surface to add a name, a year, or a word.
Layering: Cut a shape from rolled dough, then cut a smaller shape from contrasting rolled dough and press it gently onto the surface of the first. The two layers fuse together during baking.
Step 4: Make the hanging hole
Use a drinking straw to punch a clean hole near the top of each ornament before baking. Press the straw straight down and twist slightly as you pull it out to remove the dough plug cleanly.
Make the hole slightly larger than you think you need. The dough shrinks very slightly during baking and a hole that seems generous often ends up tight.
Step 5: Bake
Place the trays in the oven at 100 to 120 degrees Celsius (or 212 to 248 F) for two to three hours. The low temperature and long bake time dries the dough out slowly rather than cooking it, which prevents cracking and browning.
The ornaments are done when they are completely hard to the touch, feel hollow when tapped, and have turned a very pale golden colour. A thick ornament may take up to four hours.
Key tip: Do not rush this step by raising the temperature. High heat causes the surface to brown before the centre is dry, which means the ornament looks done but cracks as it cools because the inside contracted unevenly.
Leave the ornaments on the tray to cool completely before painting. At least one hour.
🔥 Would you like to save this?
Painting and Finishing
Paint options
All white or cream: The most elegant and versatile option. A coat of white chalk paint or matte acrylic makes the ornament look like vintage porcelain. The texture and botanical impressions show beautifully through white paint.
Single colour: Deep sage green, dusty blue, terracotta, or blush pink all look beautiful. One coat of matte acrylic in a single colour gives a simple, sophisticated result.
Gold details: A base coat of white or cream with gold paint applied with a dry brush to the raised areas of any texture creates a subtle, expensive-looking finish.
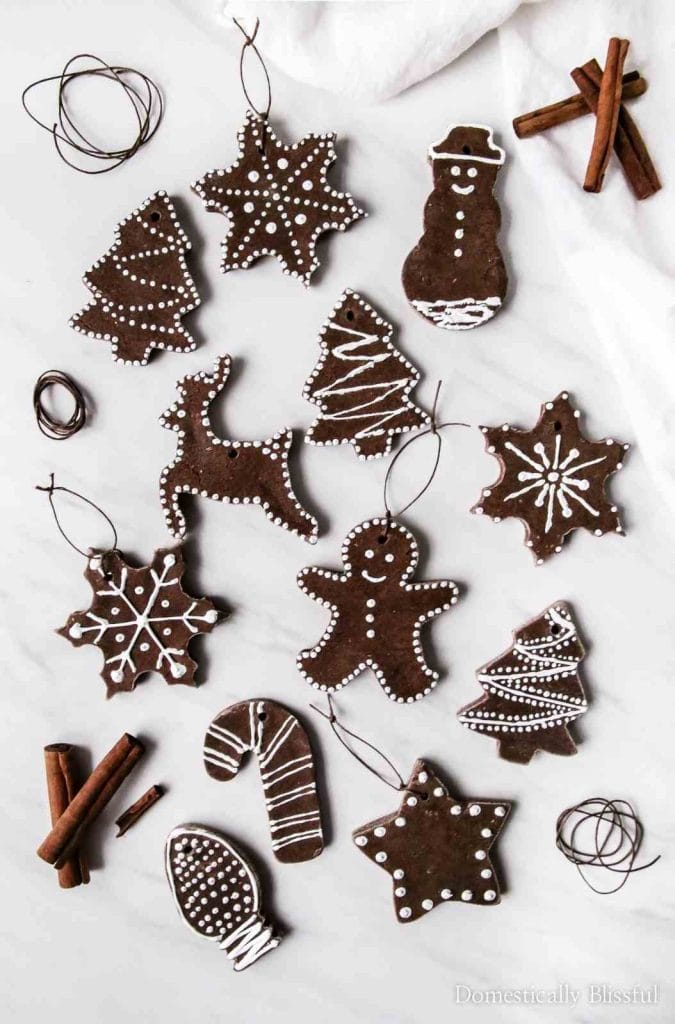
Natural unpainted: The pale golden colour of baked salt dough is beautiful on its own, particularly for more rustic or natural aesthetics. Seal without painting for a raw, organic look.
Watercolour wash: Thin acrylic paint significantly with water and apply as a translucent wash over the surface. The botanical impressions and texture show through the colour.
How to paint
Apply two thin coats of acrylic paint with a soft brush, letting each coat dry completely before applying the next. Salt dough is porous and absorbs the first coat quickly. The second coat evens the finish.
Sealing
Seal every finished ornament with two coats of Mod Podge, clear craft varnish, or a matte spray sealant. Salt dough is not waterproof and will absorb moisture from the air, particularly in a humid room or bathroom. Sealing prevents softening and extends the life of the ornament significantly.
Apply the sealant in thin coats and let each dry completely before the next.
How to Hang Them
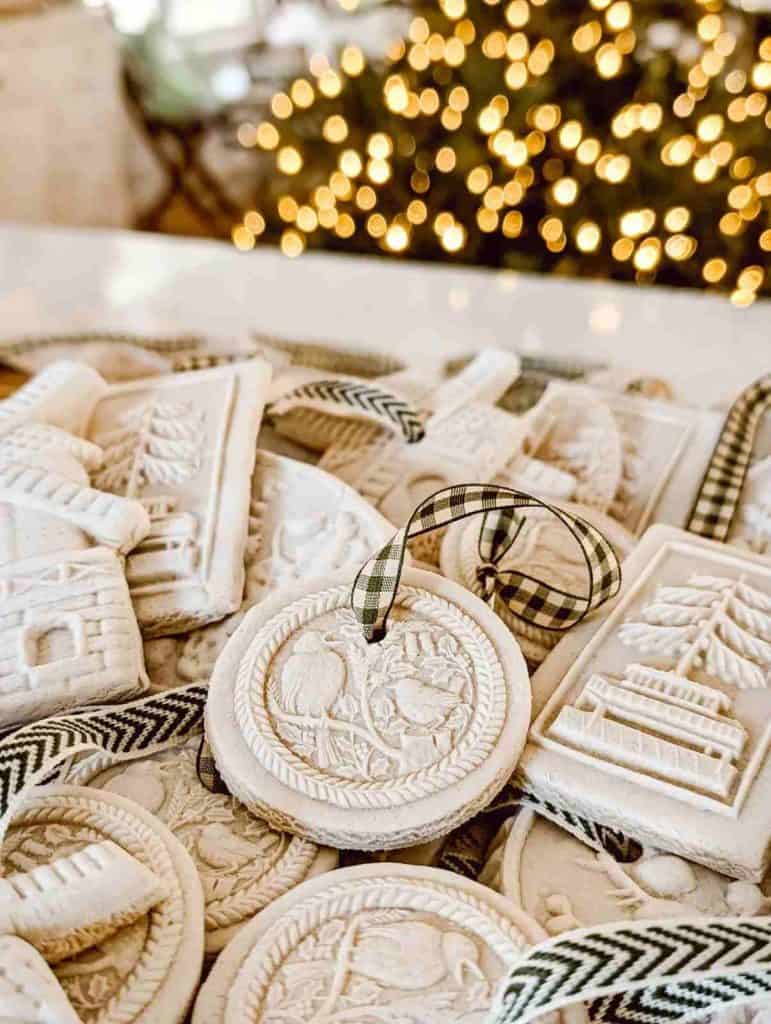
Thread velvet ribbon, baker’s twine, jute string, or thin satin ribbon through the hole and tie a knot or a bow at the top. The ribbon choice changes the look of the ornament significantly.
Velvet ribbon: Luxurious and photogenic, particularly in deep red, forest green, or dusty rose. Baker’s twine: Rustic and charming, suits the botanical and natural aesthetic. Jute: Earthy and natural, works well with unpainted or terracotta ornaments. Gold or copper wire: Thread through the hole and curl the end for a minimal, modern look.
Making Them as Gifts
Salt dough ornaments are the handmade gift that looks genuinely considered rather than quickly assembled. A set of three or four ornaments in a coordinating palette, tied together with matching ribbon and a small handwritten tag with the year, is a gift that gets kept and used every Christmas.
Gifting presentation ideas:
- Arrange in a small kraft paper box lined with tissue paper
- Thread several onto a length of ribbon and tie at the ends like a garland
- Package in a clear cellophane bag tied with velvet ribbon and a sprig of dried rosemary
- Place in a small wooden crate with a layer of dried moss underneath
Troubleshooting

The ornaments cracked during baking: Almost always caused by baking at too high a temperature. The outside dries too quickly and cracks as the inside contracts. Bake at a lower temperature for longer. Also check that the dough was rolled to an even thickness since thin patches dry faster than thick ones.
The ornaments are soft or flexible after baking: They need more time in the oven. They should be rock hard when done. Return them to the oven at the same low temperature for another hour.
The hole closed up during baking: The hole was too small to begin with. Make it larger than you think you need before baking. If it has closed completely use a sharp skewer or a small drill to carefully reopen it once the ornament is fully cooled and hard.
The surface is pitting or bubbling: Air bubbles were trapped in the dough during mixing or kneading. Knead more thoroughly next time to release any air pockets before rolling.
The ornament is browning before it is hard: The oven temperature is too high. Reduce to 100 degrees and bake for longer.
The paint is peeling: The ornament was not fully sealed or the surface was not clean before painting. Sand very lightly with fine sandpaper, wipe clean, apply a thin primer coat of white paint before the colour coat, and seal more thoroughly.
Storing Salt Dough Ornaments Between Seasons
Properly sealed salt dough ornaments last for many years. Store them in a box with a layer of tissue paper between each ornament to prevent chipping. Keep the box in a cool dry location. Avoid anywhere humid (garage, basement) since even sealed ornaments can absorb moisture over time in very damp conditions.
The ornaments Marina stamped with her entire hand from two years ago are still on the tree. They will probably outlast the tree itself.
Frequently Asked Questions
How long do salt dough ornaments last? Properly baked and sealed salt dough ornaments last for years and in some cases decades. The key is a full bake at low temperature until completely hard and thorough sealing afterward. Unsealed ornaments absorb moisture and soften over time.
Can I make salt dough ornaments without an oven? Yes. Leave them on a tray at room temperature for 48 to 72 hours to air dry. The result is the same but takes significantly longer. Make sure they are in a dry location as humidity will prevent the drying.
Can I colour the dough before baking? Yes. Add a few drops of food colouring or acrylic paint to the water before mixing it into the flour. The colour will be muted after baking since the flour lightens it, but it gives the ornament a consistent colour all the way through rather than just on the surface.
What is the best paint for salt dough ornaments? Acrylic craft paint works best. It dries quickly, adheres well to the porous surface, and comes in every colour. Chalk paint gives a particularly beautiful matte finish. Watercolour paint can be used for a translucent wash effect.
How do I make salt dough ornaments shiny? Apply two or three coats of Mod Podge gloss rather than matte, or use a gloss spray varnish as the final coat. Each additional coat increases the shine.
Can children help make these? Yes from about age four upward with supervision. Small children can help with the cutting and the texture stamping steps. The oven step is adults only. The dough is not edible so wash hands after handling the raw dough and before touching food.
The batch Maria and I made sits on the tree every year. Some of them are perfect, stamped with rosemary in chalky white with velvet ribbon.
Some of them are slightly lopsided with too many impressions crammed onto the surface by an eight-year-old who wanted to use every tool at once. The lopsided ones with the overcrowded surface are the ones I look for first when we unpack the tree.
That is what handmade ornaments do. They carry the afternoon they were made in a way that a shop-bought one never can.
Make a batch this weekend. Make more than you need. Give some away and keep the rest.

I’m Katerina Lithopoulou, co-creator of DIY Cozy Living. I’ve always loved the little things that make a space feel special. With a background in language and a passion for photography and cozy design, I enjoy turning everyday inspiration into simple ideas people can actually use.
My motto: “Cozy isn’t a trend — it’s a feeling.”
