Call us: +306949885346

How to Make Outdoor Curtains for Privacy: An Easy DIY Guide
Outdoor curtains add instant charm, comfort, and essential privacy to your outdoor spaces, transforming patios, balconies, or porches into relaxing retreats.
Whether you’re shielding your space from curious eyes, harsh sunlight, or wind, DIY outdoor curtains are affordable, practical, and beautifully customizable.
Follow this complete, step-by-step guide for creating your own outdoor curtains.
It’s perfect for beginners and packed with visual inspiration, tips, and tricks to achieve professional results.
Why You Need DIY Outdoor Curtains
Before diving into the DIY steps, let’s quickly cover why outdoor curtains are a fantastic idea:
- Privacy: Block unwanted views, creating a secluded sanctuary.
- Sun Protection: Shield your outdoor living space from direct sunlight.
- Wind and Weather Control: Reduce wind exposure and protect your furniture.
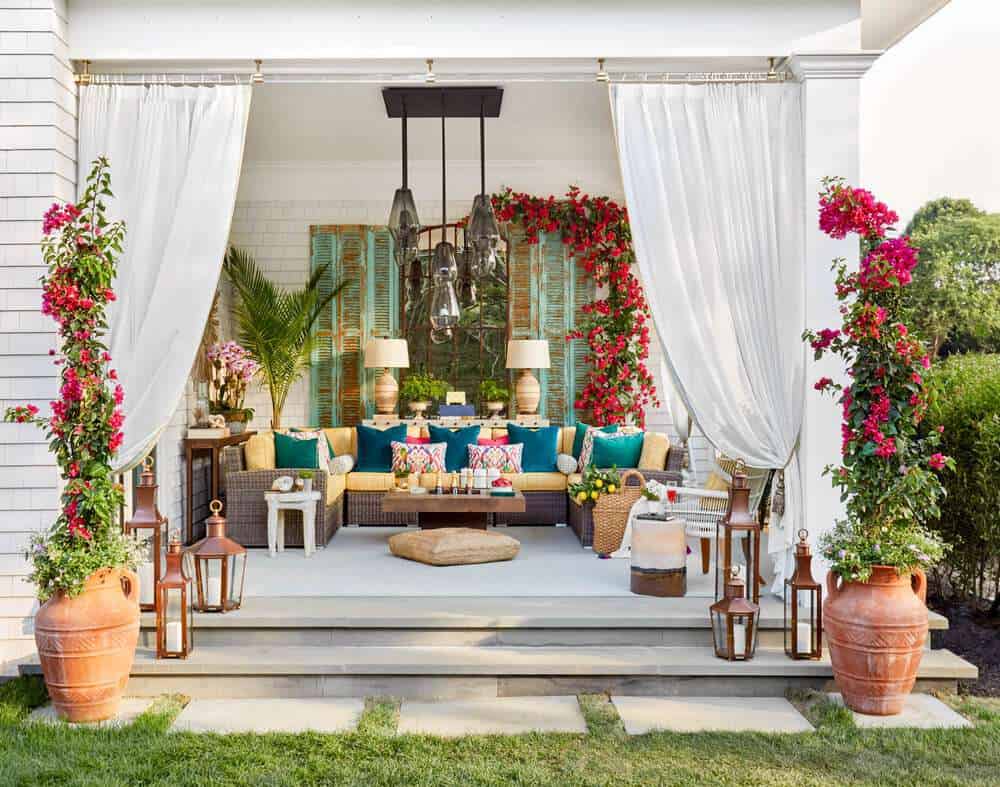
- Enhanced Aesthetic: Instantly elevate your outdoor decor.
- Affordability: Save significantly compared to store-bought options.
Materials and Tools You’ll Need
Gather your supplies:
Materials:
- Outdoor fabric (weather-resistant)
- Curtain rods (or pipes for an industrial look)
- Curtain rings or clips
- Sewing machine or strong fabric adhesive (optional)
- Outdoor-grade thread
Tools:
- Measuring tape
- Scissors
- Iron
- Drill and screws (if mounting hardware)
- Ladder (for installation)
Step-by-Step DIY Instructions
Step 1: Measure Your Space
Measure carefully:
- Height: Measure from rod height to floor or desired length.
- Width: Curtain width should be 1.5 to 2 times wider than your space for full coverage and a flowing appearance.
Step 2: Select Your Fabric
Choose a weather-resistant outdoor fabric such as polyester or Sunbrella for durability. Fabrics should be mildew-resistant, fade-proof, and easy to clean.
Step 3: Prepare Your Fabric
- Lay fabric flat and iron to remove wrinkles.
- Cut fabric according to your measurements, adding about 4 inches extra on each side for hemming.
Step 4: Hem Your Curtains
- Fold edges inward by about 1 inch, iron flat.
- Fold another 1 inch, iron again, then sew or secure with strong fabric adhesive for a clean, durable hem.
Step 5: Attach Rings or Clips
- Space rings evenly across the top of your curtain.
- Clip or sew rings securely to withstand outdoor conditions.
Step 6: Install Curtain Rods
- Mark rod placement clearly.
- Drill holes and securely mount brackets or rods.
- Ensure rods are level and sturdy enough to handle outdoor conditions.
Step 7: Hang Your Curtains
- Carefully thread your curtain rings onto the rod.
- Adjust evenly for perfect coverage.
Pro Tips for Long-Lasting Outdoor Curtains
- Weatherproofing: Treat fabric with a UV and water-resistant spray annually.
- Tie-backs: Consider adding decorative tie-backs to hold curtains open stylishly.
- Weighted Hem: Sew small weights into the bottom hem to keep curtains in place on windy days.
Beautiful DIY Outdoor Curtain Ideas (Visual Inspiration)
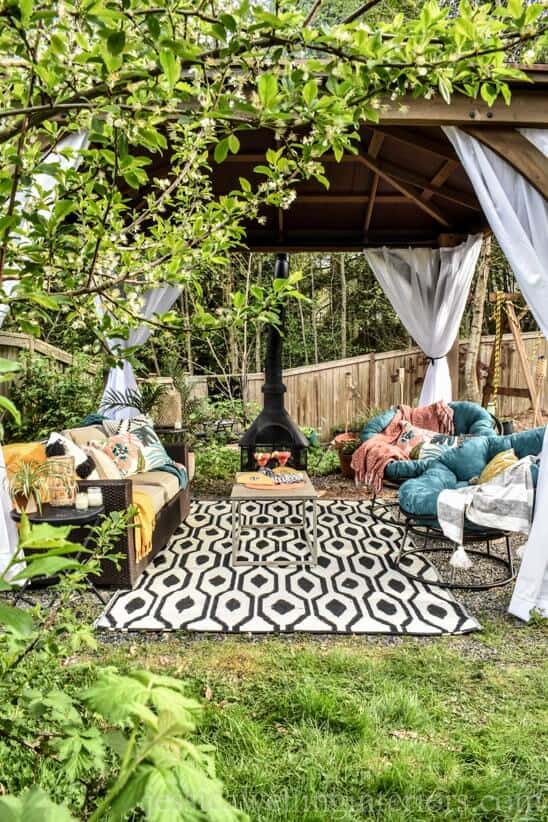
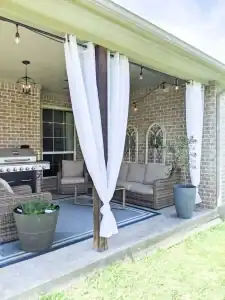
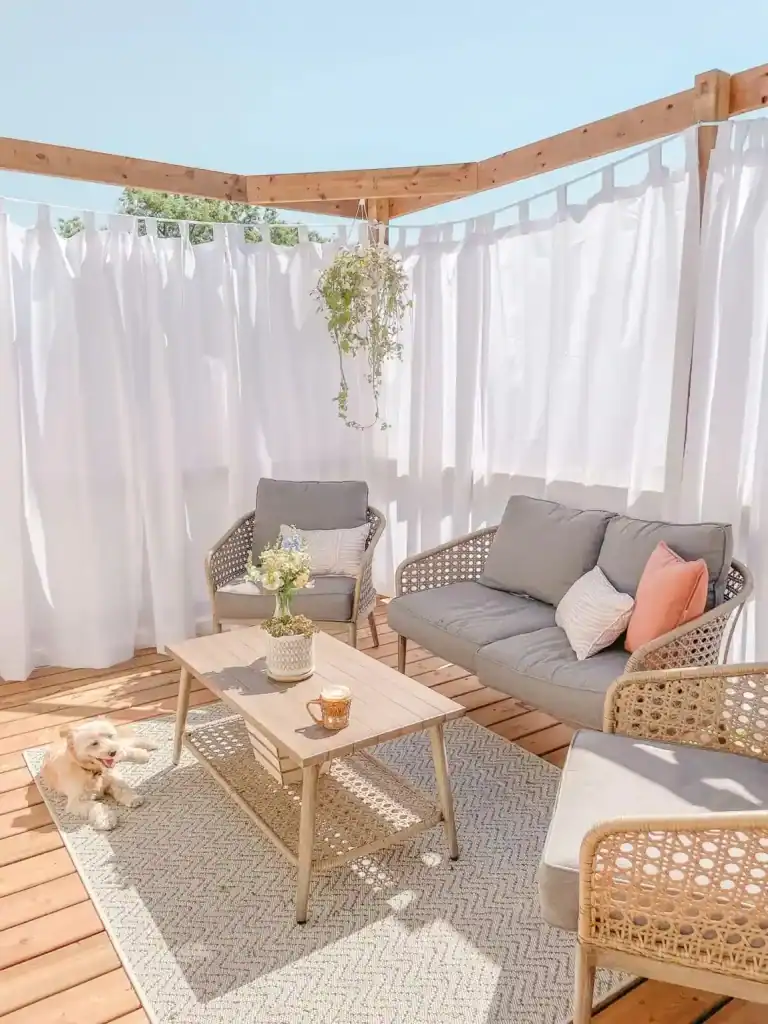
- Boho Chic: Flowing white curtains paired with fairy lights.
- Industrial Vibe: Metal pipes as curtain rods, neutral-toned curtains.
- Rustic Charm: Burlap-style fabric combined with rope tie-backs.
Cost Breakdown (Approximate)
- Outdoor fabric: $5–$20 per yard
- Curtain rods/pipes: $15–$50
- Rings/clips: $5–$15
- Total DIY project: ~$50–$150
Compared to store-bought curtains costing $100+ per panel, DIY is budget-friendly and customizable!
Frequently Asked Questions (FAQs)
- How do you keep outdoor curtains from blowing in the wind? Use weights in the hems, secure curtains with tie-backs, or install tension cords.
- Can I make outdoor curtains without sewing? Absolutely! Fabric glue or adhesive hem tape works well.
- How often should I clean outdoor curtains? Clean seasonally or after heavy storms to maintain appearance.
Wrapping Up
Before we sum up, here is one different idea you may like!
Creating outdoor curtains for privacy is a straightforward DIY project that significantly enhances your home’s beauty and comfort. Follow this guide to enjoy a relaxing, private outdoor space you crafted yourself!
Now you’re ready to get started—pin this guide, gather your materials, and enjoy your stylish new outdoor curtains!
I’m Anastasios Moulios, co-founder of DIY Cozy Living. I enjoy finding creative, practical ways to make small spaces feel warm, stylish, and lived-in. I started this blog with Katerina to share real ideas that make a home feel a little more personal and a lot more comfortable.
