
How to Make Beautiful Fall Decorations at Home (Beginner-Friendly DIYs!)

There’s something magical about fall. The crisp air, golden leaves, cozy blankets, and the scent of cinnamon and cloves in the kitchen — it’s the season that practically begs us to slow down, savor the moment, and turn our homes into warm, welcoming retreats.
The good news?
You don’t need to spend a fortune on store-bought décor or be a seasoned crafter to make your space feel festive.
Whether you’re decorating for the season, hosting a harvest dinner, or just want to give your space a cozy update, this guide will show you how to create elegant, beginner-friendly fall decor that feels both homemade and high-end.
The Charm of DIY Fall Decor
Creating your own decorations isn’t just budget-friendly — it’s also incredibly rewarding. DIY projects allow you to personalize your space with pieces that reflect your taste, style, and the mood you want to set.
Plus, crafting can be a meditative process — a way to unwind, unplug, and express creativity.
Fall lends itself perfectly to DIYs. With so many textures — think burlap, wood, twine, and dried flowers — and a palette full of warm oranges, rusty reds, earthy browns, and golden yellows, even the simplest project can turn out stunning.
Setting the Fall Mood Room by Room

Before you start crafting, take a walk through your home and think about where fall décor could shine. Here’s how you can infuse autumn energy into key areas without overdoing it:
Entryway
Set the tone the moment someone walks in. A small bench with plaid pillows, a DIY wreath on the door, and a basket of mini pumpkins can make it feel warm and welcoming.
Living Room
Swap out light summer throws for chunky knit blankets. Add a handmade centerpiece on the coffee table or mantel. A few hand-painted pumpkins or a rustic candle display can work wonders.
Kitchen
Line your kitchen windowsill with little jars of dried herbs or a handmade garland of dried citrus and cinnamon sticks. Display DIY fall signs or a rustic centerpiece for your table.
Porch or Balcony
Even a small outdoor space can be dressed up with DIY corn husk wreaths, candle lanterns, or stacked pumpkins with hand-lettered signs.
Beginner-Friendly DIY Techniques (No Crafting Skills Needed)
Let’s face it: not everyone is born with a glue gun in their hand. But that doesn’t mean you can’t create something beautiful. These easy techniques make fall crafting accessible — even if you’ve never DIY’d before.
Hot Glue and Fabric Magic
Use fabric scraps, burlap, or flannel to wrap around mason jars, vases, or even books for an instant cozy look. Add a twine bow and you’re done.
Stenciling on Wood
Grab a piece of reclaimed wood or a blank wooden sign and stencil on cozy phrases like “Gather,” “Hello Fall,” or “Pumpkin Patch.” Acrylic paint works great, and stencils ensure it looks professional even if you have shaky hands.
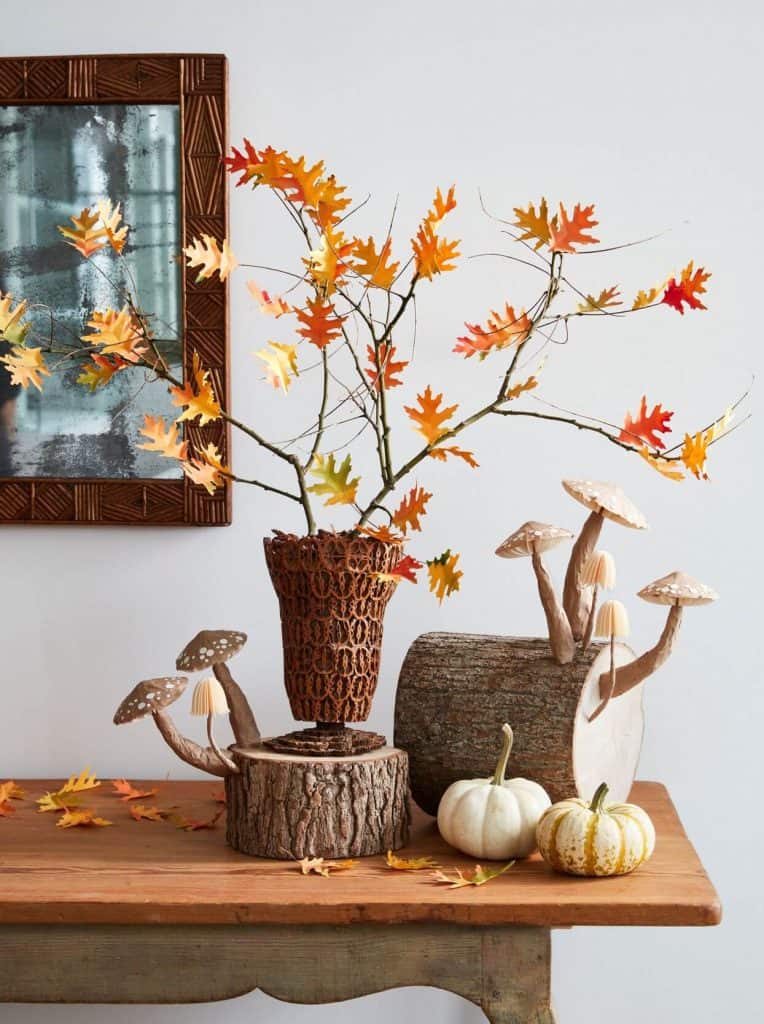
Layering Natural Elements
Combine pinecones, dried leaves, acorns, twigs, and faux pumpkins into trays, bowls, and vases. Add candles for an inviting glow. No glue, no paint — just arranging and layering.
Detailed Fall DIY Projects (With Step-by-Step Instructions)
These projects can be completed in a weekend or less, and they require minimal tools or experience. Let’s dive in.
1. DIY Fabric Pumpkins
These charming little pumpkins can be made from scrap fabric, old flannel shirts, or even thrifted clothes.
Materials:
- Fabric (flannel, burlap, or cotton)
- Scissors
- Hot glue gun or needle & thread
- Polyester stuffing or cotton balls
- Twine or ribbon
- Small twigs or cinnamon sticks (for stems)
Instructions:
- Cut the fabric into a circle (about 10–12 inches wide for a medium-sized pumpkin).
- Sew or glue a loose running stitch around the edge of the circle.
- Pull the thread or fabric together just enough to make a pouch, then stuff it with your filling.
- Close the top tightly by pulling the thread tight and tying it off. You can also hot glue it shut if not sewing.
- Insert the stem (twig or cinnamon stick) in the top and glue it in place.
- Tie a twine bow around the stem for a rustic look.
Display these on mantels, bookshelves, or tabletops.
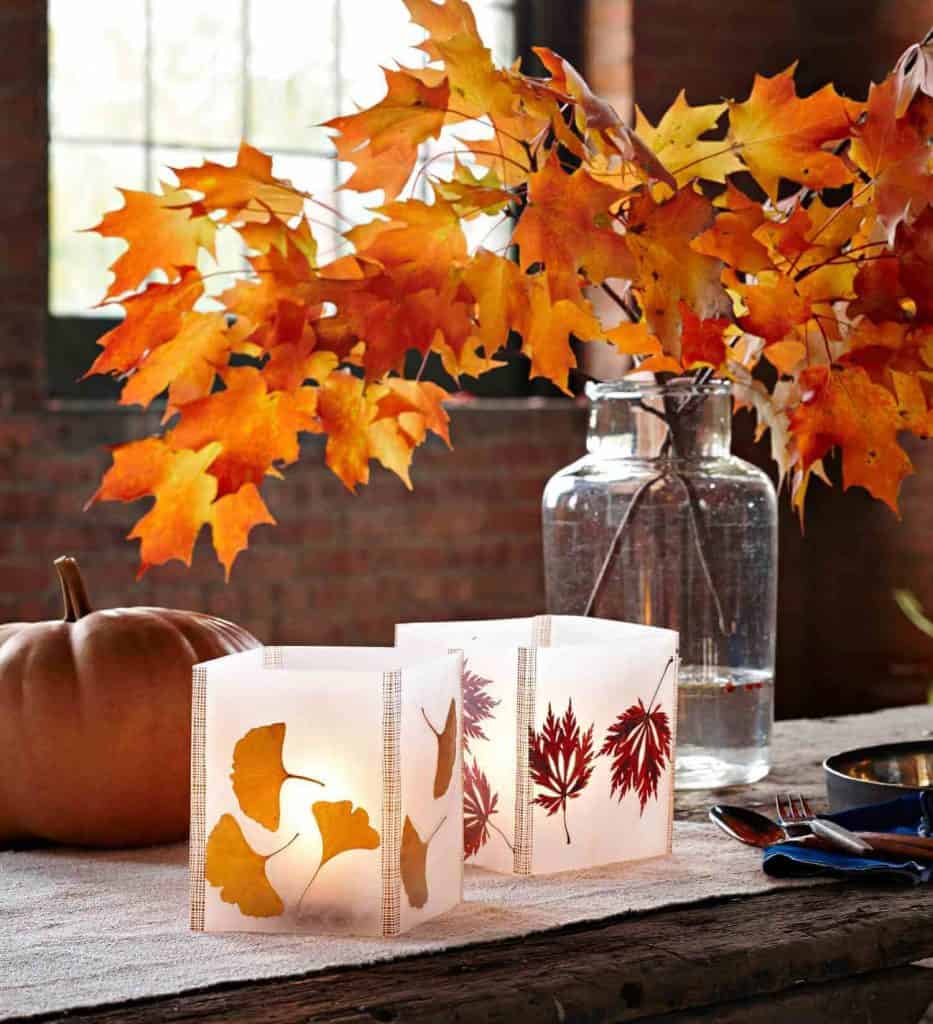
2. Rustic Leaf Garland
A beautiful and simple way to bring the outdoors in.
Materials:
- Faux or real fall leaves
- Twine or jute rope
- Mini clothespins or hot glue
- Hole punch (optional)
Instructions:
- Lay out your leaves on a table to decide the order.
- Cut a piece of twine to the length of your mantel, window, or wall.
- Attach each leaf by punching a small hole and tying with twine, using mini clothespins to clip them on, or hot gluing them directly onto the rope.
- Hang the garland using tape, nails, or removable hooks.
Add citrus slices or small wood cutouts for variety.
3. Painted Mason Jar Centerpieces
Perfect for dining tables, shelves, or porches.
Materials:
- Mason jars
- Chalk or acrylic paint in fall colors
- Foam brush or sponge
- Sandpaper (optional, for distressing)
- Twine, faux flowers, or wheat stalks
Instructions:
- Clean the jars thoroughly and dry them.
- Apply 1–2 coats of paint using a foam brush. Let dry between coats.
- Optional: Lightly sand edges and raised letters for a rustic look.
- Wrap the top with twine and tie a bow.
- Fill with dried wheat, eucalyptus, or cotton stems.
Use three jars in a row for a farmhouse-style centerpiece.
4. Dried Citrus and Cinnamon Garland
This project smells as good as it looks.
Materials:
- Oranges, lemons, or grapefruit
- Sharp knife
- Baking sheet & parchment paper
- Cinnamon sticks
- Bay leaves (optional)
- Twine and needle or hot glue
Instructions:
- Slice citrus fruits into 1/4-inch thick rounds.
- Lay on parchment paper and bake at 200°F (90°C) for 2–3 hours, flipping halfway through.
- Let cool completely.
- String onto twine using a large needle or glue each piece along the string.
- Add cinnamon sticks and bay leaves between slices for texture.
- Hang over your window, mantel, or wreath.
You can reuse this for winter holidays too.
Where to Find Materials on a Budget
- Thrift stores: Baskets, flannel shirts, trays, and fabric.
- Dollar stores: Candles, foam shapes, mini pumpkins, faux leaves.
- Nature: Pinecones, acorns, branches, dried flowers.
- Grocery stores: Real pumpkins, squash, citrus, cinnamon sticks.
- Around the house: Jars, bottles, cardboard, fabric scraps.
Styling Tips for a Cohesive Look
- Stick to a color scheme: Try burnt orange, cream, and sage for a cozy look.
- Mix textures: Combine soft fabrics with rustic wood or metal.
- Repeat elements: Use twine or leaves across multiple projects.
- Don’t overcrowd: Let each DIY piece shine.
Make It a Group Activity
Get friends or family involved to make it more fun:
- Host a “Pumpkin Craft Night”
- Paint mini pumpkins with kids
- Make a “thankful jar” with your partner or roommate
Scent & Lighting: The Final Touches
- Lighting: Add string lights, lanterns, or candles for warmth.
- Scent: Simmer pots (citrus, cloves, cinnamon) or essential oil blends can enhance the cozy vibe.
Storing Your Fall Decor
- Use labeled bins or boxes
- Wrap fragile items
- Keep in a cool, dry place
- Label what’s handmade for next season
Final Thoughts
Creating beautiful fall decorations doesn’t require a designer’s eye or a big budget.
With a few basic materials, a bit of weekend time, and the ideas in this guide, you can fill your home with warmth, charm, and seasonal beauty that feels totally personal.
So grab your favorite cozy drink, turn on some relaxing music, and start crafting. Because fall isn’t just a season — it’s a feeling. And now, it can live in every room of your home.

I’m Katerina Lithopoulou, co-creator of DIY Cozy Living. I’ve always loved the little things that make a space feel special. With a background in language and a passion for photography and cozy design, I enjoy turning everyday inspiration into simple ideas people can actually use.
My motto: “Cozy isn’t a trend — it’s a feeling.”
