How to Make a Cardboard Gingerbread House That Actually Looks Good


We made our first cardboard gingerbread house because Maria refused to make a real one.
She was seven, and she had decided — firmly, with the kind of certainty children have about things that don’t matter very much — that she didn’t want to eat gingerbread and therefore didn’t want to build one. She wanted a house she could keep.
So we made one from cardboard. It took about forty minutes, cost almost nothing, and looked so much like the real thing that Zina picked it up to smell it when she arrived the following week.
We’ve made them every year since. The technique has changed. The materials have gotten more deliberate. The results have gotten considerably better. Here is everything I know about making them.
Why Cardboard Instead of Real Gingerbread
People ask this sometimes, as though it needs defending.
The honest reasons:
- It lasts. A cardboard gingerbread house can go back in a box in January and come out the following December looking exactly the same.
- It’s cheaper. No ingredients, no baking time, no icing failures.
- Children can genuinely help. Real gingerbread construction has a lot of moments where an adult has to take over because something is melting or collapsing. Cardboard doesn’t melt.
- It doesn’t need to be eaten. This matters more than it sounds.
The only thing cardboard can’t do is smell like gingerbread. Everything else it does at least as well.
Two Versions to Choose From
Before you gather materials, decide which type you’re making. The technique is different enough that they’re almost separate projects.
| Version | Best for | Difficulty | Time |
|---|---|---|---|
| Flat ornament / garland | Decoration, tree ornament, gift tag | Easy | 30–45 min |
| 3D standing house | Display, village, table centrepiece | Intermediate | 1.5–2 hours |
The flat version is where I’d start if you’ve never done this before. The 3D version is more impressive but has more steps where things can go wrong.
What You Need
For Both Versions
- Cardboard from a shipping box (avoid pieces with heavy printing — the ink bleeds through paint)
- Craft knife or utility knife
- Self-healing cutting mat, or a thick stack of newspapers
- Pencil and ruler
- White paint pen or white paint marker (2–3 fine-tip for details, 1 broad-tip for fills)
Additional for 3D House
- Hot glue gun + glue sticks
- Extra cardboard for internal supports
- Black marker for scoring fold lines
For the “Frosting” Decoration Method (Kids Version)
- White glue
- Shaving cream (equal parts to glue)
- Popsicle sticks or plastic knives for spreading
- Sequins, buttons, small beads, pompoms for decorations
Part One: The Flat Ornament Version
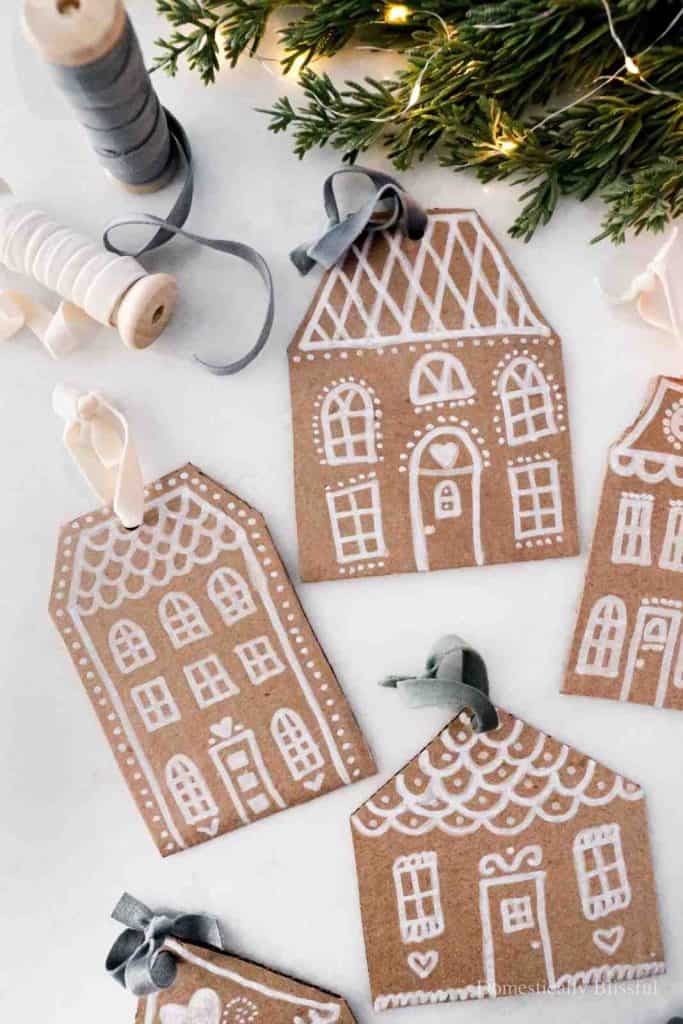
This is the version from domesticallyblissful.com — simple, beautiful, can be made in an afternoon.
Step 1: Cut Your House Shape
On a piece of cardboard, draw the outline of a house: a rectangle for the walls, a triangle peak for the roof. Standard ornament size is about 10–12cm tall. For a garland, make five or six in slightly different sizes.
People always ask: How do I get the triangle roof right?
Mark the midpoint of the top edge of your rectangle with a pencil. Then measure down 3–4cm on each side and make a mark. Connect those two marks to your centre point. That’s your roof peak. Adjust the angle by moving the centre point up or down — higher point = steeper roof, more traditional look; lower point = flatter roof, more modern.
Cut along the outline with a craft knife. A self-healing mat underneath protects the table and gives you a cleaner cut than cutting on cardboard itself.
Step 2: Draw the Details
This is where the character comes from.
Work from the top of the house downward — roof first, then walls, then door and windows. This prevents your hand smudging what you’ve just drawn.
Details that work well:
- Roof: overlapping scallops (like fish scales or roof tiles), dots in a grid pattern, or zigzag lines along the peak
- Windows: simple squares with a cross divider and a dot of white in the corner to suggest reflection
- Door: arched top, small circle for a doorknob
- Walls: dots, small stars, a simple wreath or Christmas tree drawn in the corner
People always ask: Do I need to be able to draw?
No. The beauty of the gingerbread house aesthetic is that piped icing is already imperfect. White paint pen lines that wobble slightly read as piped icing, not as drawing mistakes.
Step 3: Hang or Display
Punch a hole near the roof peak with a hole punch. Thread velvet ribbon, jute twine, or thin satin ribbon through.
For a garland: hot-glue a length of jute twine horizontally to the backs of several houses, spaced evenly, and hang the whole thing across a mantelpiece or window frame.
Part Two: The 3D Standing House

More involved, more impressive. Good for a display, a village centrepiece, or a table decoration.
🔥 Would you like to save this?
Step 1: Cut the Six Pieces
A basic house has six pieces:
| Piece | Shape | Notes |
|---|---|---|
| Front wall | Rectangle with peaked top | Includes door cutout |
| Back wall | Rectangle with peaked top | Same as front |
| Two side walls | Plain rectangles | Shorter than front/back |
| Two roof panels | Rectangles | Will lean together at the ridge |
What size?
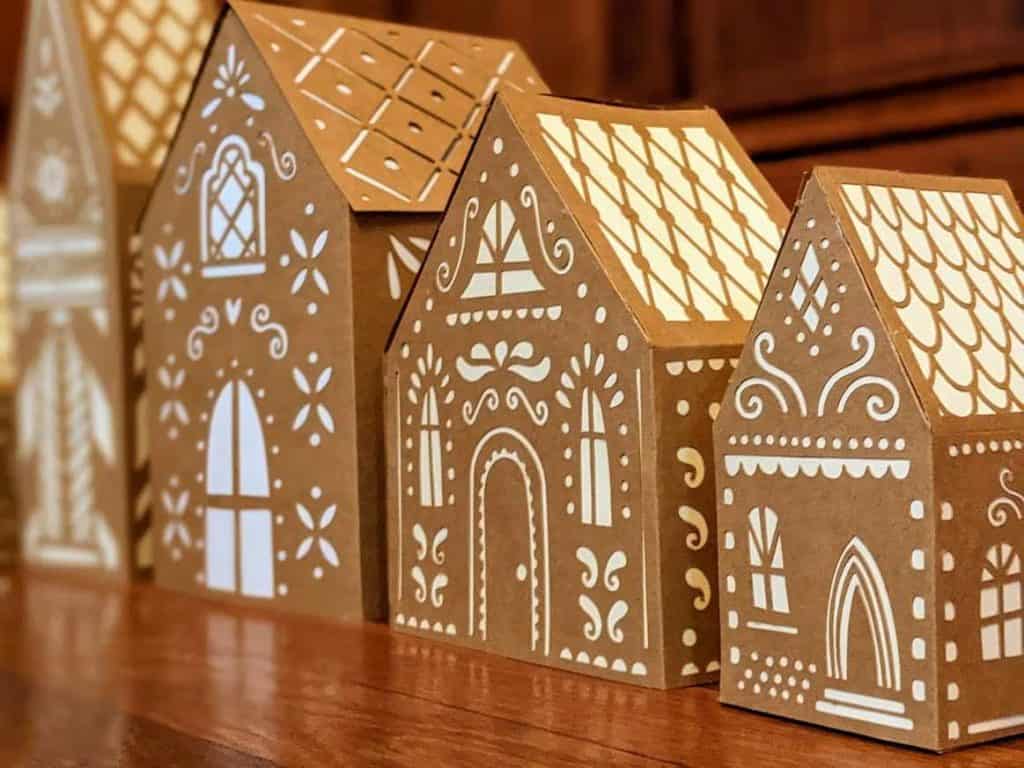
A good starting house: front and back walls 15cm wide × 18cm tall to the peak (12cm to where the peak starts, then triangle to 18cm). Side walls 10cm wide × 12cm tall. Roof panels 12cm × 15cm.
Scale everything up or down together and it works at any size.
Step 2: Score the Roof Panels
For the roof to slope, each roof panel needs a slight curve or a scored fold line along the ridge edge. Run the back of your craft knife (not the blade) along a straight line 1cm in from the top edge of each roof panel. This weakens the cardboard just enough to let it bend without cracking.
Step 3: Assemble with Hot Glue
Assemble in this order:
- Glue the two side walls to the front wall (outside corners, right angles)
- Glue the back wall on to close the box
- Let it sit for a minute to set
- Glue the two roof panels together along the ridge, then lower them onto the walls and glue in place
People always ask: How do you keep it from leaning?
Cut a small square of cardboard and glue it diagonally across each interior corner — like a gusset. It stiffens the structure significantly. You can also add a cardboard base (a rectangle slightly larger than the footprint of the house) to help it stand flat.
People also ask: Does hot glue hold well on cardboard?
Yes, if you work quickly and press firmly for 10–15 seconds per joint. Where it tends to fail is if you try to glue too large a surface in one pass. Work in short runs of 5–7cm at a time.
Step 4: Paint a Base Coat (Optional but Worth It)
A thin layer of white or cream acrylic paint over the whole outside transforms it from “cardboard box” to “decorated house.” You don’t need full coverage — a slightly patchy coat looks warm and textured.
Let it dry completely before adding details.
Step 5: Decorate
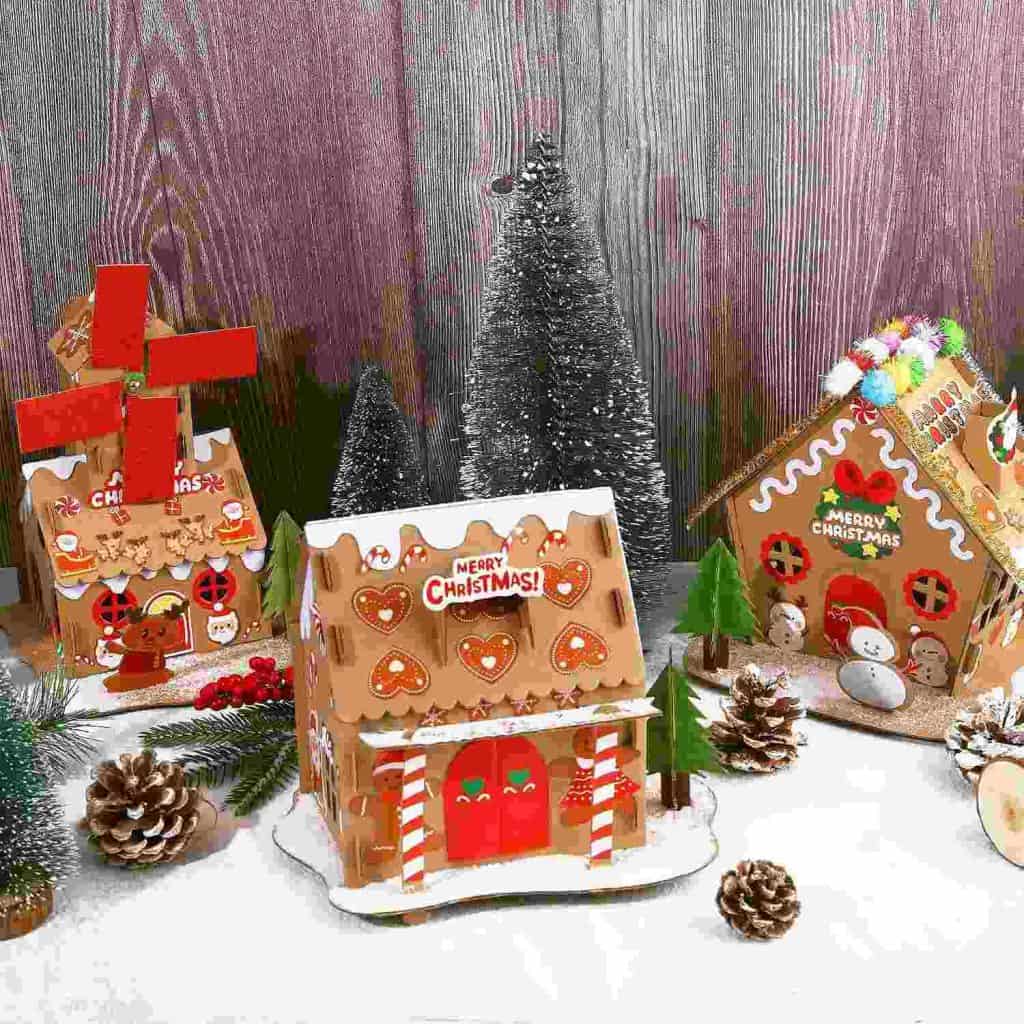
Same principles as the flat version — white paint pen, working from top to bottom, roof details before wall details.
For a 3D house you can add:
- A chimney (a small rectangular tube of cardboard, glued to the roof peak and painted)
- Snow on the roof edges (thick white paint applied with a palette knife or old butter knife creates texture)
- A small wreath on the door cut from wire and painted, or made from a twist of green floral wire
- Small pebble or stone “path” leading to the door
The Shaving Cream Frosting Method (For Children)
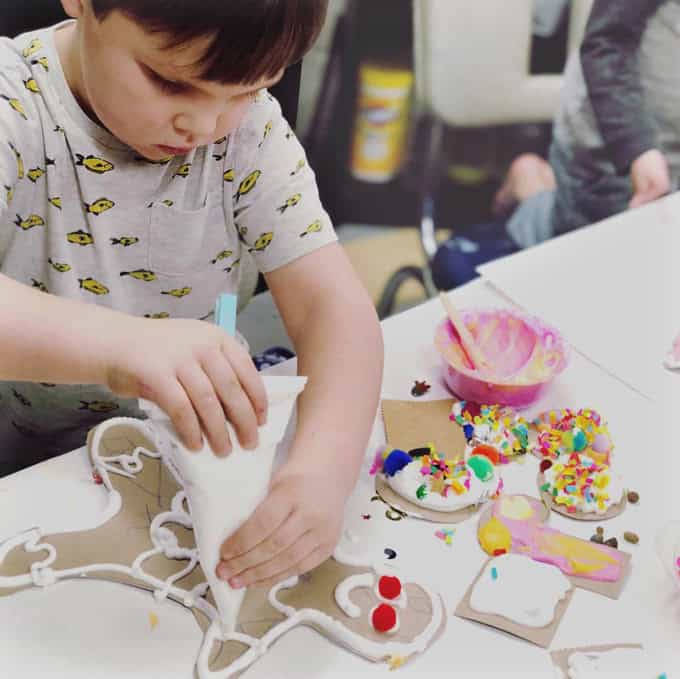
This is the version that makes the most mess and the most happy children.
Mix equal parts white glue and shaving cream in a bowl. It should be thick and spreadable, like soft whipped cream.
Apply it to the assembled house with popsicle sticks, plastic knives, or a piping bag (a zip-lock bag with one corner cut off works perfectly). While it’s still wet, press decorations into it — sequins, buttons, tiny beads, small pompoms, dried cranberries.
Leave it to dry completely, which takes several hours. The dried result is lightweight, slightly textured, and looks like actual royal icing on a real gingerbread house.
People always ask: Does it smell?
The shaving cream smell fades as it dries. After 24 hours there’s nothing.
People also ask: Does it go mouldy?
It hasn’t in our experience, but display it somewhere dry and don’t store it in a sealed box with no air circulation.
Making a Village
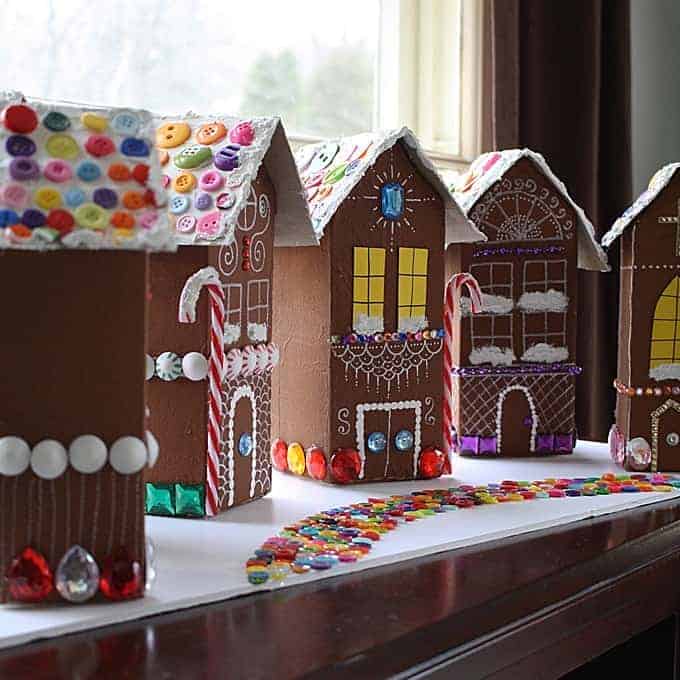
Three or four houses of different sizes, grouped together on a surface with some loose fake snow, a few small figurines, and small LED string lights tucked among them. That’s the village.
What makes it look intentional rather than random:
- Vary the roof angles (steep on one, flatter on another)
- Use slightly different decoration styles on each house (dots on one, scallops on another, simple lines on the third)
- Odd numbers look better than even — three houses, not four
- Face them all the same direction, or angle two slightly toward each other as though they’re on a street
One Thing I Didn’t Expect
The first time we made these, I thought they’d be a one-year project. Something we tried once and moved on from.
They’re now the first decoration that comes out in December. Not because they’re the most impressive thing we own — Zina’s filet crochet tree skirt is more impressive by any measure. But because Maria made the first one, and Marina made the second, and now there are seven of them in a cardboard box in the storage room, each one slightly better than the last.
That’s what a craft that doesn’t require eating turns into.
Pin this for December.

I’m Katerina Lithopoulou, co-creator of DIY Cozy Living. I’ve always loved the little things that make a space feel special. With a background in language and a passion for photography and cozy design, I enjoy turning everyday inspiration into simple ideas people can actually use.
My motto: “Cozy isn’t a trend — it’s a feeling.”
