Call us: +306949885346

How to Clean Walls Without Removing Paint (10 Proven Tactics)
Walls set the tone for your home. Whether you love bright whites, soft neutrals, or moody dark shades, clean walls make a room feel fresh and cared for.
But cleaning walls can be tricky: scrub too hard or use the wrong cleaner, and suddenly your beautiful paint job is streaked, faded, or peeling.
So how do you remove dirt, smudges, and stains without ruining the paint? The secret is to clean gently, test before you scrub, and use the right methods for your paint type.
This guide will show you 10 proven tactics that keep your walls spotless and your paint intact.
1. Start With a Dry Dusting
Before reaching for water, start dry. Dust is often the real culprit behind dingy-looking walls.
- Use a microfiber mop, dry cloth, or a dusting wand.
- Work top to bottom so particles fall down (and can be vacuumed later).
- Don’t forget corners and baseboards where cobwebs love to hide.
💡 Pro tip: If your walls are textured, use a vacuum brush attachment — it’s gentler than wiping.
2. Test a Small Spot First
Not all paints are created equal. Flat, eggshell, satin, and glossy finishes all react differently to moisture.
- Pick a small, hidden spot (behind furniture).
- Dampen a cloth with mild soapy water.
- Gently wipe, then check for paint transfer or fading.
👉 If color comes off, switch to an even gentler method (like baking soda paste only on the stain, not the whole wall).
3. Use the Two-Bucket Method
The fastest way to ruin walls? Reusing dirty water. Instead, use the two-bucket method:
- Bucket 1: Warm water + mild dish soap.
- Bucket 2: Clean rinse water.
- Dip your sponge in soapy water, clean the wall, then rinse in bucket 2 before re-dipping.
✨ This prevents streaks and soap residue.
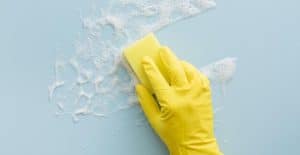
4. Choose the Right Cloth or Sponge
Rough sponges or scrub brushes can scrape paint right off. Always use:
- Soft microfiber cloths
- Cellulose sponges
- Magic Erasers (used gently — see tactic #5)
“The tool you use matters as much as the cleaner itself.”
Avoid anything abrasive — it’s tempting to scrub, but scrubbing = paint damage.
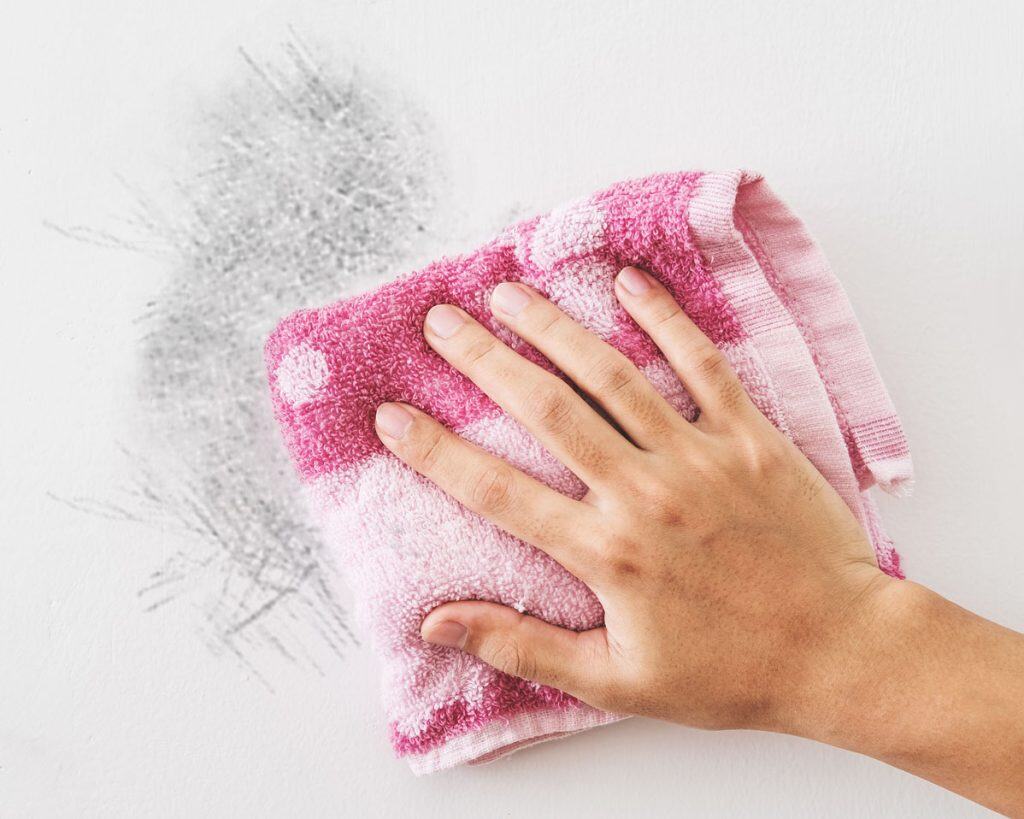
5. Handle Scuffs With a Magic Eraser (Carefully)
Scuff marks from shoes, bags, or furniture can be stubborn. A Magic Eraser is your best friend — but only if used lightly.
- Dampen the eraser.
- Rub gently in small circles.
- Stop immediately if the paint starts to dull.
💡 Works best on satin or semi-gloss. Flat paints may show shiny spots after erasing.
6. Tackle Grease With Vinegar
For kitchens or walls near dining areas, grease can leave yellow stains. Soap alone may not cut it.
Grease-removal solution:
- Mix 1 cup of distilled white vinegar with 1 gallon of warm water.
- Dip a soft sponge, wring well, and wipe the greasy area.
- Rinse with clean water and pat dry with a towel.
👉 Vinegar is natural, gentle, and safe for most painted walls.
7. Remove Crayon or Marker With Baking Soda Paste
If kids are in the house, crayons and markers are bound to hit the walls. Instead of harsh cleaners, try this:
- Mix baking soda with water until it forms a paste.
- Dab a sponge in the paste and gently rub the marks.
- Wipe clean with a damp cloth.
✨ Baking soda is mildly abrasive — strong enough to lift marks, but safe when used lightly.
8. Blot, Don’t Scrub Stains
Wine splashes, fingerprints, or food smears? The instinct is to scrub — resist it.
- Apply cleaner to a cloth, not directly on the wall.
- Press gently and blot the stain.
- Repeat with fresh cleaner as needed.
💡 Scrubbing spreads stains and rubs off paint. Blotting lifts them instead.
9. Don’t Forget to Dry the Walls
Moisture left on walls can weaken paint and even lead to mildew. After cleaning, always dry.
- Use a dry microfiber cloth or towel.
- For large areas, turn on a fan to speed up drying.
“A clean wall isn’t really clean until it’s dry and streak-free.”
10. Prevent Future Wall Stains
Cleaning is good. Preventing is better. Extend the life of your paint with these strategies:
- Washable paints: If you’re repainting, choose scrubbable finishes like satin or semi-gloss in high-traffic areas.
- Regular dusting: Quick monthly wipe-downs prevent buildup.
- Furniture bumpers: Add pads to chairs or coat hooks to prevent scuffing.
- House rules: Shoes off near entry walls, and set kids up with easels instead of blank walls.
Quick Comparison Table: Wall Cleaning Solutions
| Stain Type | Best Cleaner | Avoid |
|---|---|---|
| Dust & cobwebs | Microfiber cloth/vacuum | Wet cloths (smear) |
| Scuffs | Magic Eraser (gentle) | Abrasive scrubbing |
| Grease | Vinegar + water mix | Harsh degreasers |
| Crayon/marker | Baking soda paste | Bleach-based sprays |
| General dirt | Mild dish soap + water | Strong chemicals |
Final Thoughts
Cleaning your walls doesn’t mean risking your paint job. With the right tactics — gentle cleaners, soft cloths, and patience — you can keep walls fresh for years without dulling or damaging them.
Remember: start soft, test first, and always dry. Your walls will thank you with a long-lasting, spotless finish.
I’m Anastasios Moulios, co-founder of DIY Cozy Living. I enjoy finding creative, practical ways to make small spaces feel warm, stylish, and lived-in. I started this blog with Katerina to share real ideas that make a home feel a little more personal and a lot more comfortable.
