
15 Creative Christmas Gift Wrapping Ideas That Make the Present Before It Is Even Opened

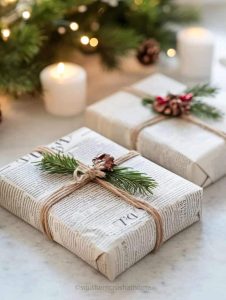
Gift wrapping is the part of Christmas I always leave too late and then rush through at midnight on December 23rd with the wrong size scissors and no tape left on the roll. For years I wrapped everything in whatever paper was nearest and considered it done.
Then one year I accidentally started early, put on a Christmas playlist, made a cup of tea, and spent an afternoon actually wrapping things properly. The gifts looked so different that Tasos thought I had bought them from a shop. Marina held one for approximately forty minutes before agreeing to put it under the tree.
The wrapping is not just packaging. It is the first impression of the gift, the thing that builds anticipation before anyone knows what is inside, and done well it is a gift in itself. These fifteen ideas range from the genuinely quick (five minutes) to the more involved (thirty minutes), from budget-friendly to luxurious, and from classic to unexpected. Every one of them is achievable at home with supplies from a craft shop or things you already have.
The Supplies Worth Having
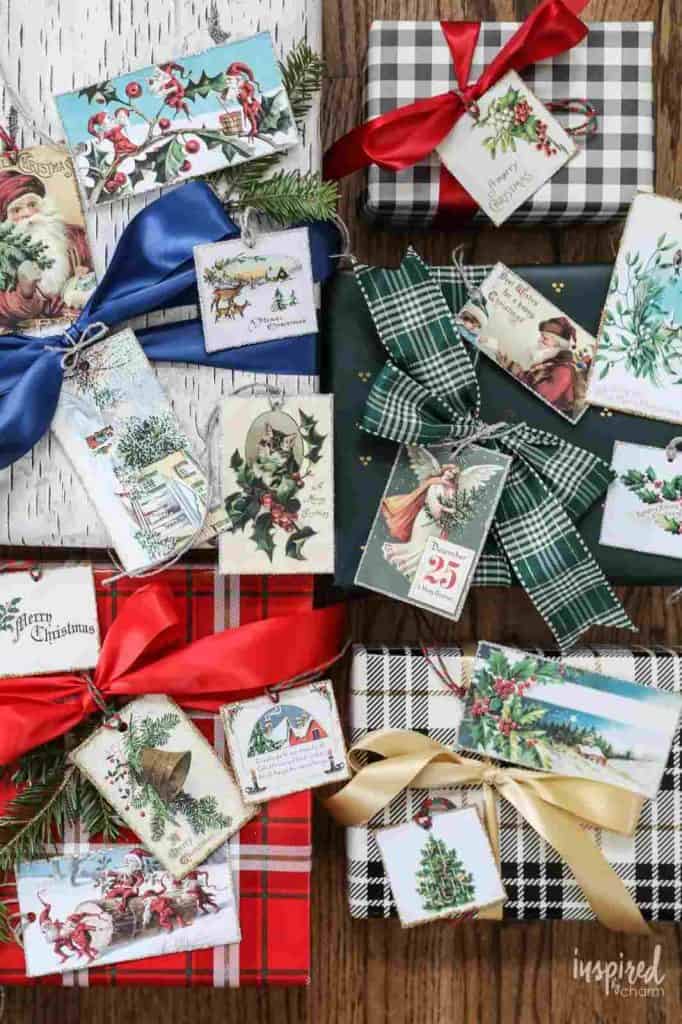
You do not need a vast collection of wrapping supplies to produce beautiful gifts. You need the right basics.
Kraft paper: The single best investment for gift wrapping. A roll of brown kraft paper costs almost nothing, goes with every ribbon and every topper, and photographs beautifully in natural light. It is the blank canvas that makes every idea below work better than it would on printed wrapping paper.
Scissors that actually cut: Blunt scissors make wrapping paper tear rather than cut cleanly. A good sharp pair makes everything faster and neater.
Double-sided tape: Standard tape shows on the surface of the gift. Double-sided tape is invisible and gives a much cleaner finish. Worth having at least one roll.
Ribbon in two or three coordinating colours: One wide ribbon and one thin one in colours that work together gives you enough variety to make every gift look different.
A few extras: Dried botanicals, twine, washi tape, fresh greenery, stamps, stickers. These are what make a gift look considered rather than quickly done.
CLASSIC AND TIMELESS
1. Kraft Paper With Herbs and Spices
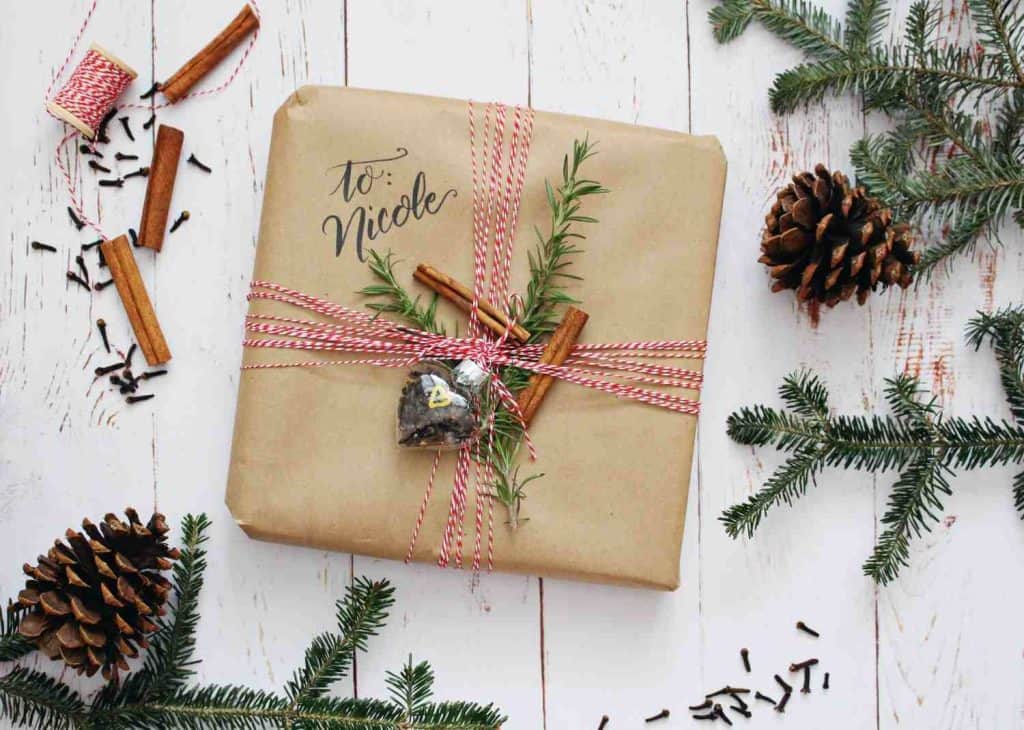
The simplest and most beautiful wrapping combination on this list.
Wrap the gift in kraft paper, tie with natural jute twine, and tuck a bundle of fresh rosemary, a cinnamon stick, and a star anise into the knot before tying.
The gift smells extraordinary, looks completely intentional, and costs almost nothing beyond the kraft paper.
What makes it work: The contrast of the rough jute twine against the smooth kraft paper, with the botanical element adding texture, colour, and scent. Keep the botanical bundle small and tight rather than sprawling.
Time: 5 minutes per gift.
2. Velvet Ribbon With a Dried Botanical Spray
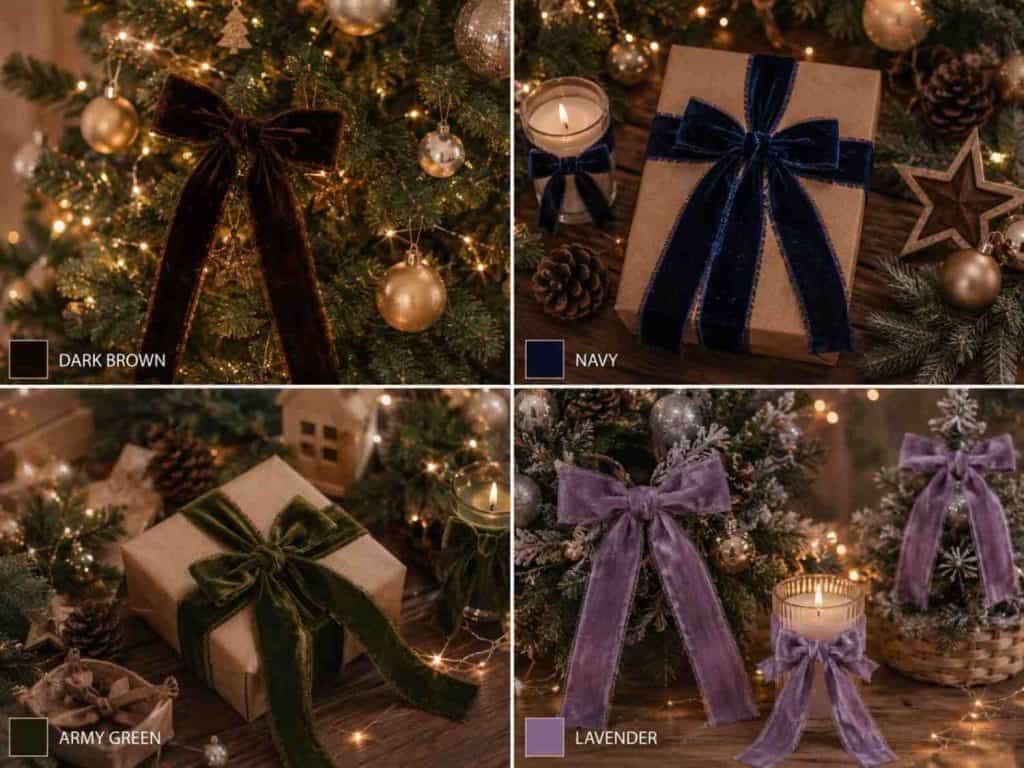
A wide velvet ribbon tied in a generous bow, with a small dried botanical arrangement tucked into the centre of the bow: a dried orange slice, a sprig of dried lavender, a small pinecone. The velvet catches the light in a way that satin does not, and the dried botanicals last indefinitely which means the recipient can keep the topper as a small decoration after opening the gift.
What makes it work: The combination of the luxurious velvet ribbon and the natural dried elements creates a tension between elegant and earthy that photographs beautifully.
Time: 10 minutes per gift.
3. Candy Cane and Twine Topper
Tie two candy canes in an X shape using a length of red and white baker’s twine and attach to the top of a white or kraft-wrapped gift. A small gift tag threaded onto the twine completes the look. The candy canes are both decoration and a small additional gift, which makes this one of the most practical wrapping ideas on the list.
What makes it work: The graphic simplicity of the X shape against a plain background. Use real candy canes rather than decorative ones so the recipient can eat them.
Time: 5 minutes per gift.
4. The Handwritten Gift Tag
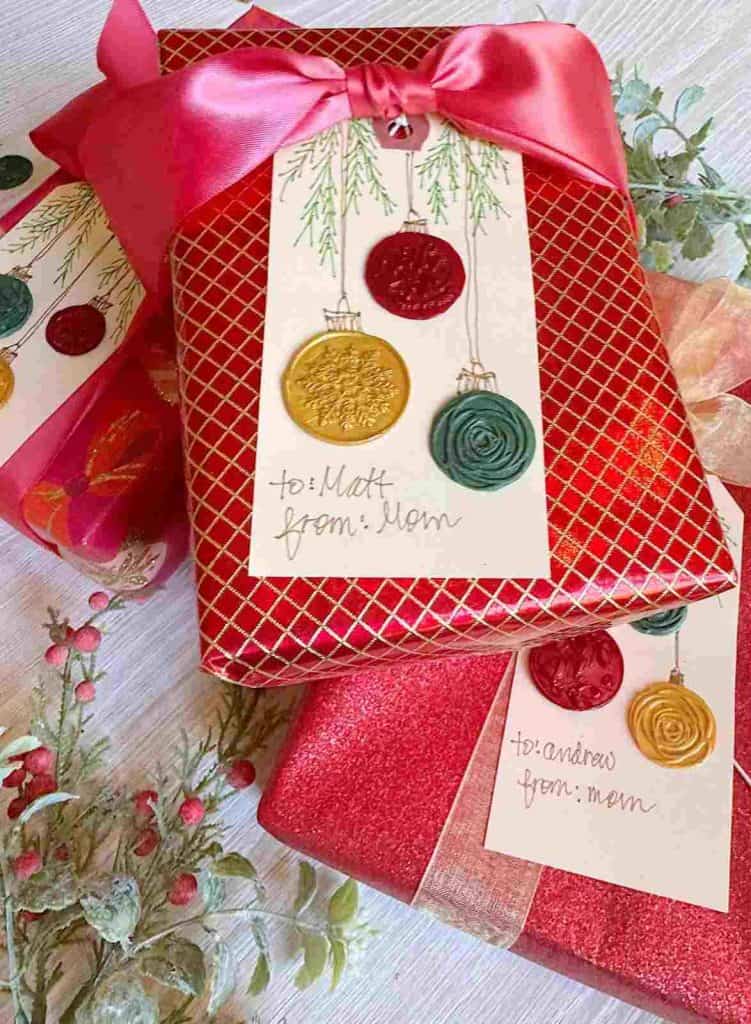
Cut a tag from a piece of thick card or kraft paper, write the recipient’s name in your best handwriting, and punch a hole in the corner to thread through the ribbon. Simple, personal, and more meaningful than a generic printed label. If your handwriting is not what you would like it to be, a rubber stamp with the first letter of the recipient’s name works equally well.
What makes it work: The personal touch of handwriting or a personalised stamp makes even the simplest wrapping feel considered.
Time: 2 minutes per gift.
NATURAL AND BOTANICAL
5. Fresh Pine and Berry Spray
A small bundle of fresh pine, a few sprigs of red berries, and a dried orange slice tied onto a kraft-wrapped gift with natural twine.
This is the Christmas wrapping that looks like it came from a high-end gift shop and costs almost nothing if you have access to a pine tree or a garden centre selling off cuts.
What makes it work: Fresh greenery has a scent and a life to it that no artificial decoration replicates. The gift smells like Christmas the moment someone picks it up.
Time: 10 minutes per gift.
Practical note: Fresh greenery wilts within a few days, so add this topper as close to gift-giving as possible. Dried botanicals are the longer-lasting alternative if you need to wrap ahead of time.
6. Pressed Flower Gift Tag
Press small flowers and leaves between the pages of a heavy book for two weeks until dry. Attach to the surface of a plain-wrapped gift using a dot of craft glue.
A dried pansy, a small sprig of lavender, or a pressed fern on the corner of a white-wrapped gift looks like something from a botanical stationery brand.
What makes it work: The delicacy of pressed flowers against a plain background is genuinely beautiful. Works particularly well with white or cream wrapping paper rather than kraft.
Time: 5 minutes once the flowers are pressed (preparation time: two weeks in advance).
7. Tea Towel Furoshiki Wrapping
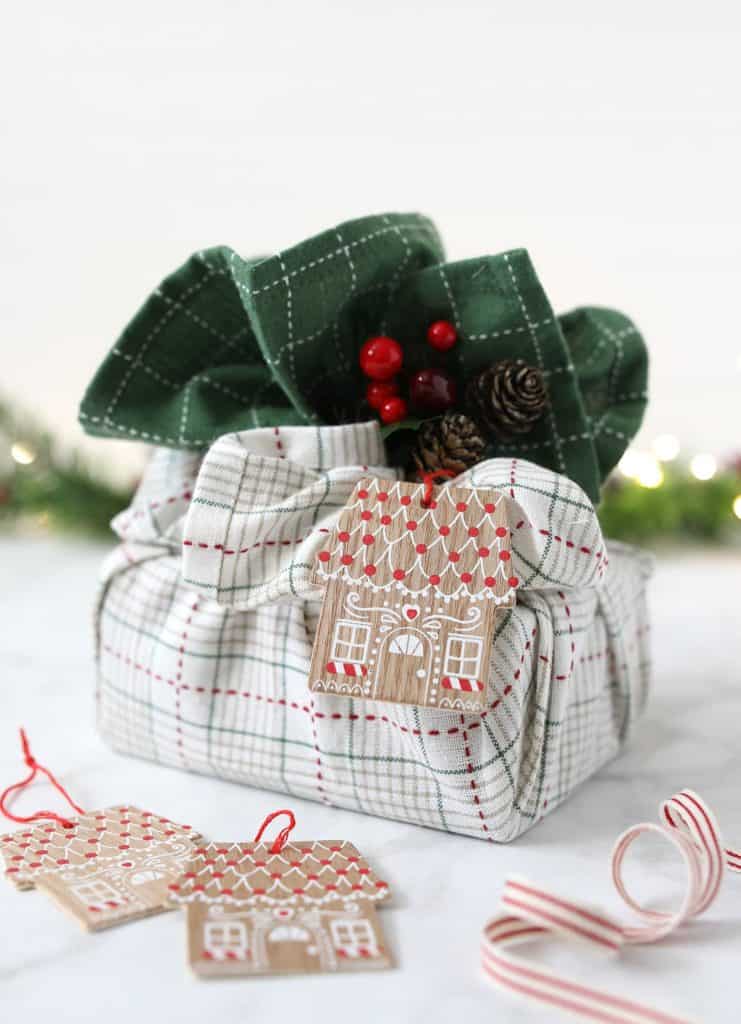
The Japanese art of furoshiki, wrapping objects in fabric rather than paper, produces a gift that is both beautifully wrapped and itself a small gift.
Lay a Christmas tea towel flat, place the gift in the centre, and gather and tie the corners at the top.
Tuck and fold for a neater finish, add a sprig of holly or a piece of ribbon, and the wrapping becomes a kitchen textile the recipient uses for years.
What makes it work: The recipient gets two gifts in one. The wrapped result photographs beautifully from above.
Time: 10 minutes per gift.
Works especially well for: Books, small boxes, bottles.
PERSONALISED AND HANDMADE
8. Gingerbread Cookie Gift Tag
Make a batch of gingerbread biscuits and use them as gift tags.
Pipe the recipient’s name in royal icing on the surface of the biscuit, make a small hole near the top before baking, and thread through twine once cooled.
The gift tag is edible, which is possibly the most charming gift tag concept available.
What makes it work: It is completely unexpected. Nobody forgets the year someone gave them a gift with a gingerbread tag.
Time: 45 minutes including baking. Make in batches so the time investment covers multiple gifts.
9. Icing and Glitter Drawing
Wrap the gift in kraft paper and use a piping bag filled with royal icing to draw simple Christmas designs directly onto the surface.
🔥 Would you like to save this?
A small star, a tree outline, a simple snowflake. While the icing is still wet, dust with edible or craft glitter. Let dry completely before moving.
What makes it work: No two gifts look the same. The icing gives a raised, textured quality that catches the light.
Time: 15 minutes per gift plus drying time. Do the night before.
10. Personalised Letter Stickers
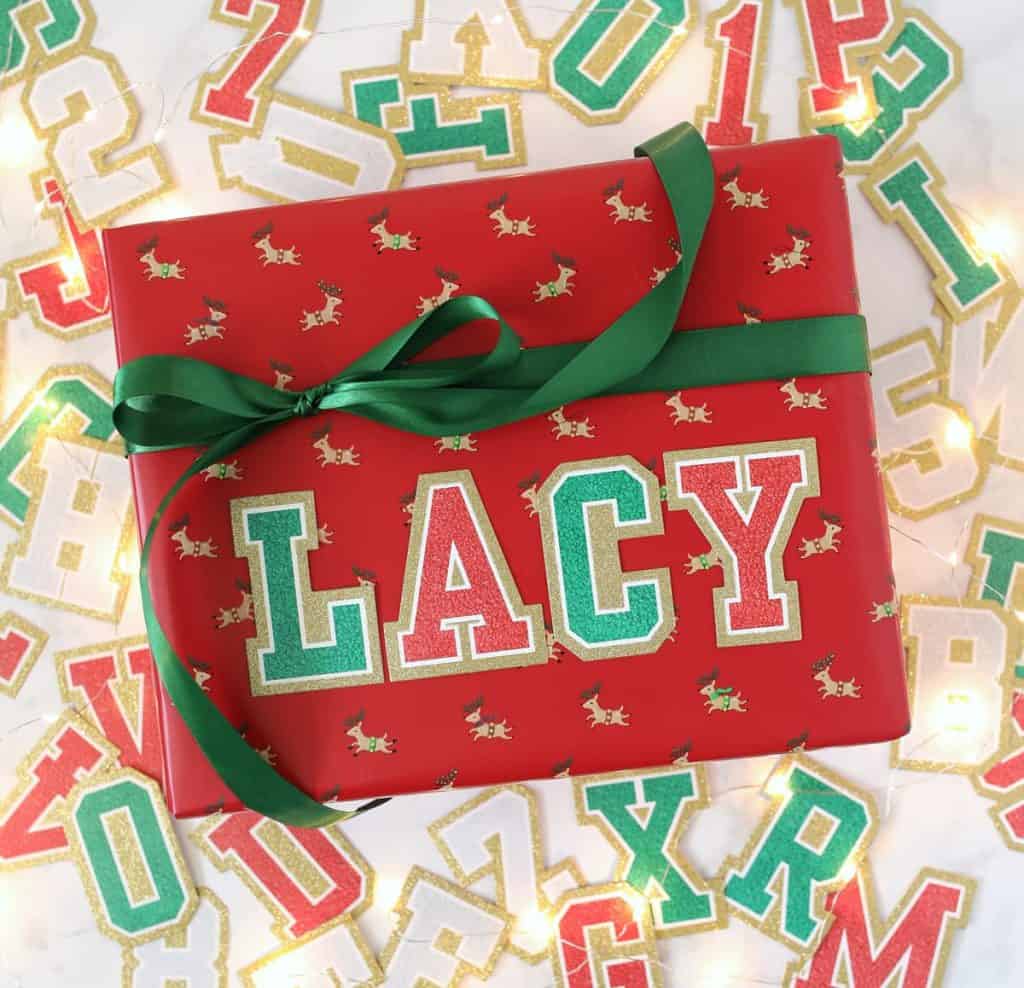
Peel-and-stick varsity-style letter stickers spell out the recipient’s name across the front of a plain-wrapped gift. Add a simple ribbon to finish.
The oversized letters make the name the main visual element of the wrapping, which is both playful and personal.
What makes it work: Immediate personalisation with almost no effort. Particularly effective for children’s gifts where seeing their name on a gift is a very big deal.
Time: 3 minutes per gift.
11. Washi Tape Ribbon Alternative
Instead of ribbon, create a ribbon effect using strips of washi tape in coordinating patterns: a wide stripe of geometric patterned tape down the centre of the gift and two narrower stripes flanking it. At the intersection, add a small round sticker as a bow substitute. This works especially well for flat gifts like books where tying a ribbon is awkward.
What makes it work: Washi tape stays flat and does not shift during transport, which means the gift looks as good when it arrives as when it was wrapped. Endless pattern combinations.
Time: 5 minutes per gift.
REUSABLE AND SUSTAINABLE
12. The Reusable Gift Box
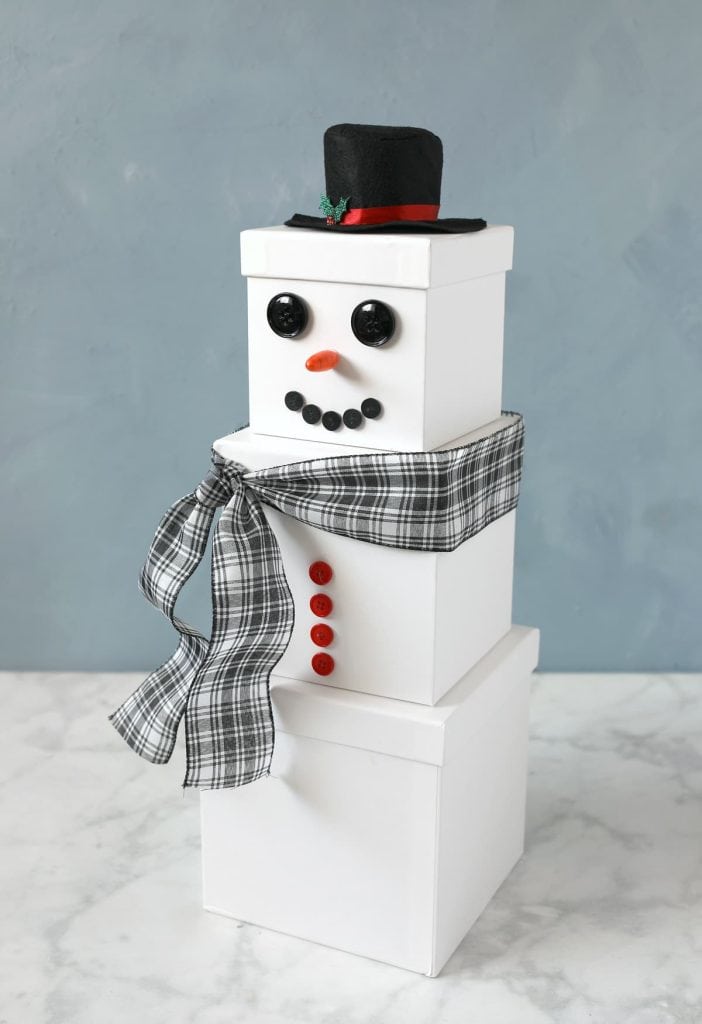
Wrap the gift inside a decorative box with a lid rather than in wrapping paper.
The box becomes part of the gift and can be kept and reused for storage, as a keepsake box, or re-gifted the following year.
Choose boxes in simple patterns that suit the recipient’s aesthetic rather than specifically Christmas patterns so the box remains useful in January.
What makes it work: Zero waste and genuinely useful. The recipient gets the gift and a beautiful box.
Time: 2 minutes.
13. Fabric Bag With Ribbon Tie
Sew or buy a simple drawstring bag in festive fabric, place the gift inside, and tie the top with a length of velvet ribbon. The bag becomes a reusable gift bag that the recipient can use for storage or re-gifting for years. Particularly effective for oddly-shaped gifts that are difficult to wrap conventionally.
What makes it work: Practical, reusable, and avoids the awkward wrapping of bottles, round objects, and anything that refuses to sit neatly in a box.
Time: 5 minutes if buying the bag. 30 minutes if sewing your own.
THEMED AND COORDINATED
14. The Monochrome Gift Stack
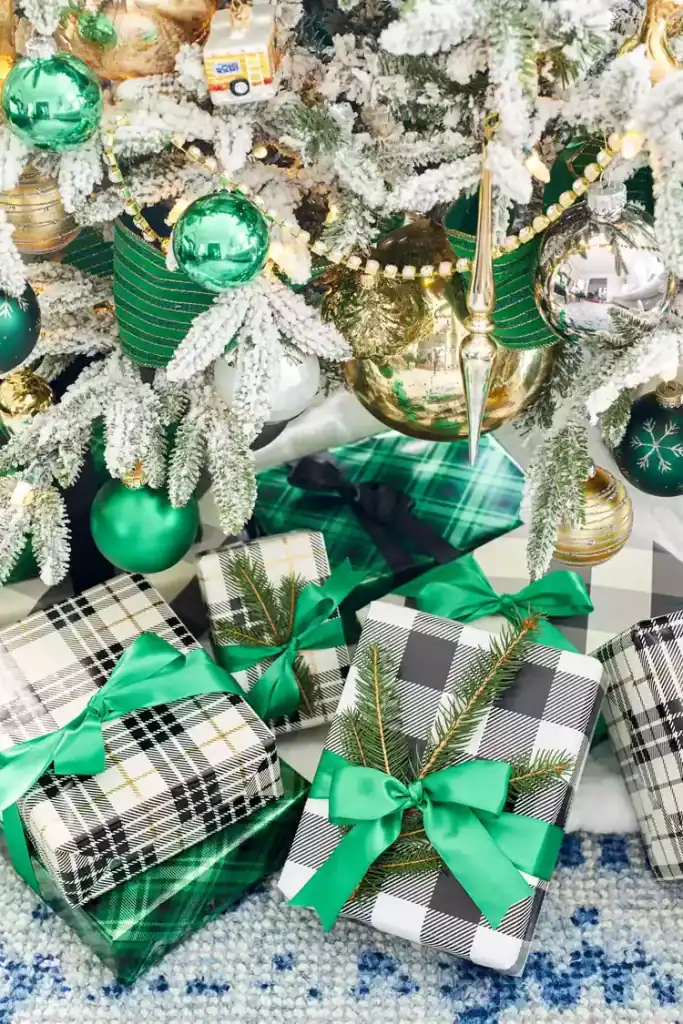
Wrap every gift for one recipient in the same colour palette: all kraft and cream, all deep red and gold, all white and silver.
Stack them under the tree together. The coordinated stack looks dramatically more intentional than a mixed collection and creates a moment when the recipient realises all the gifts are for them.
What makes it work: The visual impact of a coordinated stack under the tree is one of the most photographed Christmas moments on Pinterest. The effort is in the planning rather than the execution.
Time: Standard wrapping time per gift. The coordination is in the colour choice not the technique.
15. The Mini Ornament Topper
Tie a small ornament onto the ribbon bow of each gift so the ornament becomes both a topper and a small additional gift.
Choose ornaments that suit the recipient: a tiny wooden star for someone who likes natural aesthetics, a small glass ball in their favourite colour, a novelty ornament that reflects something they love. The gift is finished and the recipient gets something for the tree.
What makes it work: The ornament topper gives every gift an immediate vertical dimension that a flat bow cannot achieve. It also means the recipient gets slightly more than they expected, which is always a good moment.
Time: 5 minutes per gift.
How to Make Ribbon Bows That Actually Look Good
This is the question from every gift wrapping tutorial comment section that nobody properly answers. Making a ribbon bow that stays in a bow and looks full and generous rather than flat and limp is a technique, not a talent.
The loop method: Cut a length of ribbon approximately five times the width of the gift. Make a loop in the centre of the ribbon and pinch it. Make another loop in the opposite direction and pinch alongside the first.
Continue making loops in alternating directions, pinching in the centre each time, until you have four or five loops on each side. Secure all the loops tightly in the centre with a thin piece of wire or a small cable tie. Fan the loops out in all directions and adjust until full. Attach to the gift with a small piece of double-sided tape.
The key tip from the question Tieghan got asked: Velvet and wired ribbon hold their loops better than satin or polyester ribbon. If your bow will not stay in shape, switch to a wired ribbon.
The secret to a full bow: Use more ribbon than you think you need and make more loops than you think necessary. A generous bow always looks better than a mean one.
How to Wrap an Awkward Shape
Books, bottles, round items, and anything that does not sit neatly in a rectangular box all resist standard wrapping. Here is the honest approach for each.
Books: Wrap diagonally rather than straight on. Place the book corner-to-corner on the paper rather than edge-to-edge. Fold the excess into neat triangles at each end. Diagonal wrapping uses less paper and looks more professional.
Bottles: Place in a tall box if you have one. If not, wrap in tissue paper first to create a softer shape, then wrap that in outer paper and tie the top with a generous ribbon bow.
Round objects: A box or a bag is genuinely the right answer. Wrapping paper around a sphere never looks good. Choose a round tin, a round box, or a fabric bag.
Very large or oddly shaped gifts: A large gift bag is not a failure. A beautiful bag with layers of tissue paper showing at the top and a ribbon handle looks genuinely festive.
Frequently Asked Questions
What is the best paper for gift wrapping? Kraft paper is the most versatile and the most forgiving. It suits every ribbon, every topper, and every aesthetic. Thick printed wrapping paper is the next best option since it does not tear during wrapping. Avoid thin shiny paper which tears easily and shows every fingerprint.
How do I make my wrapping look more expensive? Three things make the biggest difference: double-sided tape instead of standard tape so no tape is visible, a ribbon that is slightly more generous than seems necessary, and one considered topper element (a dried botanical, an ornament, a fresh sprig) rather than a generic bow from a multipack.
How do I wrap a gift without showing the tape? Use double-sided tape wherever possible. Where single-sided tape is necessary, align the tape with a fold of paper rather than on a flat surface so it is hidden by the paper edge above it.
What ribbon works best for gift wrapping? Wired velvet ribbon for bows since it holds its shape. Satin ribbon for tied bows on smaller gifts. Jute or baker’s twine for a natural or rustic look. Avoid curling ribbon except for children’s gifts where the playful curl is appropriate.
How far in advance can I wrap gifts? Gifts wrapped in paper can be wrapped weeks in advance. Gifts with fresh botanical toppers should have the toppers added as close to giving as possible since fresh greenery wilts within a few days. Dried botanicals are stable indefinitely.
The year I actually started wrapping properly, Marina refused to open her gifts for a full day because she said they were too pretty. She did eventually open them. But for one day they sat under the tree looking exactly like gifts are supposed to look, and that was worth every minute of the afternoon I spent on them.
Wrap things properly this year. Start before December 23rd. Make a cup of tea first. You already know how good it feels to give someone something they are genuinely excited to receive. The wrapping is just the beginning of that feeling.

I’m Katerina Lithopoulou, co-creator of DIY Cozy Living. I’ve always loved the little things that make a space feel special. With a background in language and a passion for photography and cozy design, I enjoy turning everyday inspiration into simple ideas people can actually use.
My motto: “Cozy isn’t a trend — it’s a feeling.”
