
How to Make Paper Spiderwebs (Easy Fold-and-Cut Method)

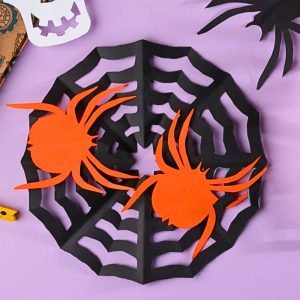
Spiderwebs are one of those Halloween decorations that look like they require skill and then turn out to need almost none.
The fold-and-cut version took Maria about eight minutes the first time she tried it, and she spent the next twenty making seventeen more in slightly different sizes and sticking them to every window in the house.
I let her. It was October and the house looked brilliant.
This is the only method you need. One square of paper, a pair of scissors, and about ten minutes.
The result looks genuinely impressive and costs almost nothing, which is exactly how Halloween decorating should work.
What You Need
Paper: Parchment paper is the easiest for beginners because it’s thin and cuts cleanly through multiple folds. White printer paper works well too. Black cardstock is the most dramatic option for window displays. Construction paper works but is harder to cut through all the layers.
Sharp scissors: This matters more than the paper. Blunt scissors tear rather than cut and make the web strands ragged. If yours have been in the junk drawer since 2019, borrow a sharper pair.
A pencil: For drawing your cutting lines before you cut.
Optional: An iron for flattening the web afterward, and small removable adhesive strips for displaying without damage.
How to Make a Paper Spiderweb
Step 1: Start with a square
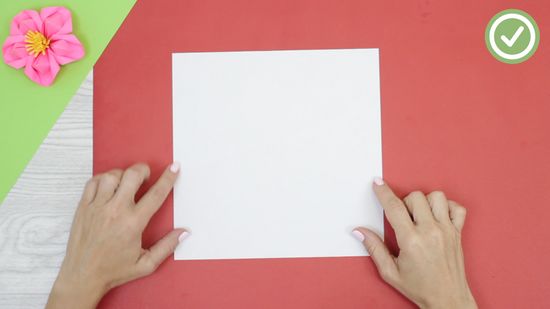
Cut or fold your paper into a perfect square.
If you’re using printer paper, fold one corner down to the opposite edge to make a triangle, crease, and trim the leftover strip. Open it back up and you have a square.
The size of your square determines the size of your web. An A4 sheet gives you a medium web, roughly 20cm across when finished. Start with one sheet and adjust from there.
Step 2: Fold into a wedge
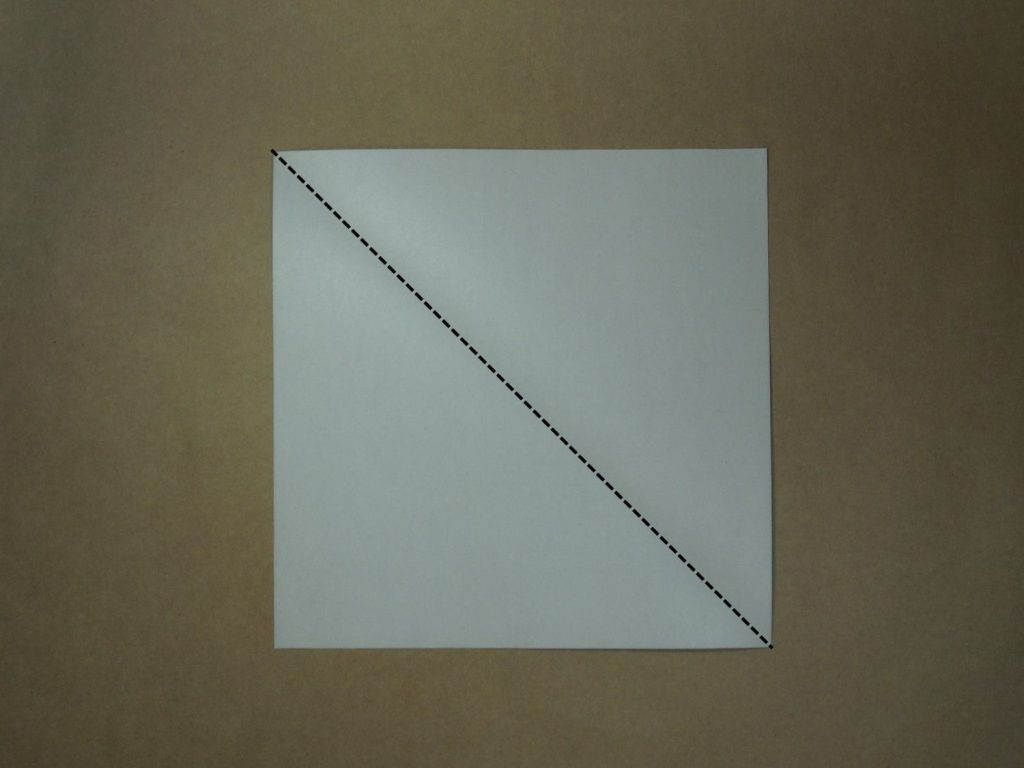
Fold the square in half diagonally to make a triangle. Fold in half again to make a smaller triangle.
Fold once more, and then one final time. You should end up with a long thin wedge with the pointed tip at one end and the layered open edge at the other.
Four folds total.
The more precisely you fold, the more symmetrical your web will be, but small imperfections actually make it look more realistic so don’t stress about perfection.
Step 3: Trim the outer edge
Trim the wide open end of the wedge into a slight inward curve. This becomes the outer edge of your finished web.
A gentle curve rather than a straight cut gives the web a rounder, more natural shape.
Step 4: Draw your cutting lines
With a pencil, draw curved lines across the wedge parallel to the curved outer edge you just cut.
Space them roughly evenly from the tip to the outer edge, like the rungs of a ladder. These lines become the spiral strands of the web.
Keep the lines a few millimetres away from each folded edge on both sides. This is the most important part: if you cut all the way to the fold the web falls apart when you open it. The folded edges are what hold the whole thing together.
Step 5: Cut along the lines
Cut carefully along each pencil line, stopping a few millimetres before each folded edge. Go slowly.
There is no recovering from cutting all the way through, as I discovered the first time I made these while on the phone to my mother. Take your time on this step.
Remove the small curved pieces of paper between each cut as you go. The wedge will start to look like a paper ladder.
🔥 Would you like to save this?
Step 6: Open it up
Unfold gently and slowly. The web will spring open and you’ll have a circular spiderweb pattern.
If it won’t lie flat, place it under a heavy book for a few minutes or iron it on medium heat for thirty seconds. Both work perfectly.
Hold it up to the light to see the strands properly before you decide where to put it.
Where to Display Your Paper Spiderweb
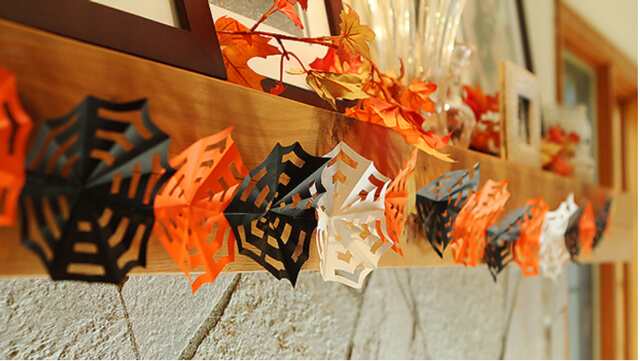
Windows: The classic location, especially with parchment or translucent paper. The light coming through shows every strand beautifully. Use small removable adhesive strips at the corners, or hang several at different heights from a tension rod across the window frame for a renter-safe display.
The mantel: Pin or tape a large web across the front of the mantel and layer your other Halloween decor in front of it. Candles, a carved pumpkin, a few scattered plastic spiders.
Mirrors: Tape a web to the corner of a bedroom or bathroom mirror. The reflection doubles the effect and it takes thirty seconds to do.
Bookshelves: Tuck webs into the corners of shelves between books and objects. Small webs arranged like the house has been genuinely abandoned for several decades, which is exactly the right Halloween feeling.
Behind a lampshade: A white web placed behind a white lampshade is invisible until the lamp is on, at which point the shadow of the web falls across the ceiling. Marina discovered this by turning the lamp on and off about thirty times. I highly recommend trying it.
Gift wrapping: A small web cut from black cardstock makes an unusual gift tag. Punch a hole at the edge, thread through some black twine, and tie it to a Halloween treat bag or gift.
Staircase banisters: Drape a few webs between the spindles and secure loosely with a piece of white thread so they hang at slightly different heights.
Tips for Better Webs
Make your cuts closer to the folded edges for thinner, more delicate strands. The more paper you remove, the lacier the result.
Vary the spacing between your cutting lines. Wider gaps near the outer edge and tighter ones near the centre look more like a real web.
Make several at once.
Once you have the folding and cutting down, each web takes about five minutes. A cluster of three different sizes in one window looks far more styled than a single large one.
Add a spider to at least one. A small spider cut from black paper, or a plastic one from the craft drawer, turns a nice decoration into a proper Halloween moment.
If you want a more delicate web, try tissue paper. It tears easily so you need to cut even more carefully, but the result is almost translucent and very beautiful in a window.
Frequently Asked Questions
What paper is best for paper spiderwebs? Parchment paper is easiest for beginners because it’s thin and folds cleanly. Printer paper works well for most sizes. Black cardstock is the best choice for window displays where you want a strong silhouette against the light.
How do I make the strands thinner? Cut your lines closer together and closer to the folded edges. The less paper left between each cut, the more delicate the web looks when opened.
How do I hang a paper spiderweb without damaging the wall? Small removable adhesive strips at the top corners work on most surfaces. For windows, a tension rod across the frame means you don’t have to touch the wall or glass at all.
Can I make these with kids? From about age six with adult supervision on the cutting. Younger children can help with the folding steps. Use parchment paper rather than cardstock since it’s much easier for small hands to cut through.
How do I store them between Halloweens? Lay flat between sheets of tissue paper inside a box. Never fold or stack them without tissue paper between each layer or they will crease and tear. The cardstock versions survive storage much better than parchment paper ones.
My web tore when I opened it. What went wrong? Almost always means the cuts went too close to or through the folded edge. Next time keep the scissors a few millimetres away from each fold on both sides of the wedge. A tiny connected edge on each side is what holds the whole web together.
The lamp-and-ceiling-shadow thing is still the best Halloween discovery this house has made. One white paper web, one lamp, one child pressing the switch on and off in pure delight.
Make a few. Stick them everywhere. See what the lamp does.
Until next time,
Stay safe,


I’m Katerina Lithopoulou, co-creator of DIY Cozy Living. I’ve always loved the little things that make a space feel special. With a background in language and a passion for photography and cozy design, I enjoy turning everyday inspiration into simple ideas people can actually use.
My motto: “Cozy isn’t a trend — it’s a feeling.”
