
How to Make a Paper Pumpkin (Easy Craft for Kids and Adults)

October is the one month of the year where I genuinely enjoy decorating.
Not because I love decorating. I do it, it looks nice, fine.
But Halloween and fall have this particular craft energy that gets me to the kitchen table with scissors and paper and glue in a way that August never manages.
The girls are easier to involve too. Maria thinks most crafts are beneath her at this point. Put orange paper and scissors in front of her in October and she’s suddenly interested again.
These paper pumpkins are the ones we keep coming back to. No special materials, nothing that needs to be ordered online, nothing that requires a specific tool.
Orange paper, scissors, glue and about twenty minutes. The result looks genuinely good on a shelf or a coffee table and takes up none of the storage space that actual decorations do when November arrives.
Here is exactly how to make them.
What You Need
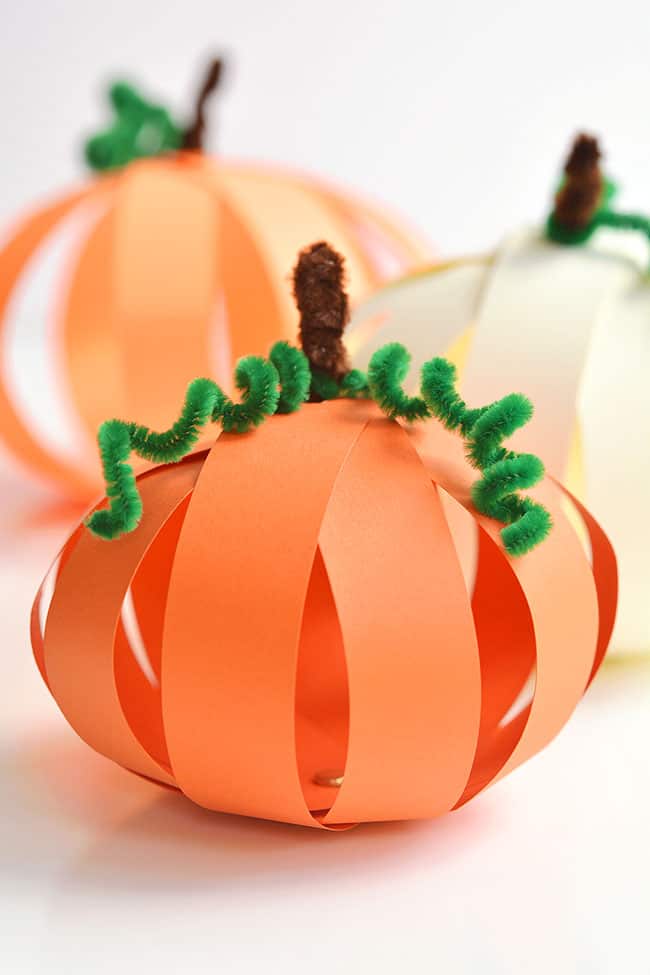
Orange paper or cardstock — construction paper works fine for a softer, lighter pumpkin. Cardstock or scrapbook paper gives a sturdier result that holds its shape better over time. A single A4 sheet makes one small pumpkin. A3 makes a larger one.
Green paper — a small amount for the stem and vine. One sheet is more than enough for several pumpkins.
Brown paper — optional, for a more realistic stem colour.
Scissors
A ruler and pencil — for marking the strips before cutting
A glue stick or craft glue — glue stick is easier for children, craft glue gives a stronger hold
A bead, brad or small button — for the centre. A brad (paper fastener) is the most common choice and the easiest to work with. If you don’t have one, a small dot of strong glue works too.
A pencil — for curling the vine
That’s everything. Nothing specialist, nothing that requires a trip to a craft shop if you already have basic supplies at home.
A Note on Paper Choice
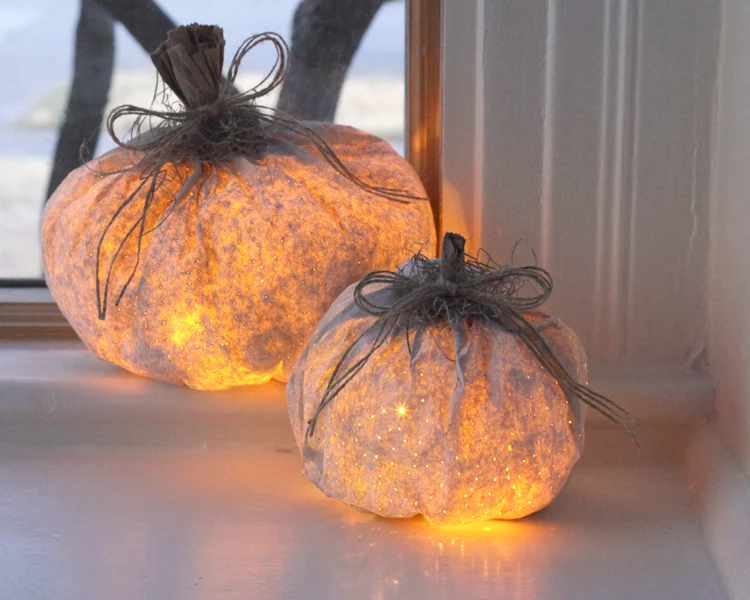
The paper you choose changes the look of the finished pumpkin more than anything else.
Plain orange construction paper gives a classic, clean result — the kind that looks right on a child’s school desk or a kitchen windowsill.
Patterned scrapbook paper in fall prints — plaid, polka dots, stripes — gives a more decorative result that suits a styled shelf or a coffee table arrangement. You can also mix two patterns in one pumpkin, alternating strips of two different papers, which gives a more textured and interesting finished look.
For a first attempt, plain orange construction paper is the right choice because the shape is what you’re learning and plain paper makes it easier to see what the strips are doing as you work.
Step One: Cut the Strips
Take your orange paper and lay it horizontally in front of you, landscape orientation.
Using a ruler and pencil, mark lines across the length of the paper at even intervals. For a medium pumpkin from an A4 sheet, mark strips that are 1.5 to 2 centimetres wide. You should get eight to ten strips from one sheet.
Cut along the lines. Try to keep the cuts straight — strips that are uneven in width produce a lopsided pumpkin because the wider strips bow out further than the narrower ones. A paper trimmer makes this faster and more precise than scissors if you have one, but scissors work fine.
Eight strips gives a lighter, more open pumpkin. Ten to twelve strips gives a fuller, rounder one. For a first attempt, ten is a good number.
Stack all the strips neatly on top of each other, edges aligned.
Step Two: Secure the Centre
Find the exact centre of the stack by folding it in half gently and marking the fold point with a pencil. Unfold.
Pierce a small hole through all layers at the centre point. A brad works best here — push it through all the layers at the centre hole, then open the legs on the back to hold all the strips together. The brad should sit flat against the bottom of the stack with the decorative head facing outward — this becomes the bottom of your pumpkin.
If you don’t have a brad, apply a small amount of strong craft glue to the centre point of each strip and press them together firmly. Let it dry for a few minutes before moving on — this connection is what holds the whole pumpkin together so it needs to be secure.
Step Three: Fan the Strips Out
With the brad secured at the centre, fan the strips out evenly around the central point like the spokes of a wheel.
They should be roughly equally spaced — if you have ten strips, each one sits about 36 degrees apart.
Take a moment to arrange them evenly before you start curving them upward. An uneven arrangement at this stage means an uneven pumpkin at the end, and adjusting after everything is glued is considerably harder than adjusting now.
Step Four: Shape the Pumpkin
Working with one strip at a time, gently curve both loose ends upward to meet above the centre point.
Apply a small dot of glue to one end and press the other end onto it, holding for ten to fifteen seconds until the glue holds. The strip forms an arch — this is one segment of your pumpkin.
🔥 Would you like to save this?
Continue with each strip in turn, curving upward and gluing the ends together above the centre. As you add each strip the pumpkin shape builds — you’ll start to see the round, ridged form emerge after the third or fourth strip.
Work around the pumpkin evenly rather than doing all strips on one side before moving to the other. Even tension around the whole pumpkin as you go gives a rounder, more symmetrical result than building one side at a time.
The ends of all strips should meet at the same point directly above the brad. When they’re all glued the top of the pumpkin has a small opening or a slightly untidy cluster of paper ends at the centre — this is where the stem goes and it covers everything.
Tips for getting the shape right:
- Don’t pull the strips too tightly before gluing — a gentle curve gives the rounded pumpkin shape. Pulled too tight the pumpkin becomes tall and narrow rather than round.
- Don’t leave them too loose either — too little curve and the pumpkin is flat rather than dimensional.
- The sweet spot is a gentle arch that mirrors the natural curve of a real pumpkin segment.
Step Five: Make the Stem
Cut a small rectangle of brown or green paper approximately 3 centimetres wide and 5 centimetres tall.
Roll it tightly lengthwise into a tube and glue the edge down. This is the stem. Apply a dot of glue to the bottom of the stem and press it firmly onto the top of the pumpkin, covering the point where all the strip ends meet.
Hold it in place for thirty seconds. The stem hides any untidiness at the top and gives the pumpkin its final recognisable shape.
Step Six: Add the Vine and Leaf
Cut a thin strip of green paper approximately half a centimetre wide and ten to twelve centimetres long.
Wrap it tightly around a pencil. Hold it wrapped for ten seconds, then slide it off the pencil. It will spring open into a loose spiral — this is the vine.
Apply a small dot of glue to one end of the vine and press it against the base of the stem. The vine curls out from the stem the way it would on an actual pumpkin.
For a leaf: draw a small simple leaf shape on green paper and cut it out. Score a line down the centre with a closed scissor blade and fold gently along the score to give it a slight three-dimensional shape. Glue to the base of the stem alongside the vine.
These details take three minutes and make the finished pumpkin look considerably more complete than a stem alone.
Displaying Your Paper Pumpkins
Three pumpkins in different sizes grouped on a wooden tray look like a deliberate arrangement rather than a collection of craft projects. Make a small one from half a sheet of A4, a medium one from a full A4, and a large one from A3.
A mix of plain orange and patterned paper across the three gives the arrangement variety — one plain, one plaid, one with a subtle print.
They sit well on a coffee table, a mantel, a windowsill, a bookshelf. They’re light enough to hang if you thread a thin ribbon through the strips at the top before the stem goes on.
String several small ones on a length of twine as a garland — the same approach as the Halloween origami garland, [linked here] — and they look charming strung across a window or above a fireplace.
Variations Worth Trying
Non-traditional colours: Cream and white paper pumpkins suit a more minimal or Scandinavian fall aesthetic. Dark burgundy or navy paper produces a dramatic, moody version. Pastel pink reads as whimsical. The method is identical regardless of colour.
Patterned paper: Scrapbook paper in fall prints — buffalo check, small florals, kraft paper with a subtle texture — elevates the finished pumpkin from a children’s craft to something you’d put on display without hesitation.
Mixed strips: Alternate plain orange strips with strips of a complementary pattern throughout the same pumpkin. The alternating pattern is visible in the finished pumpkin as a subtle texture variation.
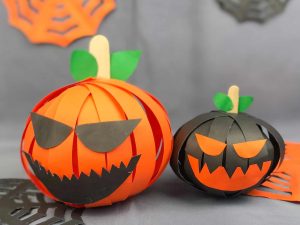
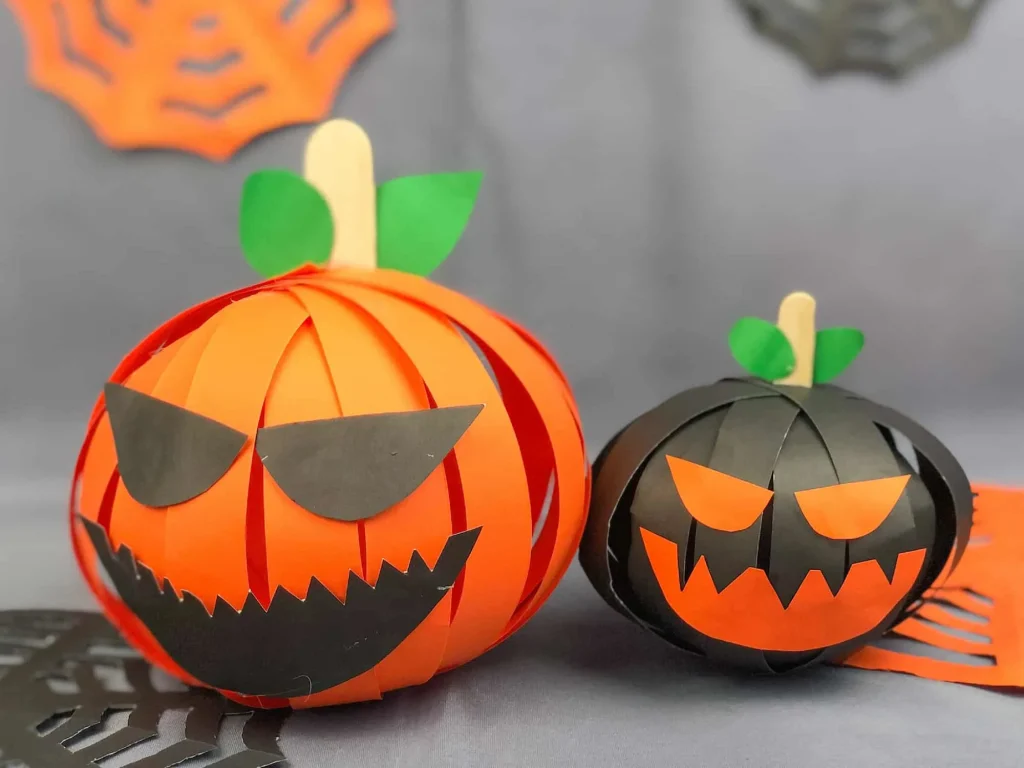
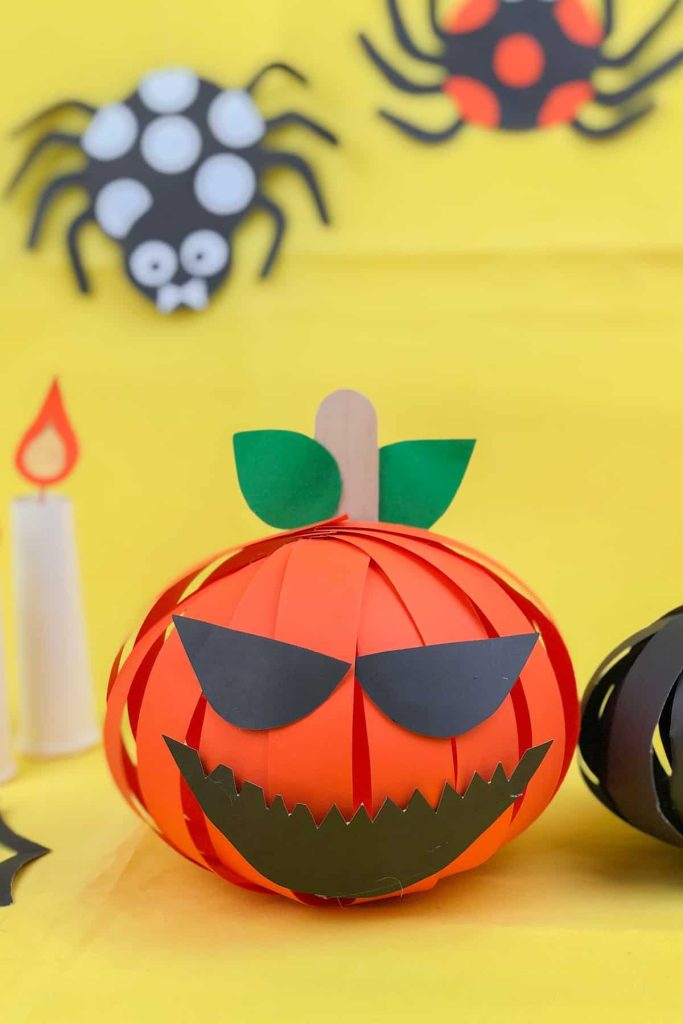
Jack o’lantern faces: Cut small triangles and a jagged mouth from black paper and glue them to the front of the pumpkin before adding the stem. Works best on plain orange paper where the contrast is strongest.
Different sizes: The method scales up and down with no changes to the technique. A strip that’s twice as long and twice as wide produces a pumpkin roughly four times the size. A group of pumpkins in three or four sizes together looks far better than a group of identical ones.
Common Problems and How to Fix Them
The pumpkin is lopsided: The strips weren’t fanned out evenly before curving. This is easiest to fix before gluing but can be adjusted afterward by carefully ungluing one or two strips and repositioning.
The pumpkin is too tall and narrow: The strips were pulled too tight. The arch needs to be gentler. If this happens, carefully loosen the strips at the top glue point and let them bow out slightly before regluing.
The strips keep ungluing: Glue stick isn’t strong enough for the tension on the strips. Switch to craft glue or a glue gun on low temperature. Hold each joint for at least thirty seconds before moving on.
The top looks messy where the strips meet: The stem covers this. Don’t worry about it until the stem is on.
The brad is showing at the bottom: This is normal and can be left as is since the pumpkin sits on its bottom and the brad isn’t visible. Alternatively glue a small circle of orange paper over it before fanning the strips out.
A Final Thought
Maria made four of these last October and arranged them on her windowsill by size without being asked. She’s at the age where she acts like crafts are something she’s too old for and then quietly makes four paper pumpkins on a Saturday afternoon.
That’s the thing about a simple craft with good results. The outcome is satisfying enough that people forget to pretend they’re not enjoying themselves.
That’s all I have for today. If you make these and find a colour or paper combination that works particularly well, I’d love to hear about it in the comments. And if you make them with children and they come up with variations I haven’t thought of, those are always the best ones.
Until next time,
Stay safe,


I’m Katerina Lithopoulou, co-creator of DIY Cozy Living. I’ve always loved the little things that make a space feel special. With a background in language and a passion for photography and cozy design, I enjoy turning everyday inspiration into simple ideas people can actually use.
My motto: “Cozy isn’t a trend — it’s a feeling.”
