
Genius Halloween Origami Ideas That Will Keep Your Kids Busy for Hours!

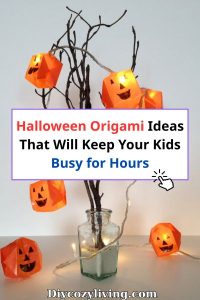
Marina still does origami at the kitchen table.
She has a stack of square paper in different colours that lives in a drawer and comes out regularly, usually at the point in the afternoon when she’s tired of everything else and needs something to do with her hands.
She’ll sit there folding and refolding, sometimes following a tutorial, sometimes improvising, and the kitchen goes quiet in a way that I have learned to appreciate deeply.
When October comes the paper comes out with a purpose. Last year she made seventeen origami pumpkins. Seventeen. She lined them up on the windowsill and they stayed there until November and honestly I wasn’t in a rush to take them down.
This is the thing about Halloween origami that I didn’t fully understand until Marina got into it. It’s not just a craft. It’s an activity that actually holds their attention.
A square of paper and a tutorial and a child can be occupied for an entire afternoon. For a parent this is essentially priceless.
Here are the best ones we’ve tried and the ones I’d recommend starting with depending on how old your children are.
Why Origami Works So Well for Halloween
Origami is different. Once a child understands the basic folds, which takes one or two attempts at most, they can work independently.
Maria learned from Marina, Marina learned from a YouTube video, and neither of them needed me involved beyond the first five minutes.
The other thing is the materials. One sheet of paper per project. Orange paper becomes a pumpkin.
Black paper becomes a bat or a spider or a witch hat. White paper becomes a ghost. The cost of a Halloween origami session is essentially nothing and the results are genuinely impressive for the effort involved.
For younger children, the simpler models below take under five minutes and produce something they’re proud of.
For older children and adults, the more complex models provide the kind of focused, meditative satisfaction that origami is known for. Marina will sometimes spend an hour on a single model, which is forty-five minutes more focus than she applies to most things.
What You Need
What You Need
The paper is the most essential. Everything else is there to help you get better results.
Paper: Square origami paper is the best option — it comes pre-cut, folds crisply and holds its shape well. Available at craft shops and online in packs with multiple colours. For Halloween you want black, orange, white and dark purple. If you don’t have origami paper, regular coloured paper cut into squares works fine.
Scissors: Needed for cutting regular paper into squares if you’re not using pre-cut origami paper. Also useful for cutting stems, tails and any separate decorative pieces.
Markers and pens: Essential for faces, eyes, stitches, whiskers and any detail work. Black marker for most things, white for eyes on dark paper, yellow or green for cat eyes. Fine tip gives you more control on small models.
Glue stick or tape: For attaching separate pieces — the pumpkin stem, Frankenstein’s hair, the garland thread — and for displaying finished models on windows or walls. Traditional origami did not use glue. Nowadays, some people use it to make things look better and their lives easier.
Pencil: Useful for lightly marking fold lines on more complex models before committing to a crease. Especially helpful for children still learning.
Needle and thread: For the garland specifically. A needle makes the small hole at the top of each model cleanly without tearing the paper, and thread keeps the models hanging straight.
The Beginner Models — Start Here
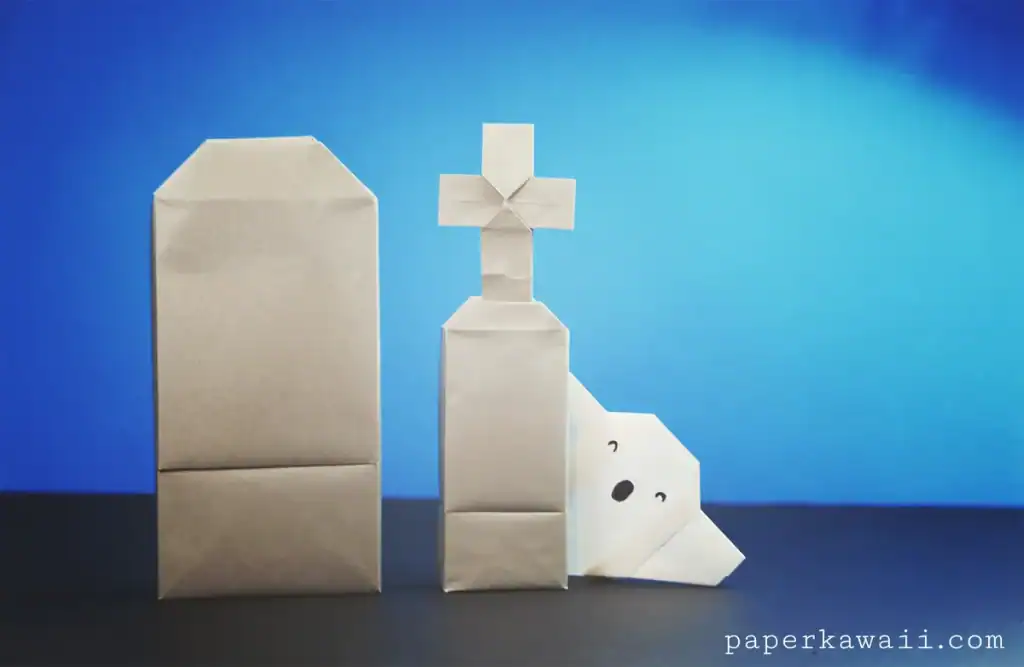
Origami Ghost
The easiest Halloween origami model and the best starting point for young children. A white square, five or six folds, a drawn-on face and it’s done.
Takes under three minutes once you know the folds. Maria made her first one at age six with almost no help.
The key fold is the bottom corners turned slightly upward and outward to create the ghost’s trailing shape. Add eyes with a black marker.
If you want to display them, a length of thread taped to the top and hung from a window or ceiling creates a simple Halloween garland that costs next to nothing.
Steps:
- Start white side up, fold the square diagonally to make a triangle
- Fold the top point down about a third of the way
- Fold the bottom corners up slightly and outward to create the flowing shape
- Flip over and draw the face
Origami Pumpkin
This is the one Marina made seventeen of.
Orange paper, slightly more steps than the ghost, but still very manageable for children from about seven upward.
The finished pumpkin is three dimensional — it puffs out when you blow gently into the bottom — which produces a satisfying result that children love.
The inflation step at the end always gets a reaction. Marina demonstrated it to Maria with great ceremony the first time and has never fully stopped being pleased about it.
Steps:
- Start orange side up, fold in half both ways and diagonally both ways to crease
- Collapse into a smaller triangle using the crease lines
- Fold the two front flaps upward to meet the top point, repeat on back
- Fold the side corners into the centre on all four sides
- Tuck the top flaps into the pockets created
- Blow gently into the small hole at the bottom to inflate
- Add a small green paper stem if you want one
Origami Bat
Black paper, simple folds, immediately recognisable result.
This one suits younger children because the folding is straightforward but the finished bat looks genuinely impressive displayed on a wall.
Tape several at different angles to a window and the effect is very good for almost no effort.
The wing shape comes from folding the bottom points outward and downward at an angle — the steeper the angle the more dramatic the wingspan. Add white dot eyes with a hole punch or a white marker.
Steps:
- Black paper, fold diagonally to make triangle
- Fold bottom corners up to meet the top point
- Fold the top layer back down, leaving a small portion above the fold for the body
- Fold the wings down at an angle on each side
- Curl the wing tips slightly for a more realistic look
- Add eyes
Origami Witch Hat
🔥 Would you like to save this?
Simpler than it looks. A black square, folded into a cone shape with a brim created by the bottom edge.
Stand several on a shelf or mantel and they read immediately as Halloween decor rather than crafts, which is a distinction worth making — these look intentional.
The brim is the tricky part for beginners. Take the bottom edge of the cone shape and fold it upward on both sides to create the flat brim effect. Crease firmly.
Intermediate Models — For Older Children and Adults
Origami Spider
The spider is where origami starts becoming genuinely impressive. Black paper, eight legs that are each individually folded, and a round body that requires collapsing the paper into a three dimensional shape. Marina made her first one at age eight and was very pleased with herself.
The legs are the distinctive part they fold out from the body and can be curved slightly at the ends to look like they’re bent at the joint, which makes the spider look remarkably realistic.
Display hanging from a thread and it moves in any air current, which adds to the effect.
This one is worth watching a video tutorial for rather than following written instructions alone. The leg folding sequence is easier to see than to read.
Origami Cat
Black paper, medium difficulty, the ears are created by the top corners of the paper folded and shaped.
A Halloween cat origami is one of those models where the result looks more complex than the process — adults often ask Marina how she made it and seem slightly disbelieving when she explains it’s a single sheet of paper.
Add white whiskers with a fine marker. Eyes in yellow or green. The tail can be a separate piece of paper twisted and attached if you want the full effect.
Origami Frankenstein
Green paper for the face, black for the hair if you want to add a separate piece.
The rectangular face shape makes this an unusual origami model, most use square paper to make rounded shapes, but Frankenstein’s flat top head is actually easier to achieve in origami than a more organic head shape.
Fold details for the stitches and neck bolts using a black marker after folding. This is one where the drawing adds as much as the folding.
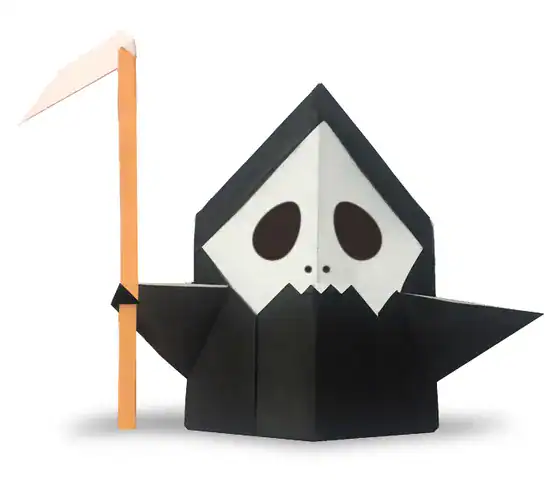
Origami Skull
White paper, slightly advanced folding for the rounded skull shape, black marker for the eye sockets and nose cavity.
The challenge is creating the rounded top of the skull which requires some curved folding rather than the straight creases that most beginner origami uses.
Maria made a set of these last Halloween and arranged them on the coffee table.
They looked considerably more sophisticated than you’d expect from folded paper.
A Halloween Origami Garland
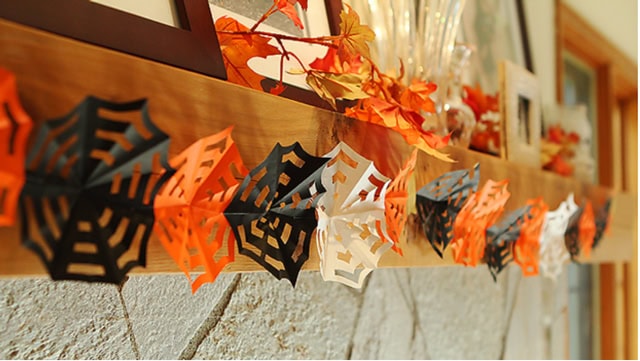
This is the project Marina does every year now and it has become a genuine household decoration rather than just a children’s craft.
Make a series of the simpler models, ghosts, bats, pumpkins, in varying sizes.
Tie each one with a length of thread through a small hole made with a needle at the top. Hang from a length of twine stretched across a window or doorway, spacing the models at varying heights.
The result looks like something you’d buy. It costs the price of paper. Marina made last year’s in an afternoon while the rest of us were doing other things and hung it up before dinner without being asked.
That’s the version of this craft that I want to tell other parents about. Not a supervised activity but one a child does on their own, with results good enough to display in the house for the whole month of October.
Tips For Making It Actually Work
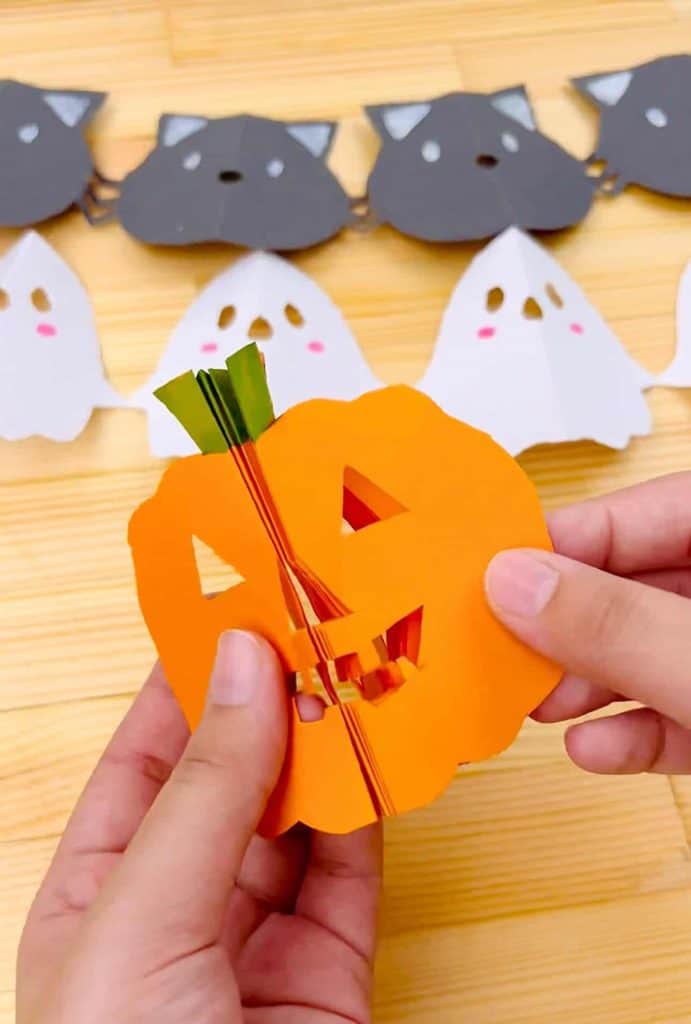
Start with the ghost or the bat, not the spider.
The spider is beautiful but it’s not the right entry point.
A child who starts with something too complex and can’t finish it loses interest in origami entirely.
A child who makes a ghost in three minutes and sticks eyes on it and is proud of it will immediately ask what they can make next.
Watch one YouTube tutorial together the first time, then let them try alone. Marina learned from a video and then taught Maria by demonstrating rather than explaining, which is actually the right way to learn origami, seeing the fold happen is more useful than reading a description of it.
Keep the paper accessible. If the origami paper lives in a cupboard that requires asking, it gets used less. Marina’s paper is in a drawer she can open herself and she uses it constantly.
A Final Thought
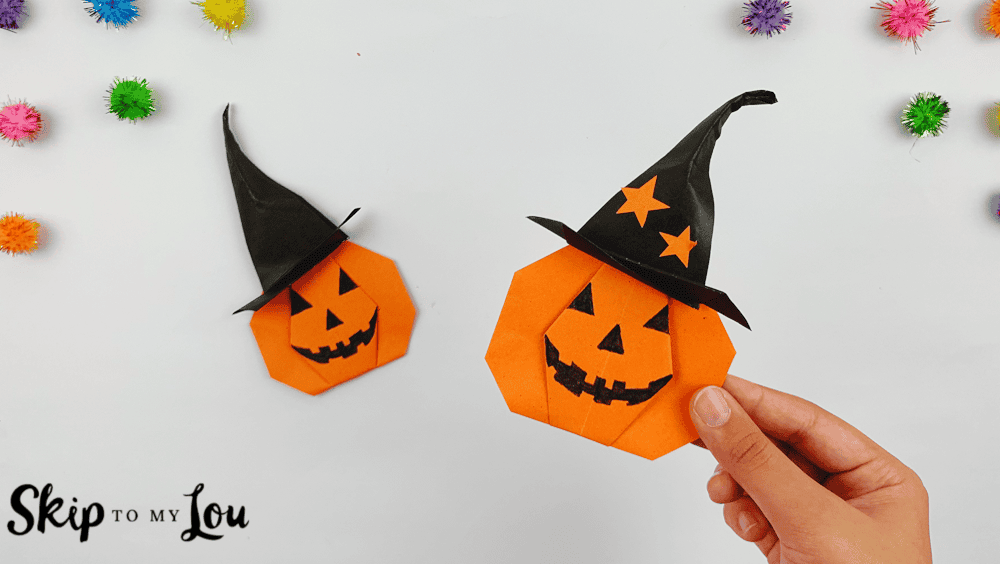
The windowsill of seventeen pumpkins is still one of my favourite things from last Halloween.
Not because they were perfect, some of them listed slightly to one side, but because Marina made all of them herself and arranged them herself and was genuinely proud of them in the way children are proud of things they worked on without help.
That’s all I have for today. If your children have a favourite Halloween origami model that I haven’t mentioned, leave it in the comments.
And if someone in your house makes the spider, I’d love to see a photo.
Marina is very proud of hers and has opinions about other people’s technique.
Until next time,
Stay safe,


I’m Katerina Lithopoulou, co-creator of DIY Cozy Living. I’ve always loved the little things that make a space feel special. With a background in language and a passion for photography and cozy design, I enjoy turning everyday inspiration into simple ideas people can actually use.
My motto: “Cozy isn’t a trend — it’s a feeling.”
