
12 Renter-Friendly Kitchen Upgrades That Hide Ugly Builder-Grade Cabinets (Without Losing Your Deposit)

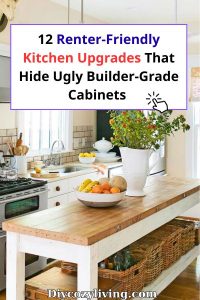
All a renter longs for is a dedicated, organized, and beautiful culinary space where they can cook dinner and host friends easily without feeling like they are standing in a 1990s time capsule.
That’s why executing renter-friendly, temporary kitchen upgrades has become immensely popular for apartment and rental house dwellers.
However, many people don’t want to spend hundreds of dollars buying kitchen supplies and decor, only to realize that painting a single cabinet door could violate their lease agreement and destroy their security deposit.
There are multiple ways available through which you can carve out a stunning, cohesive lifestyle using clever, non-permanent design tricks.
The best ways to utilize these temporary upgrades are easy to follow, and they won’t cause any harm to your wallet (or your landlord’s property) whatsoever if you understand how to layer the right materials.
But, how exactly can we do it?
Let’s dive in!
Why You Need A Renter-Friendly Kitchen Makeover
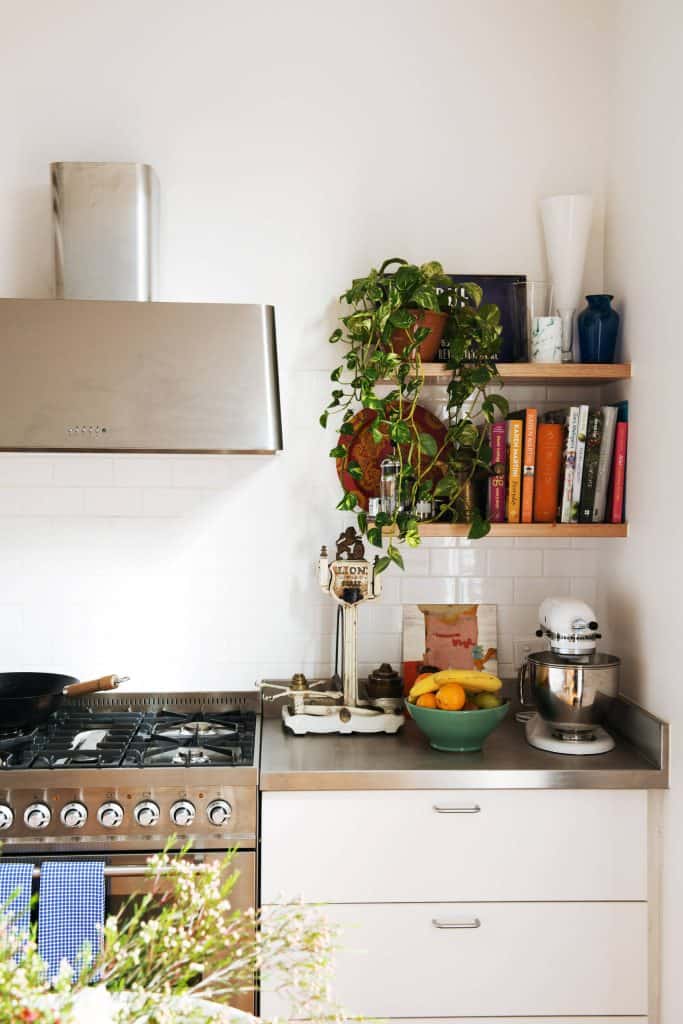
There can be various reasons why you might want to rethink your kitchen space today.
Some of the most common reasons are needing a brighter space for daily cooking, wanting to hide greasy or scratched cabinet fronts, and feeling stressed when your current kitchen feels cluttered and claustrophobic.
But why should you completely abandon the old habit of just ignoring the ugly cabinets and accepting your fate?
No matter what your lease terms are, it is always better to choose a dedicated, intentional setup so that your home stays bright, inspiring, and visually balanced.
Traditional kitchen renovations, like ripping out boxes or painting wood, are extremely sturdy, but if you isolate your decorating strictly to the things sitting on the counter, you are left with a boring layout that completely lacks style.
By using well-engineered, temporary principles, your daily cooking routine will remain safe from feeling cramped, and your weekend dinner parties will be completely stress-free.
Read Also: How to Get the Japandi Look in a Rental (Without Losing Your Deposit)
Concealing the Cabinet Fronts (No Painting Required)
If your landlord strictly forbids painting over those orange-toned wood cabinets, you do not have to stare at them for the next twelve months.
Here is how to cover the faces completely without leaving adhesive residue behind.
1. Architectural Peel-and-Stick Vinyl Wrap
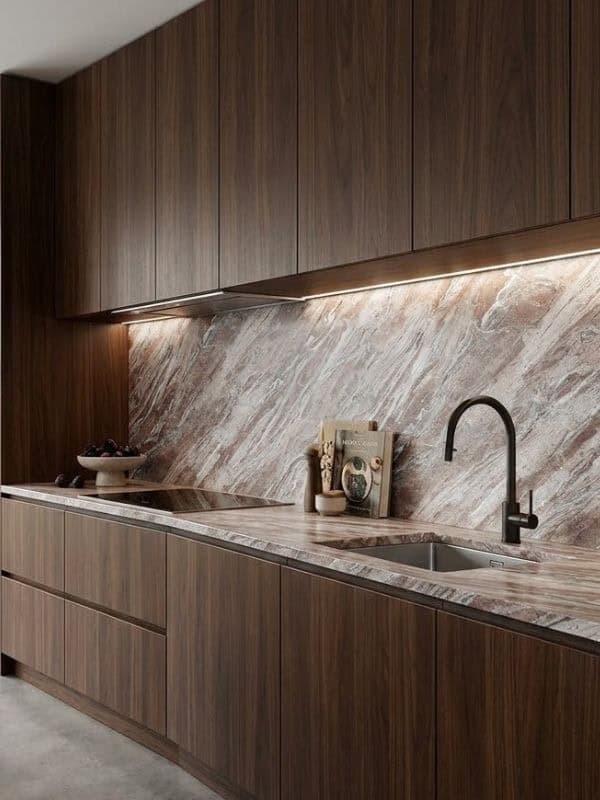
Just like wrapping a car, you can completely change the color of your cabinets using heavy-duty, heat-activated architectural vinyl film.
Unlike cheap contact paper that bubbles and tears, high-end architectural film is thick, durable, and comes in modern matte finishes like sage green, charcoal, or warm linen.
- The Application: Clean the cabinet doors thoroughly with rubbing alcohol to remove grease, apply the vinyl using a felt-edge squeegee, and use a hairdryer on the edges to shrink-wrap the corners.
- The Renter Hack: When your lease ends, simply apply heat with a hairdryer to soften the adhesive and peel the film away in one solid piece. The underlying wood is left 100% untouched.
2. The Bamboo Reed Door Inserts
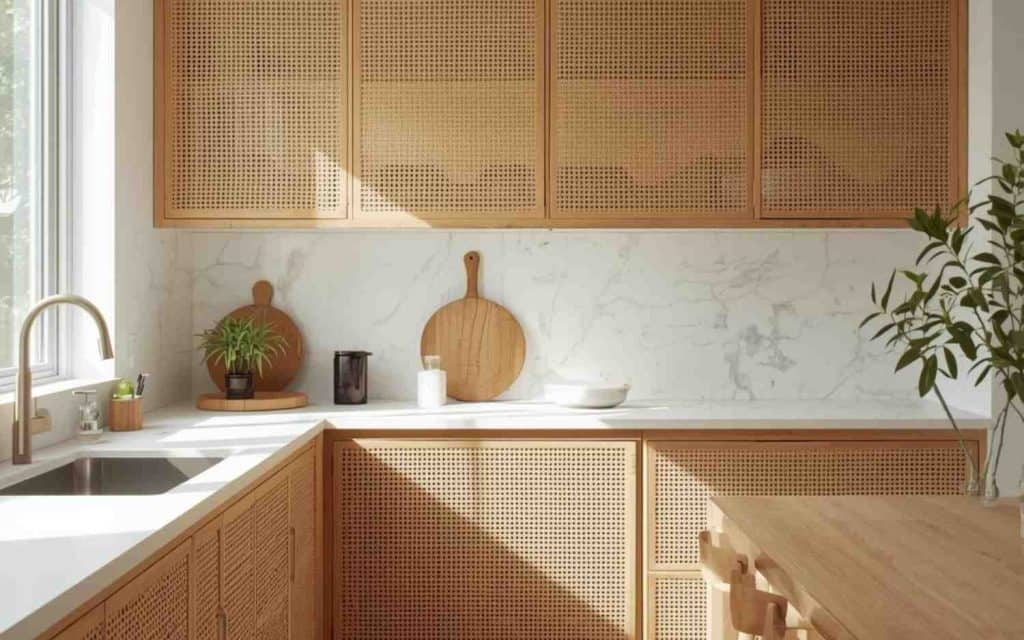
If you have ugly glass-front cabinets that expose your messy dishes, or recessed-panel cabinet doors that look dated, add natural texture.
Cut thin rolls of woven bamboo or cane webbing to match the interior panel of your cabinet doors.
Attach the webbing directly to the wood face using heavy-duty, double-sided removable mounting tape (like Command strips).
It instantly gives your kitchen a custom, boho-chic look while hiding whatever is inside.
3. Faux-Fluted Trim Panels
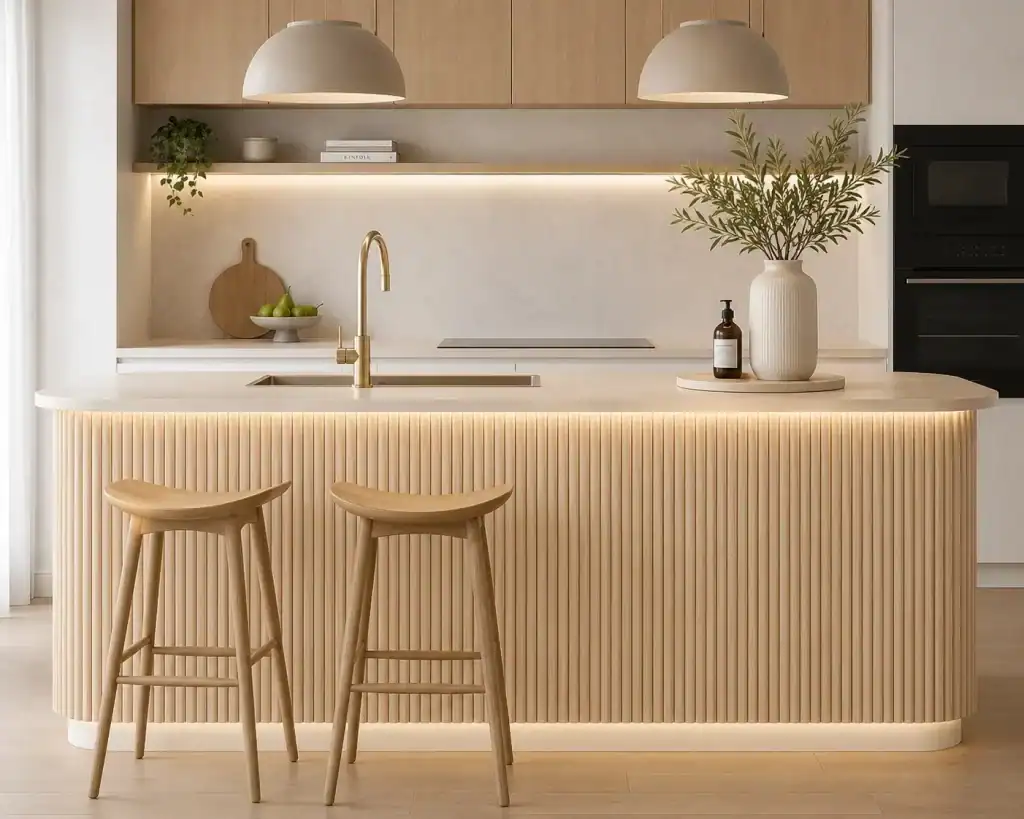
Fluted and ribbed wood cabinets are a massive design trend, and you can recreate them temporarily.
Buy lightweight wooden half-dowel trims or fluted wall panels, paint them whatever color you like outside, and stick them to your flat cabinet fronts using removable mounting tape.
Because you paint the trim before attaching it to the cabinet, you never get a drop of paint on your landlord’s property.
Removing & Replacing (The Reversible Switch)
Sometimes the easiest way to fix an ugly builder-grade cabinet is to simply stop looking at it altogether.
| Problem Area | Renter Solution | Where to Store Landlord’s Items |
| Ugly Upper Doors | Remove doors entirely for open shelving | Under the bed or in the back of a closet |
| Cheap Plastic Hardware | Swap with brass or matte black pulls | In a labeled Ziploc bag under the sink |
| Dark Corner Cave | Add rechargeable motion-sensor lighting | N/A (Damage-free adhesive mounting) |
4. The “Open Shelving” Door Removal
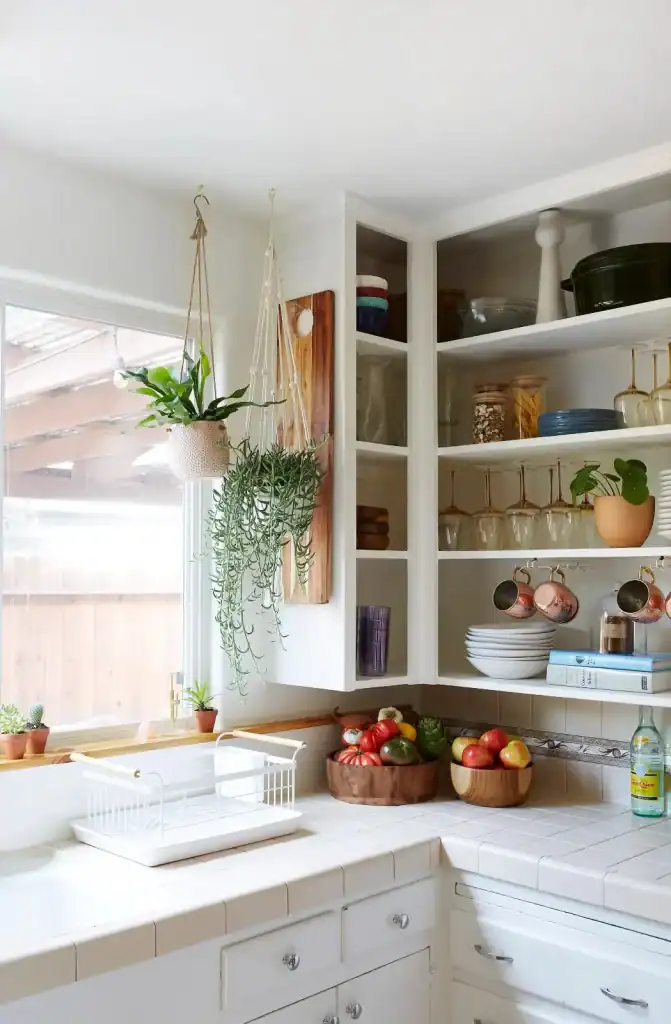
If the upper cabinet doors are simply beyond saving, grab a screwdriver and take them off entirely.
- Unscrew the hinges from the frame, wrap the screws and hardware in a labeled bag, and store the doors safely under your bed or in a closet.
- Fill the exposed screw holes with tiny white removable silicone plugs.
- Line the now-open shelves with beautiful glassware, ceramic plates, and cookbooks. You instantly transform a heavy, dated kitchen into an airy, modern, open-concept display.
5. Swapping Out the Hardware (The Easiest Upgrade)
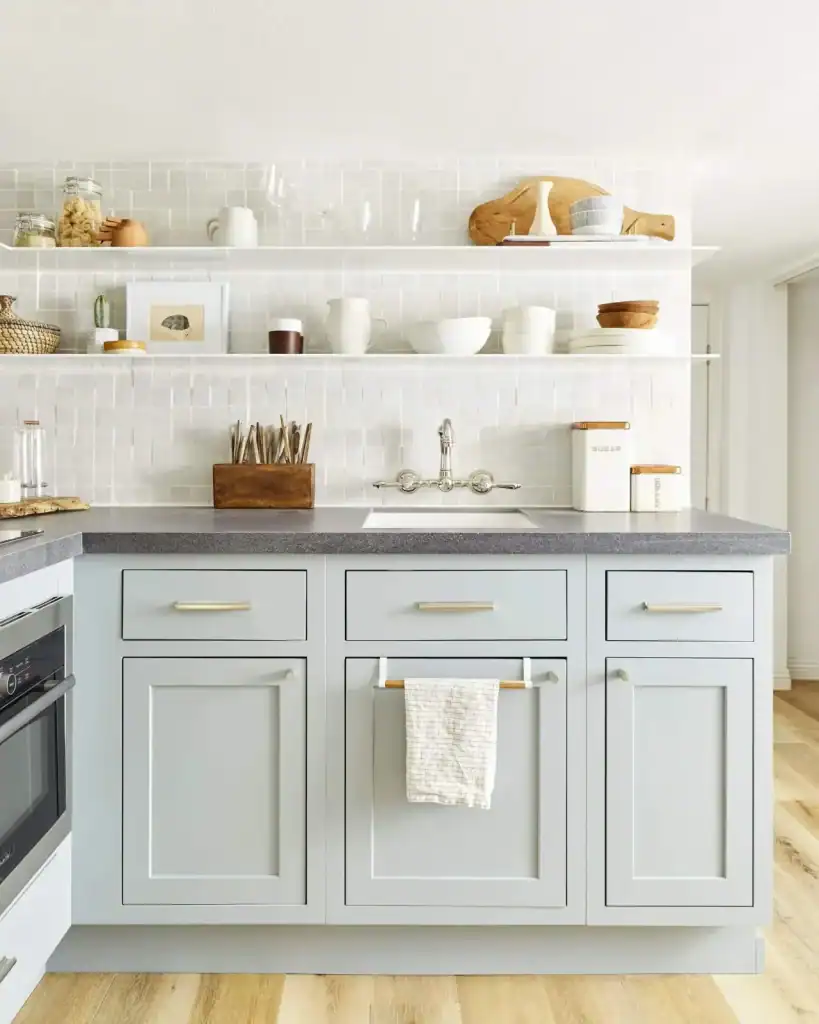
Nothing screams “cheap rental” louder than greasy 1990s silver knobs or basic builder-grade handles.
Use a screwdriver to remove every single knob and handle in the kitchen. Put them all into a heavy-duty bag and tape it inside an unused drawer so you don’t lose them.
Design Tip: Measure the distance between the two screw holes (the “center-to-center” measurement) before buying new handles so your new brass or matte black hardware screws directly into the existing holes.
6. Tension-Rod Linen Cafe Curtains
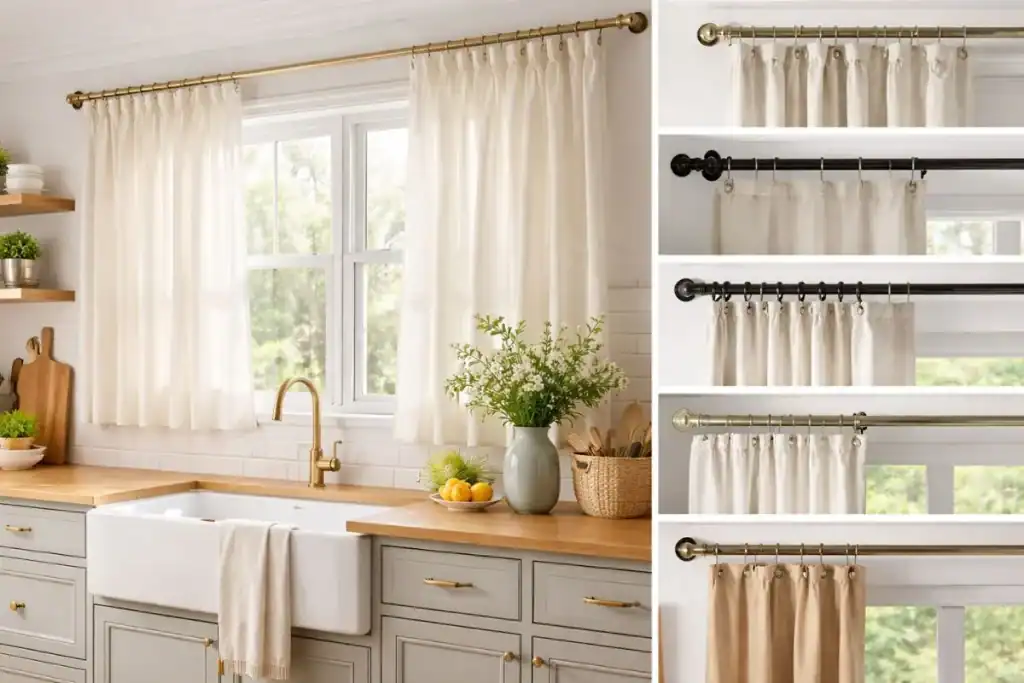
If you have lower cabinets that are missing doors, or you want to hide an ugly trash can nook under the sink, skip custom carpentry.
Mount a small, spring-loaded tension rod inside the cabinet frame. Hang a pleated, washable linen or cotton cafe curtain from the rod.
It adds a wonderful, soft European-cottage texture to the kitchen while hiding unsightly storage zones.
Drawing the Eye Away (Distraction Tactics)
When you can’t cover every single cabinet, the secret is visual misdirection. You want to add elements so high-end and functional that nobody even notices the ugly cabinets behind them.
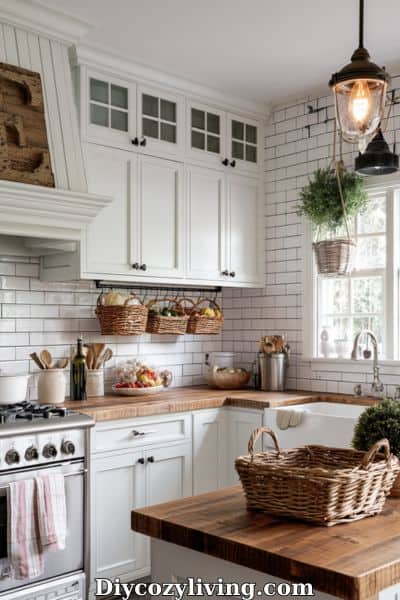
7. Over-the-Cabinet Hanging Basket Racks
🔥 Would you like to save this?
If you are short on storage and hate looking at flat cabinet sides, use the vertical space.
Buy over-the-door metal or wooden storage racks that hook securely over the top edge of your cabinet doors without screws.
Fill them with beautiful cutting boards, fresh herbs, or copper pots. It layers your kitchen with functional decor that breaks up the monotony of the builder-grade wood.
8. Wireless, Rechargeable Under-Cabinet Lighting
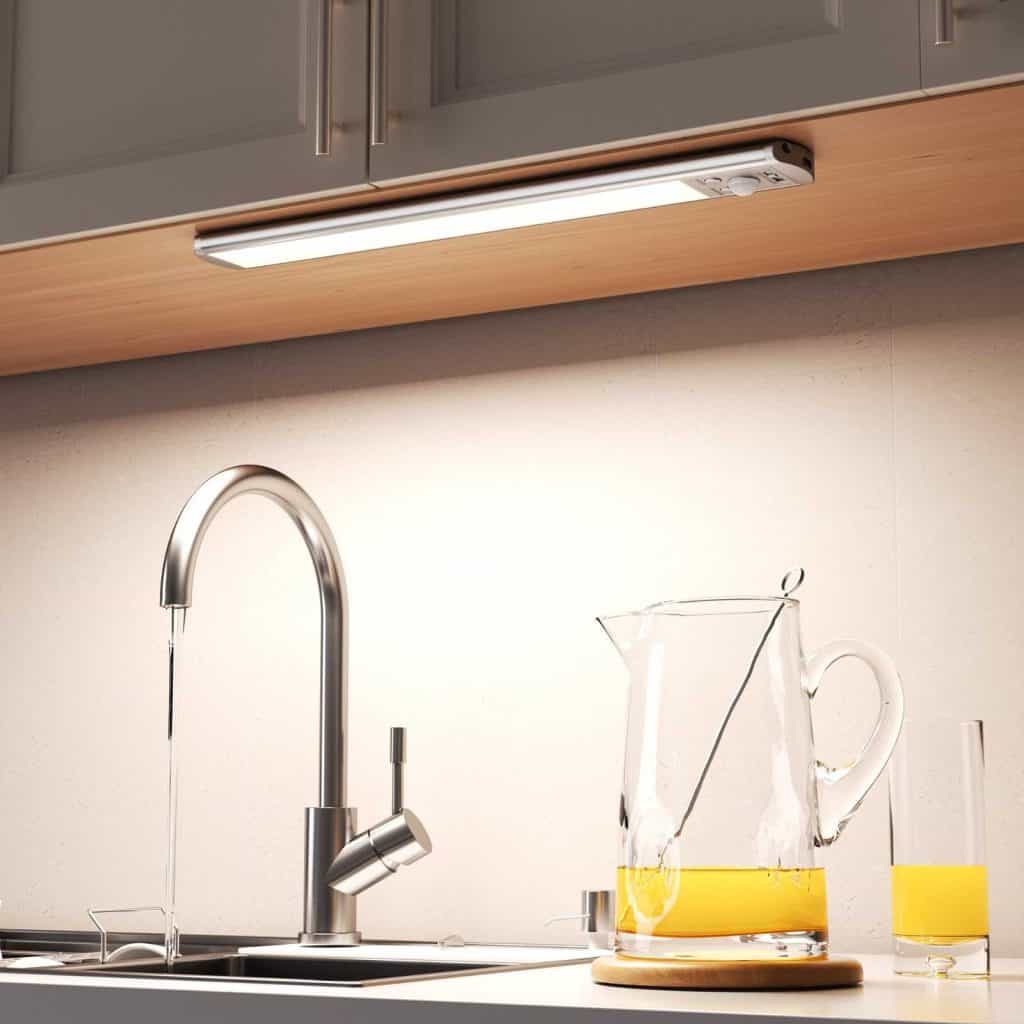
Dark kitchens make old cabinets look even dingier. Standard rentals never have under-cabinet lighting, but you don’t need an electrician to add it.
Buy ultra-slim, rechargeable LED light bars that attach to the underside of your cabinets using magnetic adhesive strips.
- They charge via USB every few weeks.
- They feature motion sensors so they turn on when you walk in.
- They cast a warm, luxury glow across your countertops, immediately making the kitchen look custom and expensive.
9. The Countertop-to-Cabinet Backsplash Bridge
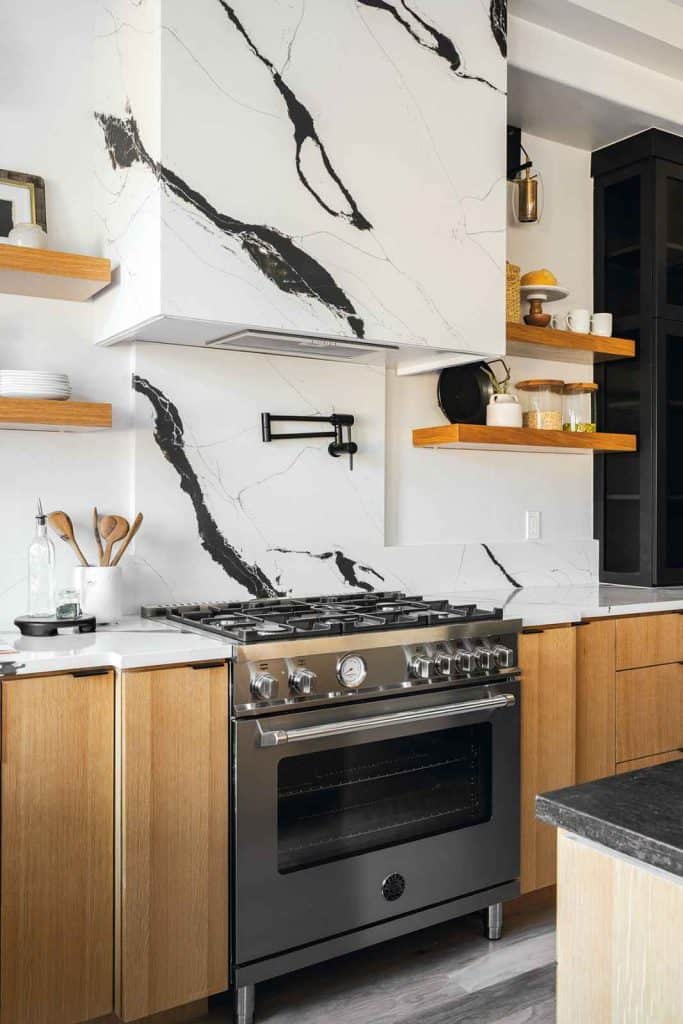
Ugly cabinets look ten times worse when they are sitting above a bare, stained drywall backsplash.
Install a high-gloss, thick peel-and-stick subway tile or marble-look backsplash directly between the countertops and the upper cabinets.
By elevating the wall space between the units, the entire visual field of the kitchen feels cleaner, brighter, and significantly more modern.
Managing the Dead Space & Tops
Builder-grade kitchens often leave weird, awkward gaps above the upper cabinets or feature bulky side panels that serve no purpose. Here is how to utilize them.
10. Styling the “Dead Zone” Above Upper Cabinets
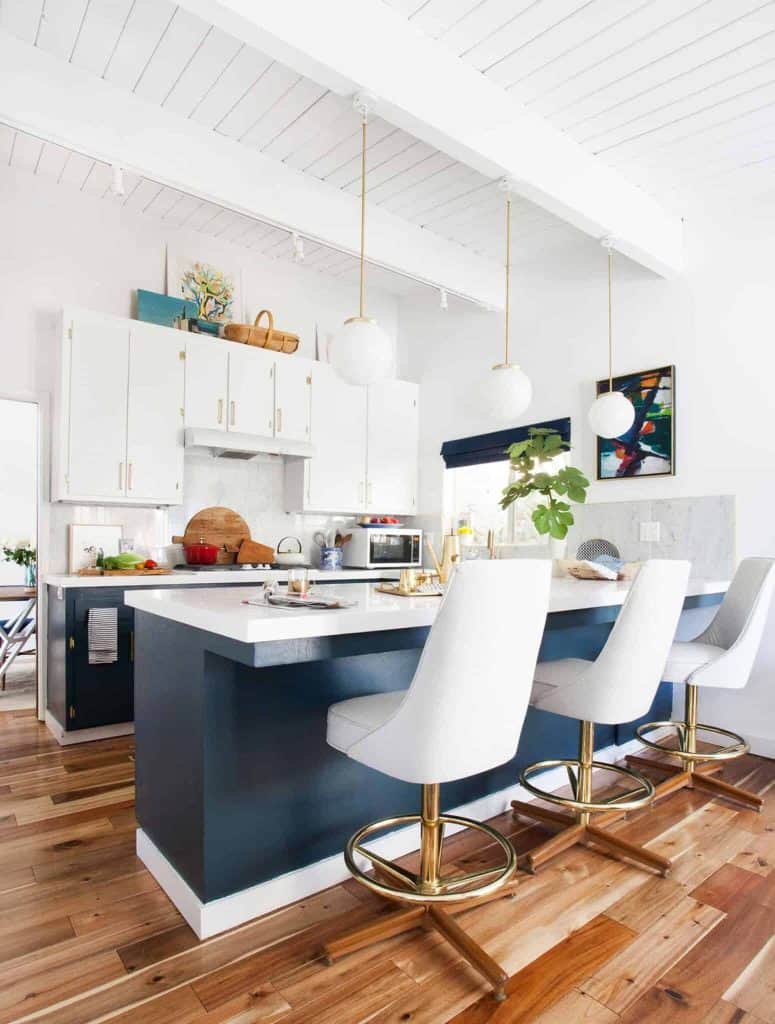
If your cabinets don’t reach the ceiling, that dusty 12-inch gap on top can make the whole room look unfinished.
Instead of letting dust gather, turn that space into an intentional display gallery. Line the top of the cabinets with large, woven seagrass storage baskets (perfect for hiding extra paper towels or holiday items) and trailing faux pothos plants that drape greenery down over the cabinet edges.
11. Magnetic Side-Panel Organization
The exposed side panel of a refrigerator or a laminate cabinet end-cap is usually just wasted space.
Use heavy-duty magnetic spice racks or suction-cup shelving units on the side panels.
By turning the side of the cabinet into an organized, beautiful spice boutique or hanging utensil station, you add immense function while completely disguising the cheap side-panel material.
12. Free-Standing Kitchen Islands (The Buffer Zone)
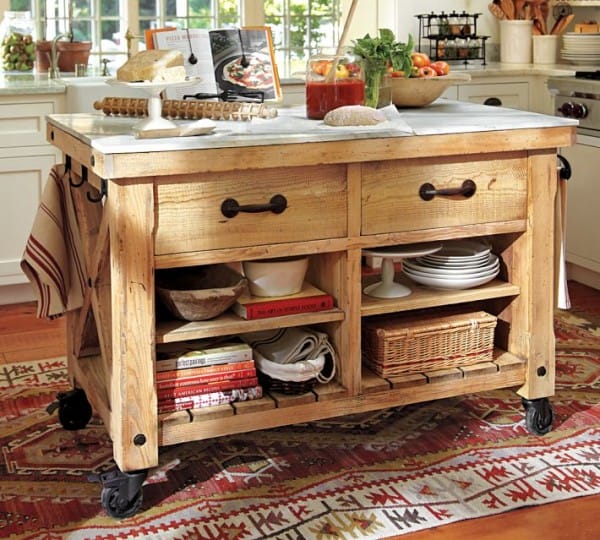
If your kitchen layout is a wide, empty “L” shape with terrible cabinets on the perimeter, build a distraction in the center.
Invest in a large, freestanding kitchen island or butcher-block prep cart with wheels.
Placing a beautiful piece of standalone furniture in the middle of the room pulls everyone’s attention away from the rental perimeter walls and gives you much-needed prep space.
What Kind Of Results to Expect?
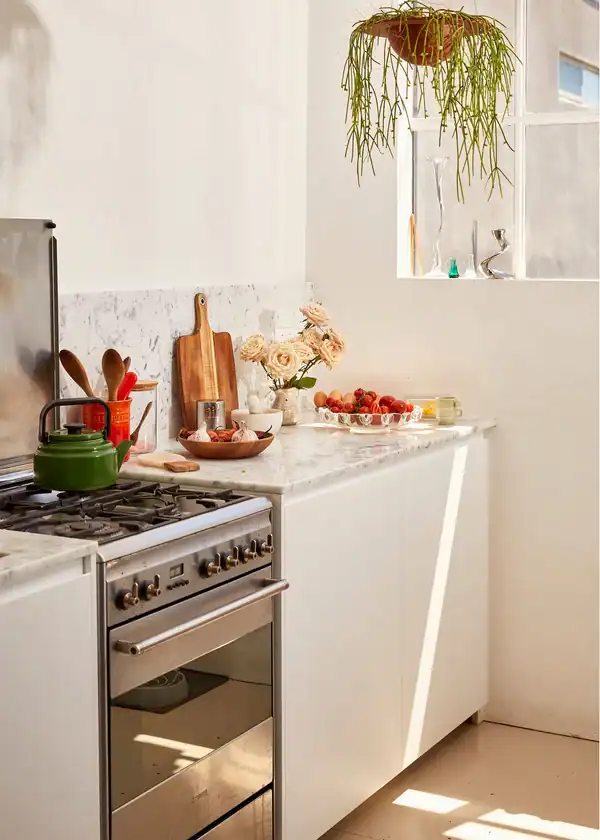
The renter-friendly design process is the best way to manage your kitchen layout because it causes zero harm to the property and keeps your culinary space beautifully organized.
Techniques such as applying architectural vinyl wrap, swapping out cabinet pulls, and installing rechargeable under-cabinet lighting will make your kitchen look beautifully curated and professionally designed.
Depending on your specific lease rules and budget, the upgrades you choose will give you great results.
Obviously, don’t expect miracles.
None of these design methods is able to magically give you a gas stove if you have an electric coil cooktop, nor will they double the square footage of a tiny galley kitchen.
In short, the aesthetic results for your rental kitchen will be ok, but nothing spectacular if you wrap your cabinets beautifully but refuse to ever wash the pile of dirty dishes sitting in the sink.
Please remember this because we don’t want you to get disappointed if the kitchen still feels chaotic when you neglect basic daily cleanup.
However, you can expect excellent results from these specific, damage-free upgrades because they are tried, tested, and guaranteed to elevate your daily routine!
To Sum Up
Renter-friendly kitchen upgrades can organize and decorate your culinary space good enough.
Choose the materials as per your specific budget so that the installations match your specific daily needs. Maximize your tricky cabinet layouts safely, and set your lifestyle free from dark, dated 1990s builder-grade finishes.
But, remember these techniques will not have impressive results, you won’t see extreme space-saving, and the aesthetic will be ruined if you start randomly violating your lease by drilling into cabinet faces or painting over wood without permission.
This doesn’t mean that you should give up on a beautiful kitchen if you don’t want to.
But, we have to let you know which are the pros and which are the cons of a DIY rental upgrade so that you form your own realistic opinion on this topic.
Our personal take is that if you just have a standard rental, your budget is tight, and you hate wasting money on permanent fixtures, go ahead and strictly follow these clever peel-and-stick and hardware-swapping solutions.
On the other hand, if you just bought your own house and want something massively permanent, like custom solid-wood shaker doors and hardwired lighting, then better use a professional contractor to build it safely.
That’s really it!
We really hope you found our article helpful and that you feel inspired to tackle those boring builder-grade cabinets.
If you have any questions about specific renter-friendly adhesive brands or how to measure for cabinet hardware, feel free to write them in the comment section below and we will be more than happy to help.
Are you ready to transform your kitchen today?
Until next time,
Stay safe,
Tasos and Katerina

I’m Anastasios Moulios, co-founder of DIY Cozy Living. I enjoy finding creative, practical ways to make small spaces feel warm, stylish, and lived-in. I started this blog with Katerina to share real ideas that make a home feel a little more personal and a lot more comfortable.
