
How to Get the Musty Smell Out of Your Camper (For Good)

This post contains affiliate links, which means I make a small commission at no extra cost to you. See my full disclosure here.
From November to April, our camper is put out to pasture. I like to think I’ve done my due diligence in prepping it for the cold, but come spring and you open up that door, the aroma of the place has a way of setting you straight.
Anybody with a camper can identify what I’m talking about. It’s a damp, sour kind of stink that makes its way into the upholstery, the drapes, and even the cupboards you left bare for the season.
The first year or two we owned it, I was too much of a slouch to do anything about it. A good dousing of air freshener and some open windows for an afternoon was enough to convince me we were in the clear. Not so on our first outing; as soon as the spray wore off, the mustiness returned, now with a hint of artificial lavender. My husband has never let me forget it.
I’ve since put together a method that puts an end to the odor rather than just masking it, and we’re good to go for the whole season. You’ll be at it for most of the day, but for the most part, you can find what you need right in your kitchen.
Why Campers Get Musty
If you put your nose to it, the smell is of damp.
A camper is a sealed-up box; for months at a time there’s no air in it, so any humidity you have is stuck there. It works its way into the mattress, the upholstery, the drapes—anywhere it can.
Toss in a window that weeps when it’s cold or a fridge you left with some condensation in it, and come spring you’ll have mildew on your hands, visible or not.
I like to keep that in mind when I’m in there with a rag. You aren’t after an odor. You’re after the wet and the mildew it has been feeding on. Get rid of one and the other will follow.
Common Questions
How long does it take?
If you’re up against some of the usual mustiness in a camper, set aside a day to give it a good airing and a clean. After that, any of the lingers will go on their own in a few days as you put it to use and let some air in. I like to spread the work out over a weekend; to be fair, trying to do it in one sitting is a drag.
Will my camper smell like vinegar afterwards?
For a few hours, yes. Then the vinegar smell disappears completely and takes the musty smell with it. I was skeptical about this the first time too.
Can I just put moisture absorbers inside and skip the cleaning?
Gave it a go, but no luck. The thing is, while the absorbers will put a halt to any fresh moisture, they’re not going to extract an odor from a mattress that’s been in for the winter. You need to do some cleaning before you even think about using them. Once you have, then the absorbers can do their job of making sure it doesn’t return.
What if the smell comes back when it rains?
Chances are you’ve got a minor leak of some kind and you won’t be able to your way out of it with a mop. I’ll get into why in a bit, as we had the same problem with a roof vent seal and I could have used some advice on where to look.
Supplies Needed
- White vinegar
- Baking soda
- Spray bottle
- Bucket and rags
- Vacuum
- Moisture absorber tubs (the calcium chloride kind, DampRid or any supermarket version)
- Activated charcoal bags
Optional but helpful:
- A box fan
- Lemon essential oil for the vinegar spray
- An old toothbrush for window tracks and corners
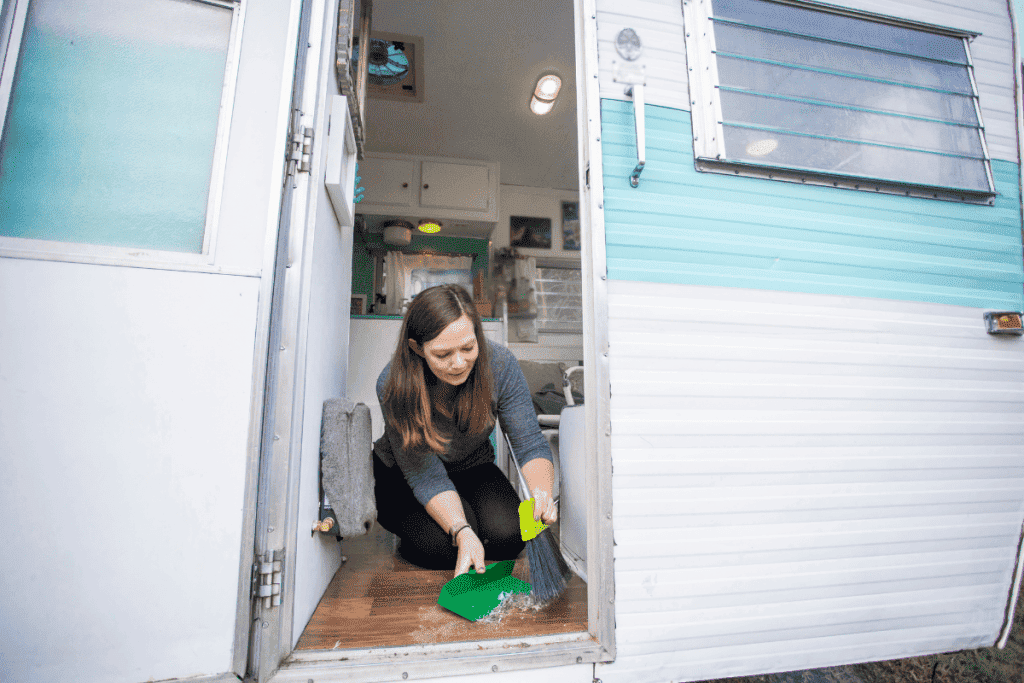
Step 1: Open Absolutely Everything
When you’re at it, make sure you have a nice dry, sun-up day. Get to work: open up the door, all the windows, the vents on the roof, every cabinet and drawer, the closet, even the fridge and the bays under the floor. If it has a hinge, it’s open.
Put a box fan in the doorway if you don’t have a roof vent one; just be sure to have it facing out. You want to draw the old air out, not force new air in. I made the mistake of going the other way for a couple of years before I figured that out.
Let it be for a few hours or more and put it out of your mind. You’ll be surprised how much of the odor this will take care of. It’s not a cure-all, but it’s what makes the whole spray-and-pray routine so unreliable.
Step 2: Find Out Where the Smell Lives

This is the part where you walk around the camper smelling things, and I promise there is no dignified way to do it.
Press your nose near the mattress, the dinette cushions, inside the under-bed storage, the curtains, the closet. In our camper the worst offender is always the mattress, with the curtains in second place.
Whatever you do, lift the mattress and look at the platform underneath it. The first time I did this there were grey spots on the plywood, and I had been sleeping above them without any idea. It’s a really common spot for condensation mildew because warm sleeping bodies on a cold base create moisture every single night.
Also open the fridge if it was closed during storage. If it was, you’ll know immediately. Now I always prop ours open before winter, but I had to learn that the smelly way.
Step 3: Wash All the Fabric
Take out everything soft that can be removed. Cushion covers, curtains, all the bedding, throw rugs.
Wash everything in the machine with your regular detergent plus one cup of white vinegar added to the load. The vinegar is what kills the mildew smell in the fabric. Plain detergent on its own makes things smell nice for a day or two and then the mustiness comes back through, which I also tested without meaning to.
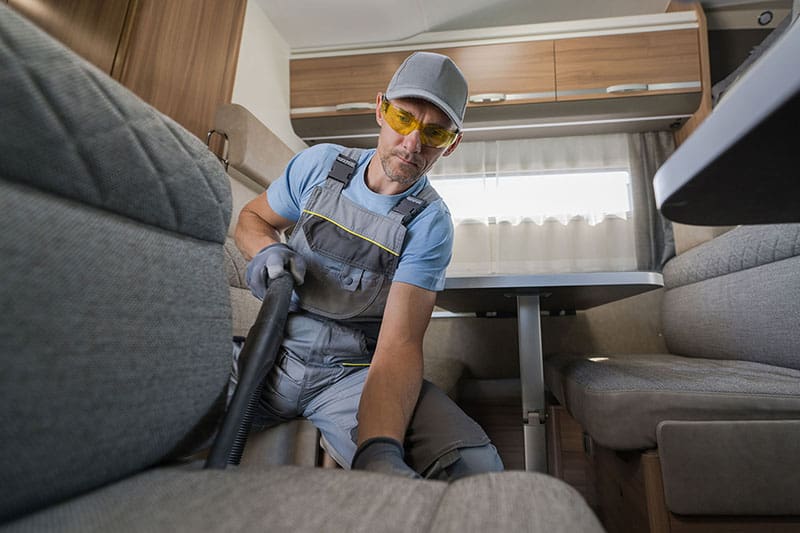
For the mattress and the foam cushions that can’t go in a machine:
- Vacuum them well on all sides.
- Sprinkle baking soda over the whole surface. Use more than feels reasonable.
- Leave it for at least 4 to 6 hours. I do it in the morning and vacuum it off in the evening.
- Vacuum thoroughly and then put them outside in direct sun for a few hours, flipping once.
The sunshine step matters more than it seems. Sunlight kills mildew and bakes the last of the damp out of the foam, and it’s free. My grandmother dragged mattresses onto the balcony every spring and it turns out she knew what she was doing.
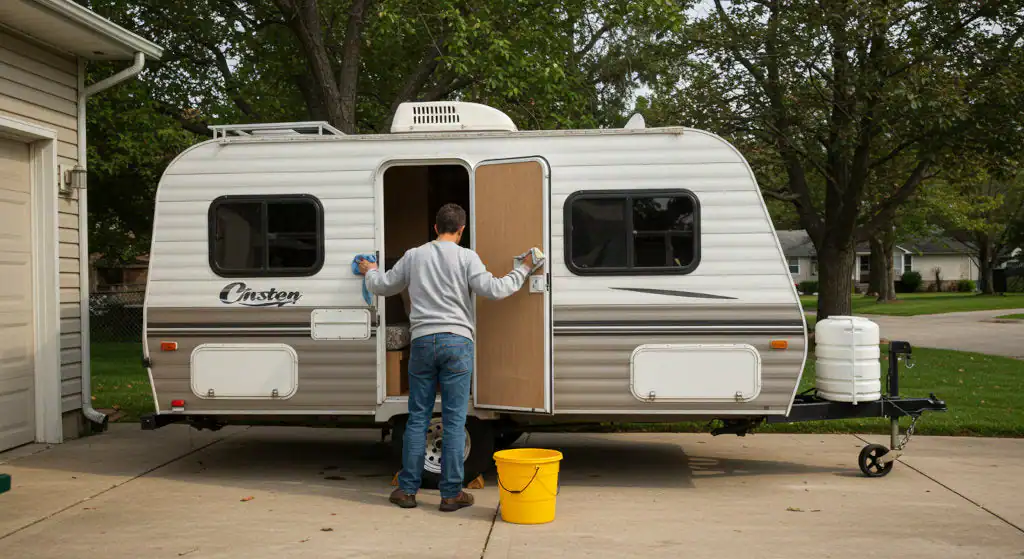
Step 4: Wipe Down Every Hard Surface
Put some white vinegar in a spray bottle and top it off with an equal part of warm water. You can put in a couple of drops of lemon oil if you like, but it’s not a must.
After that, get to work on the surfaces. Wipe down the walls, the counters, the table, window sills, the bathroom, and even the inside of your fridge and every cabinet. I don’t care if they seem spotless; you’d be surprised what’s in there. A closed-up cabinet is where all the winter odors go to live.
There are a couple of places I used to overlook:
The ceiling, in and around the roof vents. The warm, muggy air goes up and condenses right there.
And the tracks of the windows. Water has a way of pooling in them. We had some black mildew we couldn’t see in the channel until we looked close. I use an old toothbrush and straight vinegar for that. If you see any mildew, let the vinegar do its thing for about ten minutes before you start to scrub.
Step 5: The Hidden Spots
Here are some other things to put on the to-do list.
Start by running some hot water and a bit of vinegar down all your drains. The P-traps under the sink in a camper have a way of going dry when you’re in storage, which is how you get those odors from the tank coming up into the living space. If you’re picking up on something with a rancid edge, that’s the culprit.
Give the storage bays under the floor a good wipe and let them stand open for the day while you air out the place. You don’t see people tending to those very often.
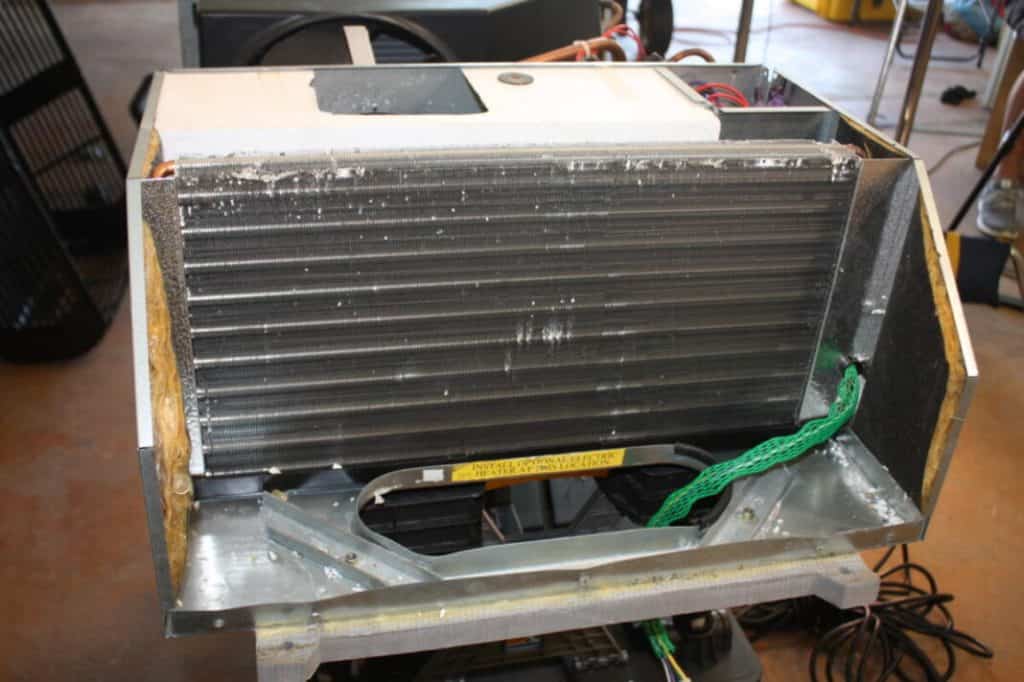
Then there’s the AC. If you notice the stench is any worse with it on, pop the filter out and give it a cleaning or put in a new one. It won’t take you more than five minutes. We put an end to a nuisance we were after for half the summer by doing just that.
Keeping the Smell from Coming Back
You could say this is what put an end to our annual springtime of musty odors. Sure, a good cleaning will get rid of the smell, but it’s how you store the place that keeps it from coming back.
These days, when I’m putting the camper in for the winter, I don’t let anything in there be even a bit damp. I’ll prop the fridge, set the mattress and cushions on edge to let them breathe, and leave all the cupboards open. Then I put down three of those dehumidifier tubs: one in the bathroom, one by the bed, and one in the living space.
I had an epiphany the first time I looked in those tubs in the middle of winter and saw the amount of water they’d pulled in. That was when it clicked where the stink had been coming from for so long. Kind of puts you off, if you ask me.
When we’re out camping, I have a few charcoal bags in there between outings. They don’t just mask the odors like some things do; they take them in. And once a month or so you can put them in the sun and have them as good as new.
When the Smell Means a Leak
You have to put this in there, we’ve been there. Let’s say you’ve put in the work and given it a good clean, but that musty odour is back with a vengeance, particularly when it’s been raining. Put down the rag and go find the source of the water.
Make your way around the camper and put some weight on the floor with your heel; you want to be sure it’s firm underfoot. Then get up on the walls and ceiling for any brown marks or where the finish is peeling. Pay close attention to the windows, the shower, and the roof. The sealant will only do so much before the sun dries it out and it gives way. You don’t need much of a fissure for it to be an issue.
In our case, it was the gasket on one of the roof vents. I put in an afternoon to fix it, didn’t cost a thing, and put an end to a smell I’d been at war with for weeks. Do yourself a favour: inspect the seals before you start scrubbing.
Worth the Day of Work
You won’t be having the time of your life on a Saturday with this, and I’ll admit, once I get to the part where I’m down on my hands and knees with the cabinets, I have a few second thoughts.
Then you open the door to a camper that’s been put in order and it doesn’t stink of anything – and you’re glad for it. It puts a better spin on the rest of the season. You can put to rest any need to make excuses for the odor when people come in, or to mask it with some phony-scented lavender.
Give it a whirl and tell me what you think in the comments. Or if you’ve got a method of your own, I’m all ears. There’s always one or two recalcitrant spots in a camper you have to work at.
Until next time,
Stay safe,


I’m Katerina Lithopoulou, co-creator of DIY Cozy Living. I’ve always loved the little things that make a space feel special. With a background in language and a passion for photography and cozy design, I enjoy turning everyday inspiration into simple ideas people can actually use.
My motto: “Cozy isn’t a trend — it’s a feeling.”
