
How to Clean a Disgusting Oven With Things You Already Have at Home

🔥 Would you like to save this?
Let me be frank about the state of our oven.
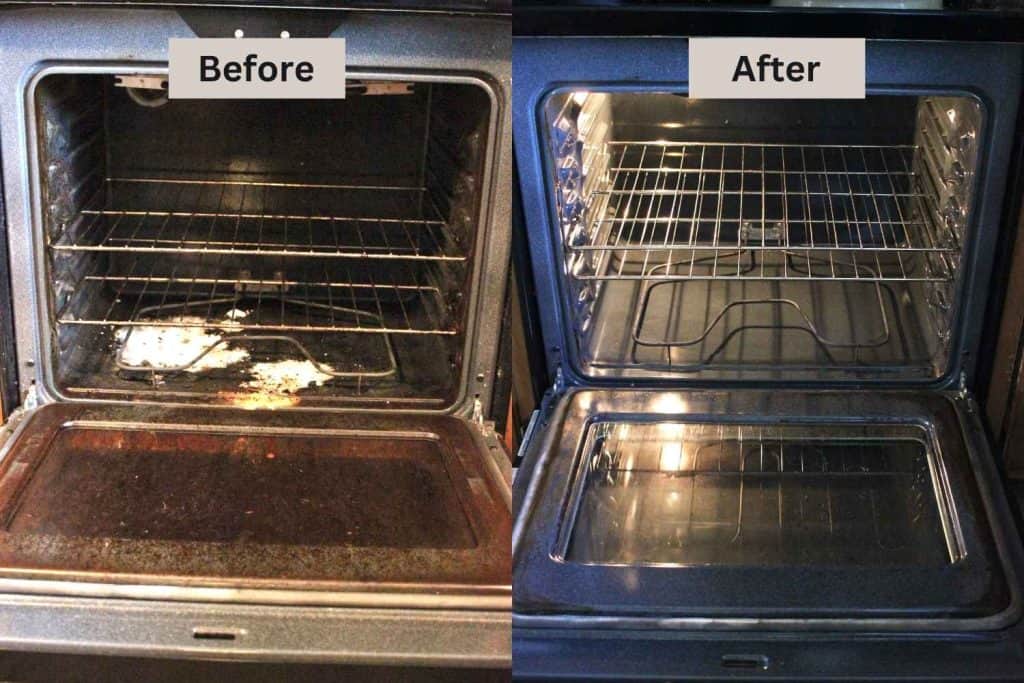
Not in need of a quick wipe down. Open the door and you are met with a smell — that is how bad it was. The interior was caked in layers of grease from months of roasting and baking and whatever had boiled over and been ignored. Turn it on to preheat and there would be smoke, which I had come to accept as normal.
It wasn’t normal.
I kept meaning to clean it. I kept not cleaning it because every time I opened the door the task ahead seemed insurmountable — so I shut it, made a mental note, and the grime kept building.
One Sunday that changed. Tasos was out, the girls were at Zina’s, the kitchen was mine and I had no excuses left. I used nothing we didn’t already have in the house. Three hours later, including the waiting, it looked like a completely different appliance.
Here is exactly what I did.
Why Baking Soda and Vinegar Actually Work
I’ll put the method to one side for a moment and explain why it is effective, as that will give you some patience with the process.
You are up against polymerised fat in the form of baked-on oven grease. It has been heated so many times that it has bonded to the surface and ordinary dish soap is no match for it.
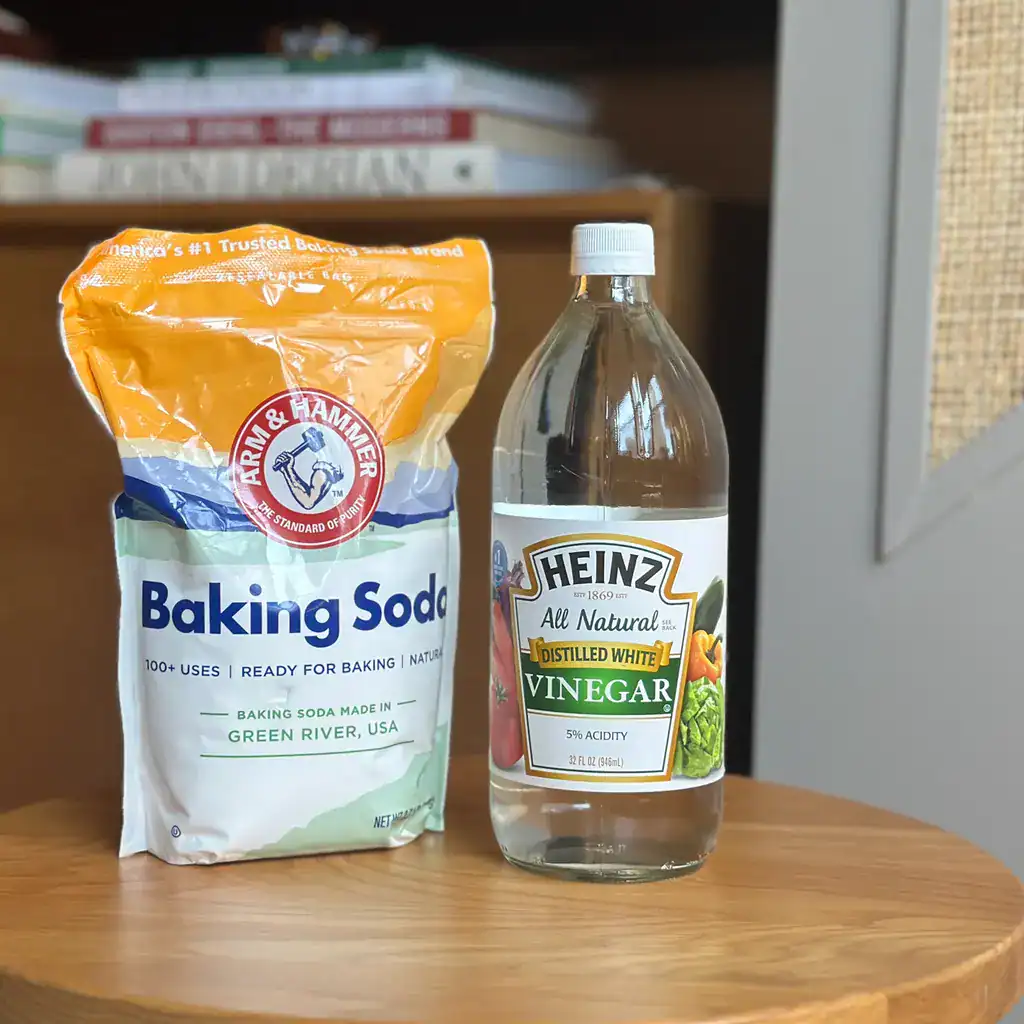
What you need is an acid and an alkaline to break it down, say white vinegar and baking soda. The paste of baking soda will work on the grease over the course of a few hours to loosen and lift it; then the vinegar gets to work on what’s left of the residue and you can wipe it all away.
There is nothing harsh about either ingredient so you don’t have to worry about harming your racks or the glass. For very little outlay they will do the job on the sort of grease that has been building up since last autumn, not just the superficial kind. They do require time, though. This isn’t something you can do in ten minutes.
The baking soda has to be left to sit, preferably overnight, so make your plans accordingly.
What You Need
Everything in this list is already in most kitchens.
- Baking soda. A lot of it, for a seriously dirty oven you’ll use most of a standard box.
- White vinegar in a spray bottle or just poured into a small bowl. Dish soap. Old cloths or paper towels you don’t mind throwing away.
- A plastic scraper or old credit card for the stubborn bits.
- Rubber gloves because the grease that comes off is genuinely unpleasant.
- A bowl for mixing the paste.
That’s everything. No commercial oven cleaner, no caustic sprays, no special equipment.
Directions for How to Clean an Oven Naturally
Step one: Clear Out the Oven
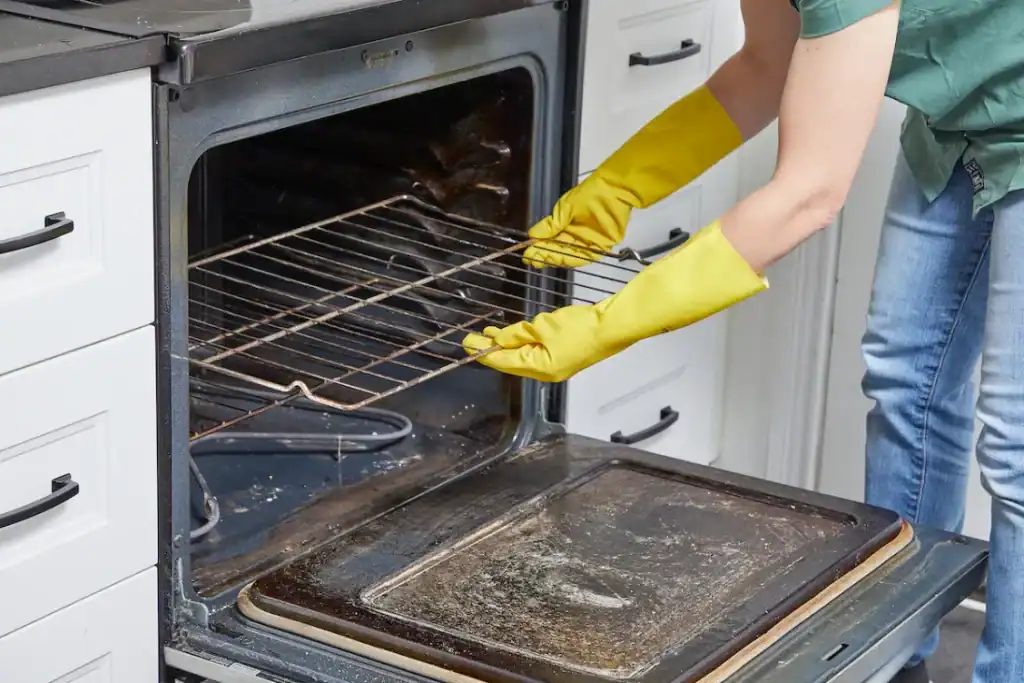
First things first: clear out the oven. Racks, thermometer, trays, liners — it all has to be put aside before you can get to work.
The racks get their own treatment — fill the bathtub with hot water, lay an old towel on the bottom first to protect it from scratches, place the racks on top of the towel, add a generous squirt of dish soap and half a cup of white vinegar, and leave them to soak while you work on the interior. A bathtub is the right size for this. A kitchen sink is not — oven racks are too long and won’t submerge properly.
Before applying any paste, wrap the heating elements in aluminum foil if your oven has exposed elements at the bottom. This protects them from the paste and means you don’t have to be careful around them while applying. For gas ovens, use foil to block the interior vents at the bottom so baking soda doesn’t fall into them. Once the foil is in place you can apply the paste freely without worrying about either.
Step Two: Make the Paste and Apply It
You’ll need to make a paste of baking soda and water. Don’t be shy with the water, but you don’t want it to be runny either; aim for something with the heft of toothpaste. When you’re up against an oven that’s seen some hard use, you want that paste on the thick side so it doesn’t just slide down the sides before it can do any good.
Apply the paste to every interior surface — the bottom, the back wall, the side walls, the inside of the door. A silicone spatula or a cheap paintbrush gives you more control than your hands and gets paste into corners more precisely.
As it goes to work on the grime, the paste is going to take on a brownish tint. That’s normal — it means it’s breaking down the fat.
On the worst areas — the darkest patches of caked-on black grease — pile the paste on thickly and then sprinkle a small amount of table salt directly on top. The salt acts as a mild abrasive that works alongside the baking soda on the most stubborn deposits. Don’t skip this on a seriously dirty oven.
Step Three Has To Be The Oven Door!
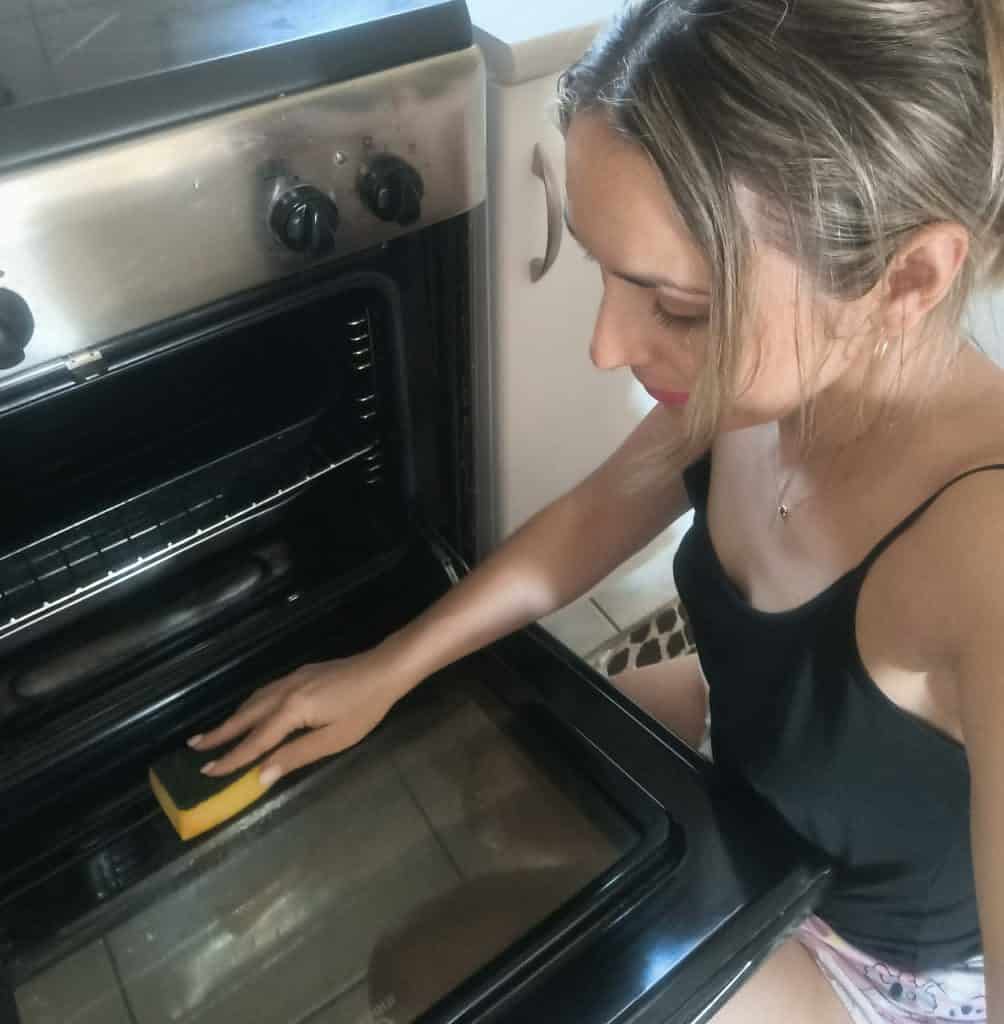
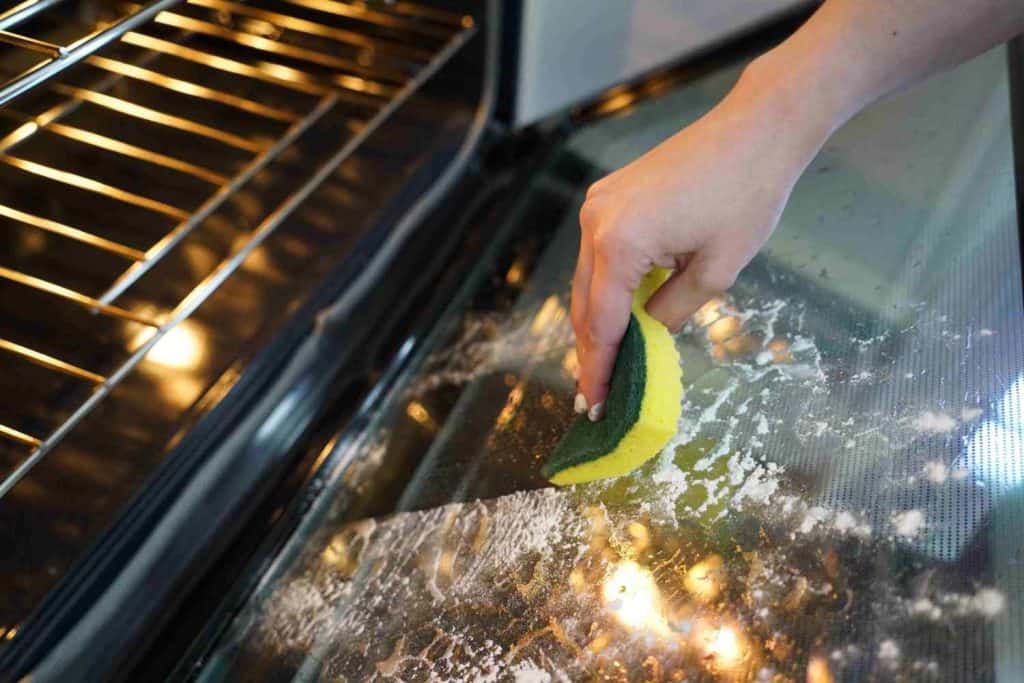
I can’t stand the way grease builds up on the inside of the oven door, so that’s where I put my focus. It’s right there in your line of sight when you’re looking in to see how a meal is coming along.
My go-to is to put some paste on the interior glass and let it be. For the exterior — the part you see when the door is shut — I’ll make a mix of baking soda with a bit of dish soap, let it sit for 20 minutes and then give it a wipe. No scratches, no problem.
Then there’s the matter of grease in between the panes. On ovens with a double layer of glass, it’s a bit more of a project.
A few can be taken apart for a proper clean, but you have to read the manual to be sure since it depends on what you have. And if you can see the muck in there but can’t get at it, you might be able to work a thin tool with a wet cloth in from the bottom of the door.
Step four: Wipe Everything Out
After the paste has sat long enough, take a damp cloth and start wiping. Work from the top down — back wall first, then side walls, then the bottom last.
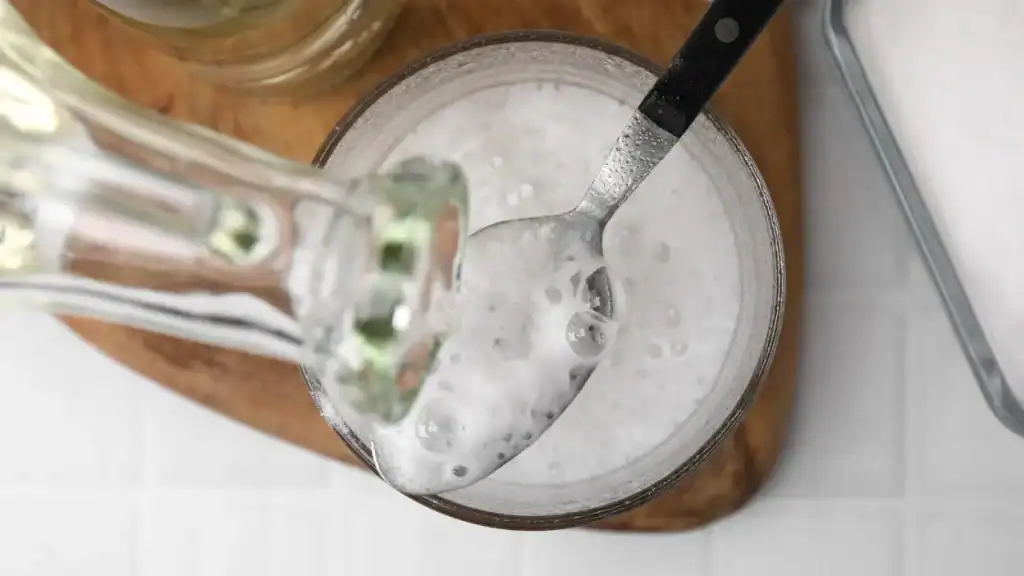
As you work through each section, spray white vinegar directly onto the baking soda residue while you’re scrubbing it. The vinegar reacts with the baking soda — it fizzes, which is normal and harmless — and this reaction helps lift the grease and residue together rather than just wiping the paste off. Keep spraying and wiping section by section until the cloth comes away clean.
Step Five, Time for The Racks!
By now the racks have been soaking in the bathtub long enough that most of the grease is loose. Take a scrub brush or non-scratch sponge and wipe them down in the soapy water. For any spots still holding on, a paste of baking soda applied directly to the rack and left fifteen minutes then scrubbed handles them.
Rinse the racks thoroughly — soap residue left on oven racks smokes when the oven heats up. Dry them with a cloth before putting them back. Wet racks rust faster than dry ones.
Step Six — The Stovetop and Surrounding Surfaces
While everything is already out and you’re already in cleaning mode, the area around the oven tends to have accumulated the same grease and splatter as the inside. The extractor fan filter above the oven especially — grease collects in the mesh filter and if it hasn’t been cleaned in a while it’s a fire risk as well as a smell risk.
Most extractor fan filters can be removed and soaked in hot water with dish soap and baking soda for thirty minutes then rinsed. This is worth doing every few months. The filter that came out of ours on that Sunday was the colour of weak tea. It should have been silver.
Stovetop burner grates — if your cooktop has gas burners — soak in the same sink solution as the racks. The same paste applied to the flat surfaces around the burners handles the baked-on rings that form where pots boil over.
One more thing worth doing before you close everything back up: if you don’t already have a reusable oven liner on the bottom, get one. It sits on the floor of the oven and catches drips before they bake on. Goes in the dishwasher. Costs very little. It is the single easiest thing you can do to make sure this job stays manageable going forward.
How Long It Actually Takes
I want to be straight with you here because most tutorials about cleaning an oven are not.
The ones that say twenty minutes are describing a lightly dirty oven that probably didn’t need much attention to begin with. If your oven looks anything like ours did on that Sunday, twenty minutes is not your reality.
For a seriously neglected oven, here is the honest breakdown:
Getting everything out, wrapping the elements, mixing the paste and applying it — about twenty minutes. Then you close the door and leave. That waiting time is the longest part and the most important part. Two hours at minimum. Six hours if you can manage it. Overnight if you start it in the evening.
The actual wiping and scrubbing once the paste has done its work — forty-five minutes to an hour. More if the oven is very far gone, less if you gave the paste enough time. The paste does most of the work. Your job is to wipe away what it loosened.
The racks, the stovetop, the extractor filter — another thirty minutes.
Total active time: roughly two hours, spread across an afternoon. The rest is waiting, which costs you nothing except the patience to leave it alone.
Do it on a day when you’re home anyway. Put the paste on in the morning, go about your day, come back to it in the afternoon. The oven sits there working while you do other things. That is the whole point of the method.
A Final Thought
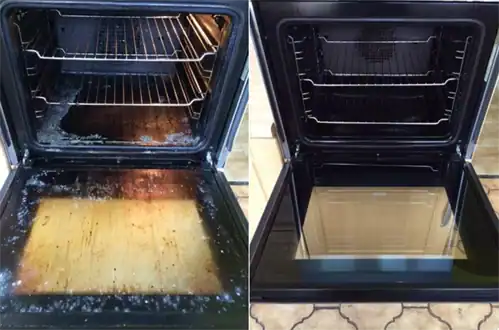
The oven now opens without a smell. Which is exactly how it should be and exactly how it hadn’t been for longer than I’d like to admit.
There is something specific about finally dealing with the thing you’ve been avoiding. Not just the result — though the result is genuinely satisfying — but the closing of it. That Sunday is done. The oven is clean. The loose end is tied.
It gets a proper clean every two or three months now. Forty-five minutes rather than three hours because nothing has had time to accumulate. The liner on the bottom catches whatever drips. The glass gets wiped while it’s still warm.
It stays clean because the Sunday it got properly clean is still recent enough to remember.
That’s all I have for today. If you have a trick for a spot that won’t budge — something specific that worked where the paste and vinegar didn’t quite get there — leave it in the comments. I’d genuinely like to know.
Until next time,
Stay safe,


I’m Katerina Lithopoulou, co-creator of DIY Cozy Living. I’ve always loved the little things that make a space feel special. With a background in language and a passion for photography and cozy design, I enjoy turning everyday inspiration into simple ideas people can actually use.
My motto: “Cozy isn’t a trend — it’s a feeling.”

Enjoy every single day