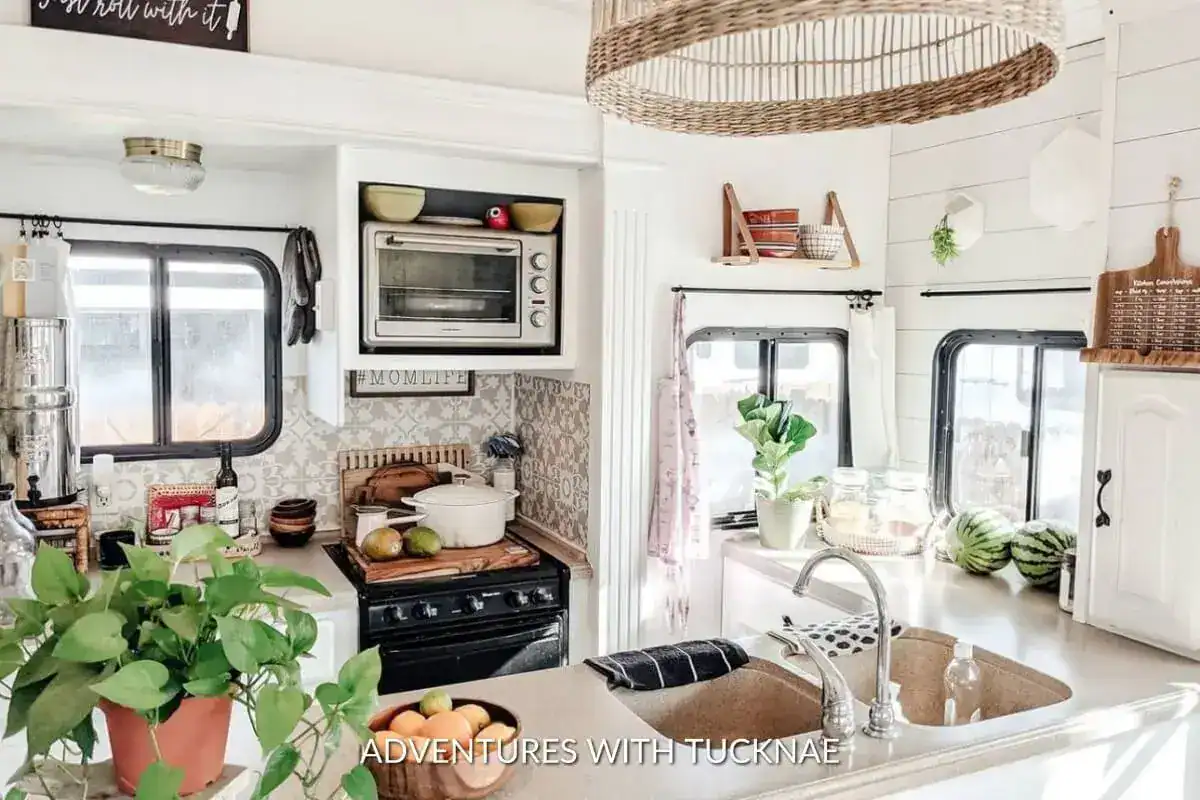

Living in a camper doesn’t just mean packing things tightly — it’s about creating a mobile sanctuary. When space is tight, every inch counts.
But more than that, how that space is organized can directly affect mood, focus, stress levels — and even mental well-being. That’s why storage in a camper shouldn’t be an afterthought. It should be part of the design.
Maximizing space in a camper can be challenging, but with some creativity, you can make your RV or camper much more functional and organized.
Research repeatedly shows that clutter and disorganization in living environments can contribute to stress, anxiety, and reduced mental clarity.
From walls to under-bed compartments, rethinking how you use vertical and hidden areas sets the tone for everything else. When you begin seeing these areas as opportunities rather than obstacles, the process of organizing stops feeling like a chore and starts feeling like a creative challenge.
What to aim for when organizing a camper
Before drilling shelves or installing hooks, a good plan helps. Here are some principles that often make the difference between “messy van” and “organized retreat”:
- Every item should have a home — and ideally, a hidden one. Open clutter in a walking path or workspace steals mental bandwidth and relaxation.
- Use vertical and underutilized space first. Camper walls, under-bed cavities, cabinet doors, and ceilings are often overlooked — but they’re gold mines for storage.
- Favor multifunctional solutions. A bench that stores shoes, a magnetic strip for tools, a fold-down desk — these do more than one job, maximizing value per square inch.
- Make storage mobile or adjustable. Wheels, slide-out drawers, tension rods — these adapt to shifting loads or rearranged items and help keep things secure while traveling.
- Design for life on the road. Light materials, secure mounts, and easy-access storage matter when the road gets rough or you move often.
Planning with these ideas in mind changes storage from “where to shove stuff” into “how to craft a functional, calming, efficient space.
The mindset before the tools: Declutter, plan, and store with purpose
Before jumping into any DIY storage build-out, it’s worth investing time in a little mental prep:
- Declutter ruthlessly. In a small space, minimalism isn’t about aesthetics as much as survival. Get rid of duplicates, items you never use, things that serve no purpose. The less you own, the more manageable your storage becomes.
- Visualize how you use the camper daily. Sleep, cook, store food, clothes, tools, travel gear, maybe hobbies — think through all the scenarios. That helps you build storage where it matters instead of where it’s convenient.
- Prioritize accessibility for daily-use items. Frequently used gear should be easy to grab. Seasonal, occasional, or bulky stuff goes deep, low, or overhead.
- Design for mobility. Everything should stay secure when moving. That means locked drawers, gripped surfaces, magnets or straps — not just open baskets.
Once you’re thoughtful about the why and how, the next step is the what. That’s where useful, tested storage solutions come in. The following hacks — adapted from real RV-living advice — show how to build a camper interior that truly works, without overcrowding or clutter.
10 Easy Space-Saving Camper Storage Hacks
1. Use Vertical Space with Hanging Organizers
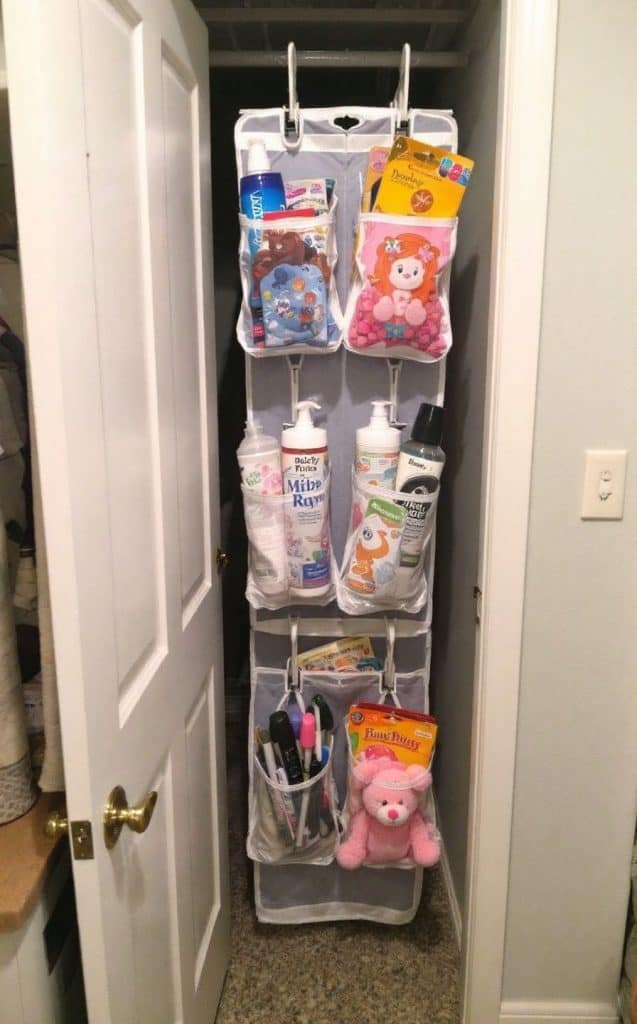
Hanging organizers are an excellent solution for storing everything from toiletries to shoes. You can hang them on the back of doors, inside closets, or even on the sides of cabinets.
These organizers come with multiple pockets, allowing you to neatly store small items that usually get lost in drawers.
DIY Tip: Create a custom-sized organizer using canvas fabric and plastic pockets. Sew or glue them together for a more personalized fit.
2. Install Slide-Out Drawers in Cabinets
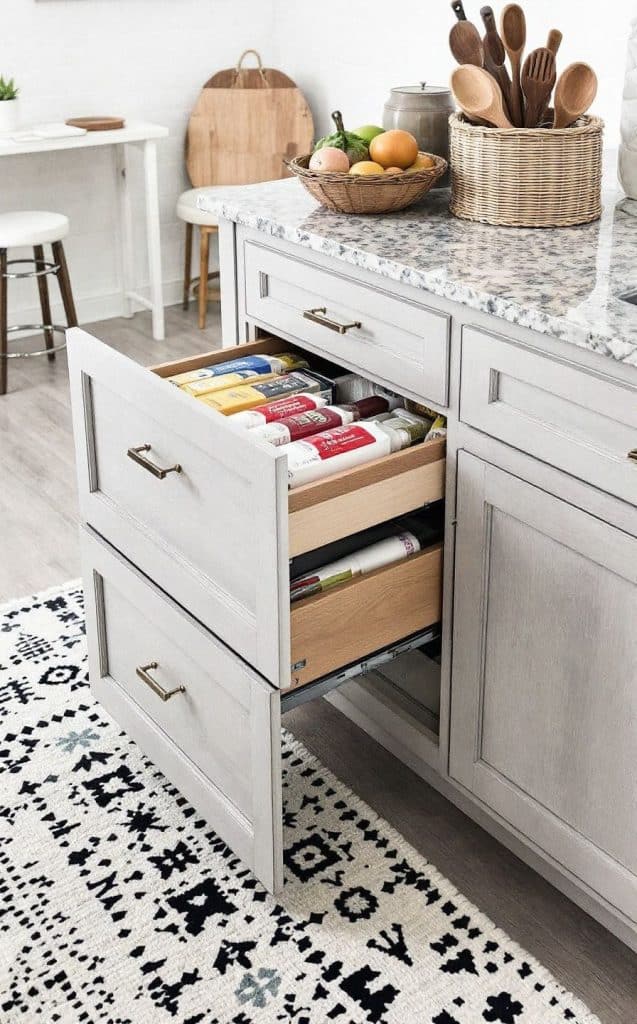
Slide-out drawers can transform deep, hard-to-reach cabinets into easily accessible storage areas. By pulling out the drawer, you can fully utilize the cabinet space without the need to rummage through piles of items.
DIY Tip: Install pre-made sliding drawer kits or build custom pull-out shelves using plywood and drawer slides. Measure your cabinet’s dimensions to ensure a perfect fit.
3. Create a Fold-Down Desk or Table
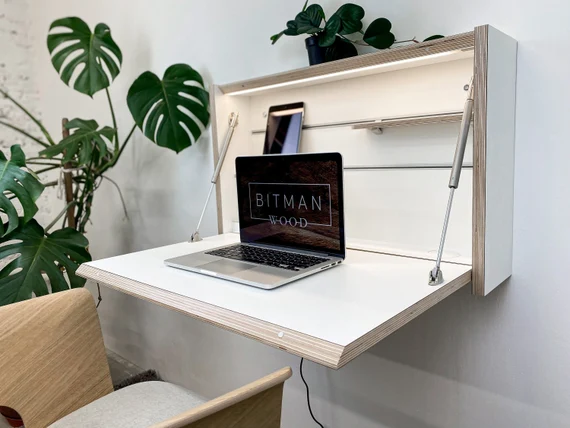
A fold-down desk or table provides a flat surface when needed, but folds up flat against the wall when not in use, saving valuable floor space. This hack is ideal for campers that serve as both a workspace and living area.
DIY Tip: Use lightweight plywood and sturdy hinges to create a custom desk that can easily be folded down. Add a latch to keep it secured when traveling.
4. Under-Bed Storage Drawers
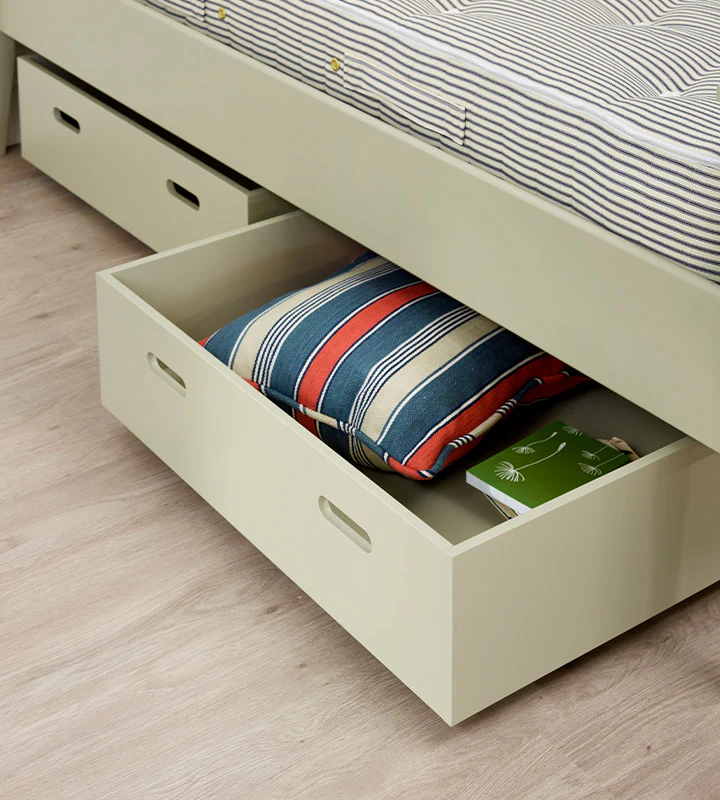
The area under the bed often goes unused but can provide a huge amount of storage. Create pull-out drawers that fit underneath to store clothes, shoes, or extra blankets. This hack keeps everything out of sight but easily accessible.
DIY Tip: Build your own drawers using wooden crates or boxes. Attach wheels or sliders to make them easy to pull out and push back.
5. Magnetic Strips for Metal Tools and Utensils
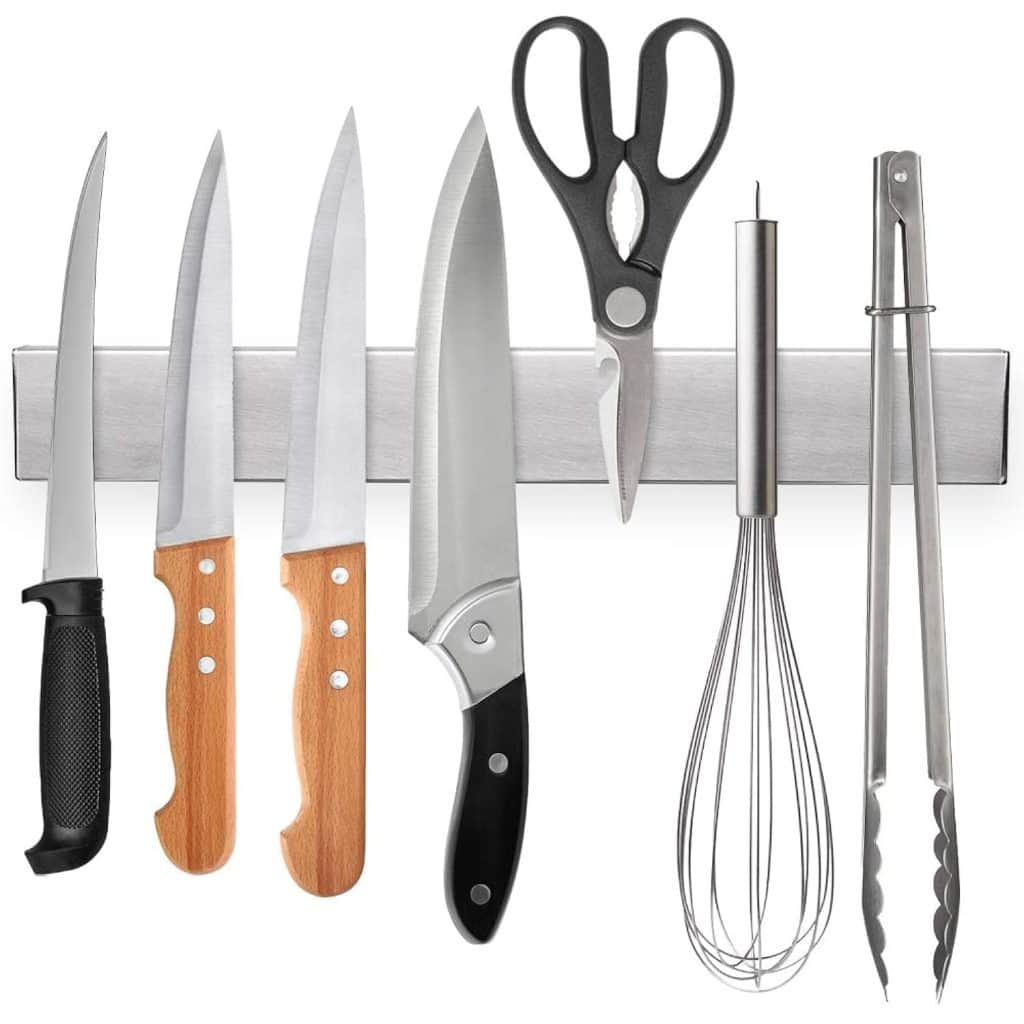
A magnetic strip is a fantastic way to store metal items like kitchen knives, tools, or scissors. Mount the strip on the wall, and your items will be securely stored and easily accessible, freeing up drawer or counter space.
DIY Tip: Install magnetic strips in different areas, such as the kitchen or workshop, using heavy-duty adhesive or screws.
6. Use Tension Rods for Dividers
Tension rods can be a simple and cost-effective way to create dividers in cabinets or shelves. They are easy to install and help keep items in place while the camper is in motion.
Using tension rods as dividers is space-saving because they help organize and compartmentalize existing storage areas without taking up additional room. Here’s how they contribute to better use of space:
- Preventing Clutter: By dividing cabinets or shelves, tension rods keep items like pots, pans, cleaning supplies, or toiletries from piling on top of each other. This allows you to use all available space more efficiently by storing items vertically and keeping them neatly arranged.
- Flexible and Adjustable: Tension rods can be adjusted to fit snugly in various areas, so they don’t require any permanent installation or modification of your space. They help you utilize awkward or narrow spaces that might otherwise go unused.
- Maximizing Vertical Space: By using tension rods to create sections, you can stack items more securely in cabinets or on shelves. This is especially helpful for storing lids, cutting boards, or trays upright, freeing up horizontal space for other items.
DIY Tip: Adjust the tension rods to fit snugly between shelves or within cabinets. You can use them to hang lightweight items like cleaning cloths, lids, or paper towels.
7. Hang Pots and Pans from the Ceiling
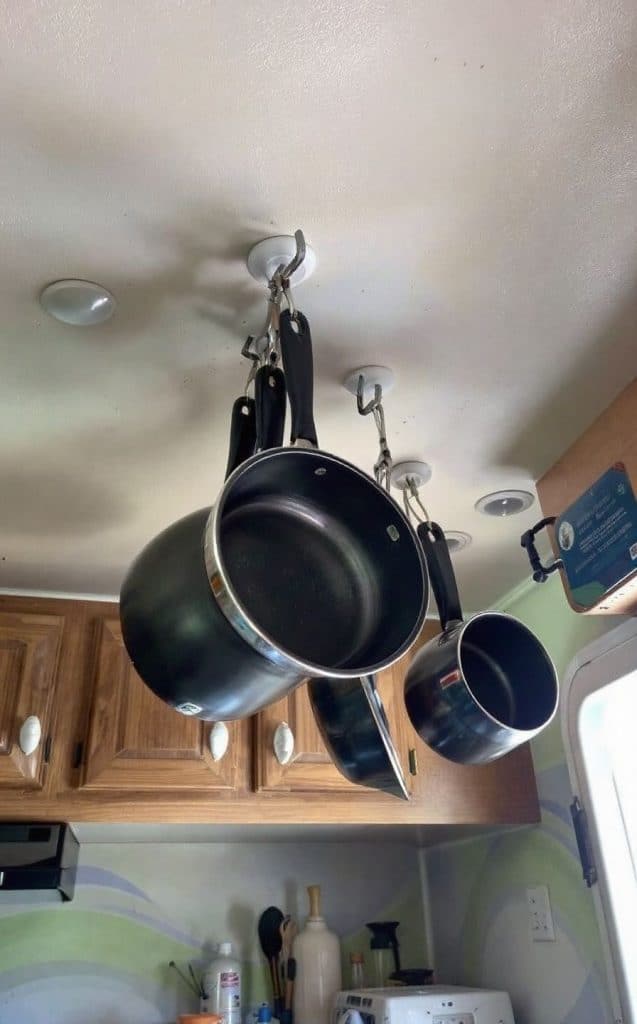
Pots and pans take up significant space in kitchen cabinets, but hanging them from the ceiling or on the walls frees up valuable cabinet room. You can install hooks or a hanging rack to keep them within reach without cluttering your counters.
DIY Tip: Install a small pegboard on the kitchen wall to hang pots, pans, and utensils, giving your kitchen a neat and organized look.
8. Make Use of Corner Shelves
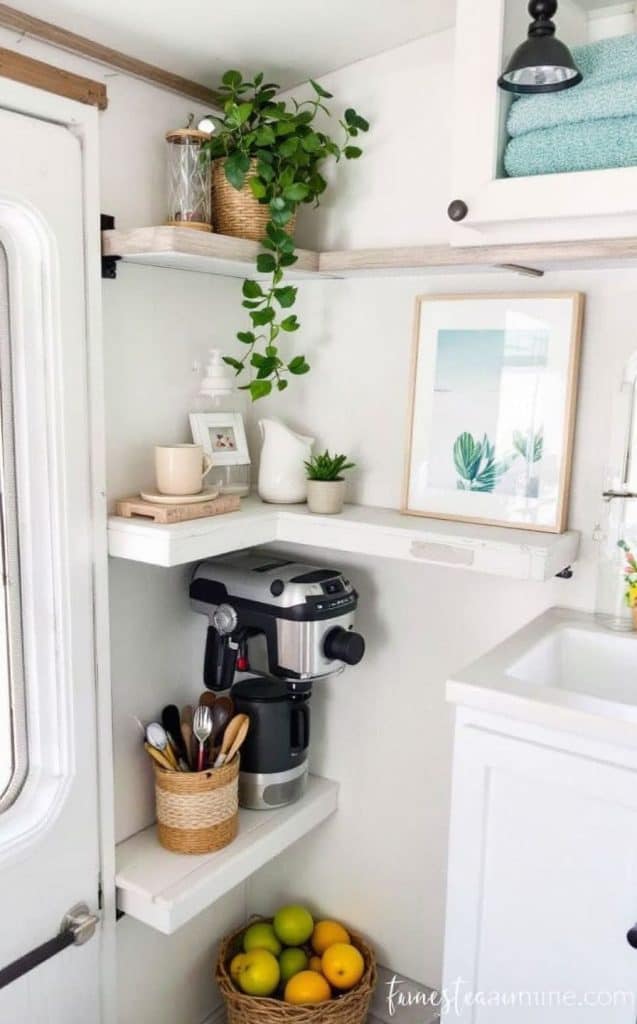
Corners in a camper are often underutilized, but adding small corner shelves can help you store items without taking up too much room. These shelves can hold small kitchen appliances, plants, or even books.
DIY Tip: Cut triangular shelves from wood and mount them in unused corner spaces. Add brackets for extra support if needed.
9. Add Storage Pockets to the Bedside

Having a small space for bedside essentials is essential in a camper, but traditional nightstands often don’t fit. Instead, create hanging storage pockets for phones, books, and other small items that you might need at night.
DIY Tip: Sew fabric pockets that can be attached to the side of the bed or a nearby wall using velcro or hooks.
10. Over-the-Door Hooks and Racks
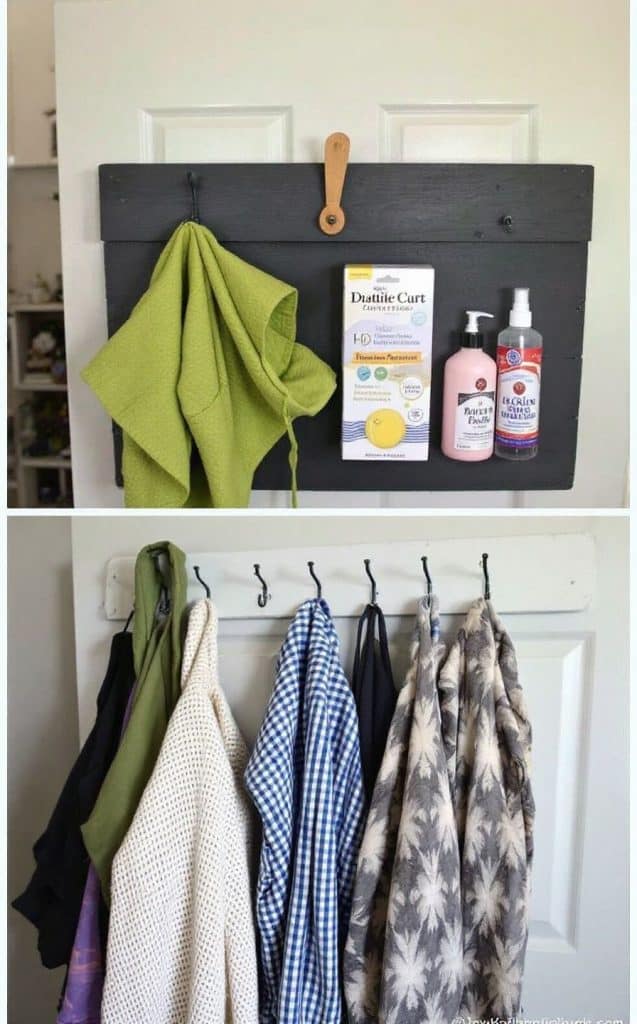
The back of doors is often wasted space, but over-the-door hooks or racks can be used to store anything from coats to towels. This keeps items off the floor and out of the way, yet easily accessible.
DIY Tip: Install custom hooks using adhesive strips or create a custom rack with metal or wood to fit your specific storage needs.
Frequently Asked Questions About Camper Storage
1. Do I really need to declutter before organizing my camper?
Absolutely. In a small space, every item takes up more “real estate” than it would in a house. Decluttering first ensures that you only store things that matter, making organization simpler and your camper feel more open and peaceful.
2. How can I make storage solutions travel-safe?
Anything stored in a camper should be secured to prevent shifting while on the road. Use hooks, tension rods, magnetic strips, Velcro, or bins with lids. Slide-out drawers and bins with wheels should have stoppers or friction pads to prevent sliding.
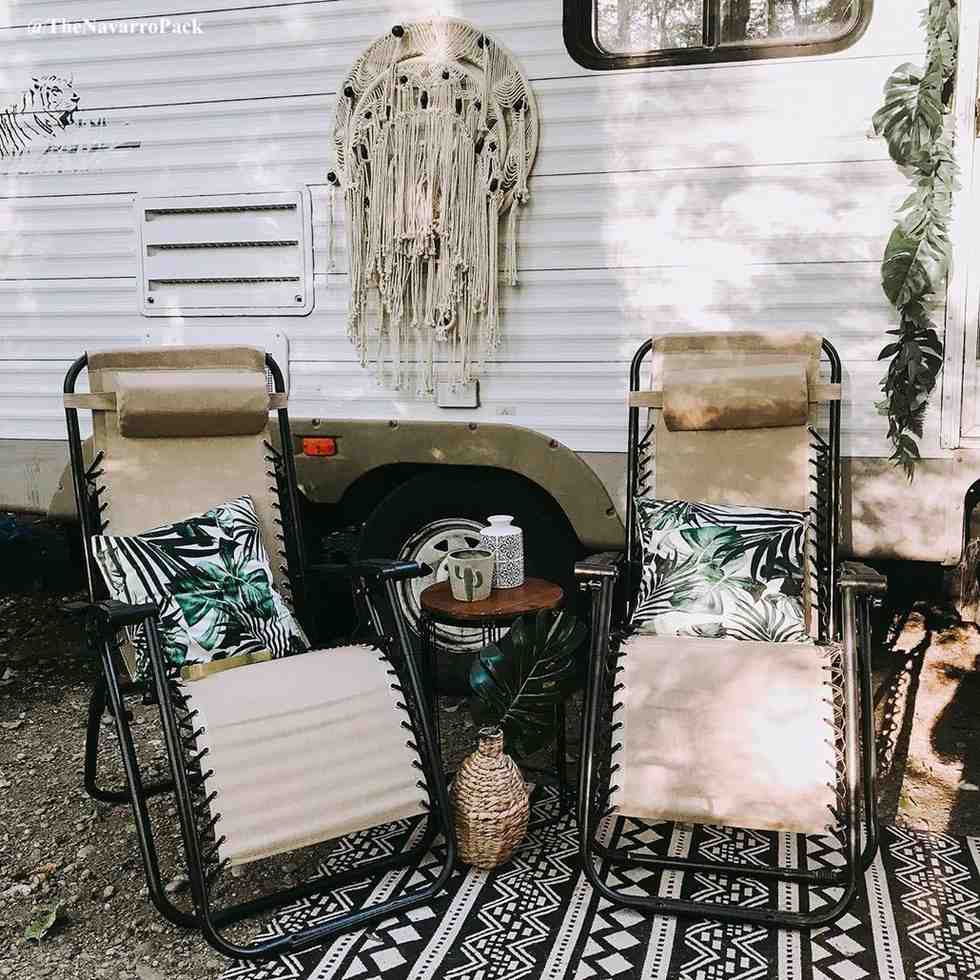
3. Can storage solutions be stylish, or do I have to sacrifice aesthetics for function?
You don’t have to sacrifice style. Many storage solutions, from woven baskets to magnetic strips and sleek shelving, combine function and aesthetics. Choosing materials, colors, and textures that match your camper’s interior can make your storage feel intentional and decorative.
4. Are DIY storage projects safe for all camper types?
Most DIY projects are safe if done thoughtfully. Lightweight materials, secure mounts, and careful placement are key. Avoid drilling into structural walls or ceilings without knowing the camper’s design. For heavier items, consider professional advice or reinforced mounting points.
5. How can I maximize storage in a very tiny camper or van?
In micro-campers, focus on vertical space, hidden compartments, multi-purpose furniture, and collapsible or foldable gear. Every inch counts — ceilings, under-bed areas, cabinet doors, and even the space above cabinets can be repurposed. The more intentional your layout, the more efficient your storage.
6. What are common mistakes to avoid when organizing camper storage?
Some common pitfalls include:
- Overstuffing drawers and cabinets.
- Ignoring the weight distribution (heavier items should be low).
- Failing to secure items for travel.
- Storing frequently used items in hard-to-reach spots.
- Forgetting to consider airflow and moisture in enclosed spaces.
7. How often should I reevaluate camper storage?
Every few months or after a big trip is ideal. Camper life is dynamic — you might pick up new gear, change your routines, or notice pain points. Regularly reassessing ensures your storage continues to be functional and stress-free.
Conclusion
Maximizing space in a camper is all about being resourceful and using every inch wisely.
Read Also: Unique Camper Decor Ideas You NEED To See!
With these DIY hacks, you can create more storage while keeping your camper organized and clutter-free. Best of all, most of these ideas are simple to implement and won’t break the bank!
I’m Anastasios Moulios, co-founder of DIY Cozy Living. I enjoy finding creative, practical ways to make small spaces feel warm, stylish, and lived-in — whether it’s a camper, a backyard, or a cozy room inside. I started this blog with Katerina to share real ideas that make home feel a little more personal and a lot more comfortable.